Coloring epoxy for guitar inlays
Issue 217 May 22, 2014
A little bit of glue hides imperfections... Dan Erlewine personalizes a fretboard with the customer's name in pearl: "Hoss." There are small gaps around the inlays, and dan shows how to make those gaps disappear. Dan also shows a neat magnet trick for cutting thin slices off the end of a fretboard.
- How to mix epoxy
- How much (or how little!) color you need to add
- Filling gaps in the routs around pearl inlays
- A neat magnet trick for cutting thin slices off the end of the fretboard
Video Transcription
[on-screen text reads: How to color epoxy for guitar inlays - StewMac]
[on-screen text reads: Trade Secrets! - guitar shop tech tips from stewmac.com]
Dan Erlewine: I'm making a rosewood fingerboard here for a guitar that I'm building, and I've inlaid crown inlays into it, Pearloid. At the 12th fret, I have a pearl inlay and it's cut on a CNC machine. It's the man's nickname, Hoss, H-O-S-S. And that machine also cut the pocket in the rosewood. So all I had to did was press those pearls down in and glue them in. There's a few gaps left over. It's not that perfect. It's better than what I could do. And I'm going to fill that with two-hour cure epoxy that's colored sort of the color of Rosewood.
Coloring the epoxy
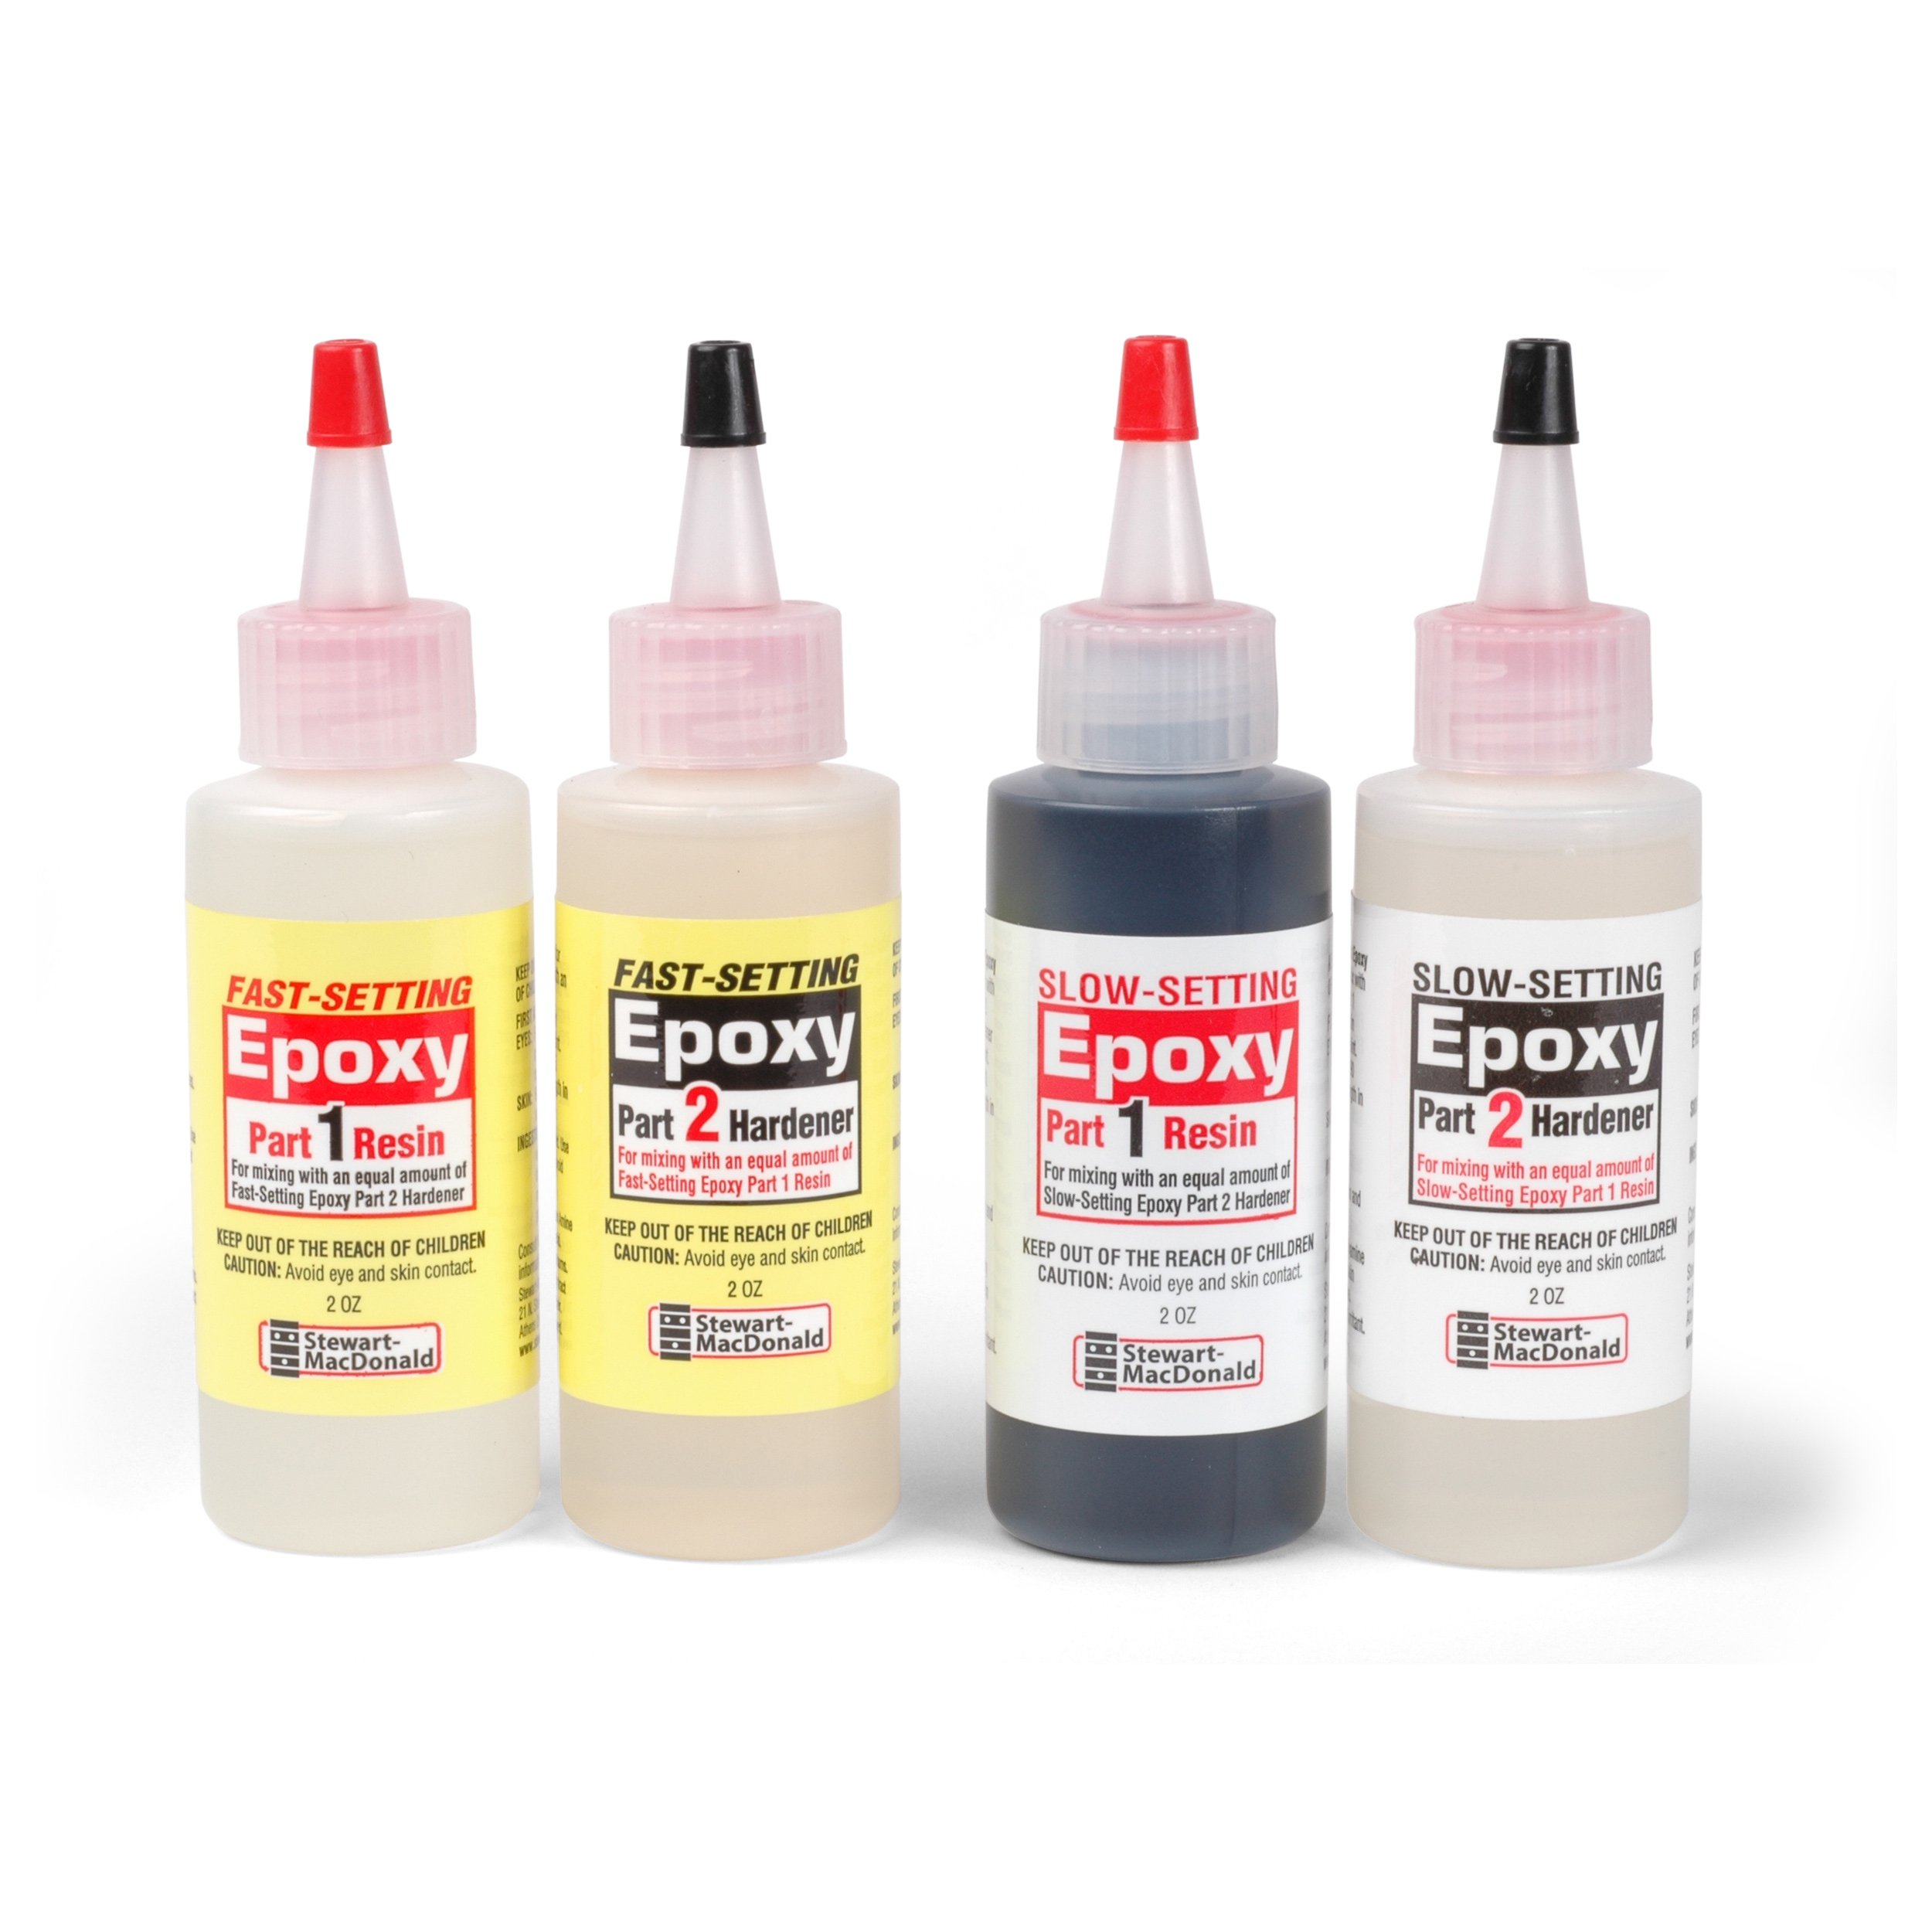
I'm going to color the epoxy with some Lacquer-Based ColorTone Pigment. That's way more than I need. I couldn't even squirt out a small enough amount that you really need. The amount of glue you put out is important. I make way more than I need, and you want to get those to match, pretty equal amounts. I bring them up into two blobs like that, and I start mixing, roll to center and fold and blend. A touch of black and a touch of brown. I don't want any more color than I need. I just don't want to be able to see through it. Remember, this is just a little bit of filler on the edge of a pearl next to wood. That's plenty.
Applying the colored epoxy to the inlay gaps
All that glue for this little teeny job, but I'm going to use it up and down the fret board, any place else around my inlays that needs a little filler. I poke it down in to get any air bubbles out and I'll let this harden as long as I can. I could file on it in two hours, but I'd rather just wait till tomorrow.
Up on the higher frets, I've got a few things to fill too with that glue, some little gaps I got with my Dremel Tool, there and here.
Filling larger inlay gaps with fingerboard wood
And right here, frankly, I think I made a mistake and switched the two pearls because this is way too wide. It's a 32nd of an inch. And I might have routed a little bit too far, but not that much. So what I'm going to do there is actually use a piece of wood. It's a little piece of rosewood that is sawed off the end of the fingerboard, so the grain's go in the right direction. It's the same wood, it'll be about invisible. I had plenty of extra board to saw off of and I'll show you how I did that.
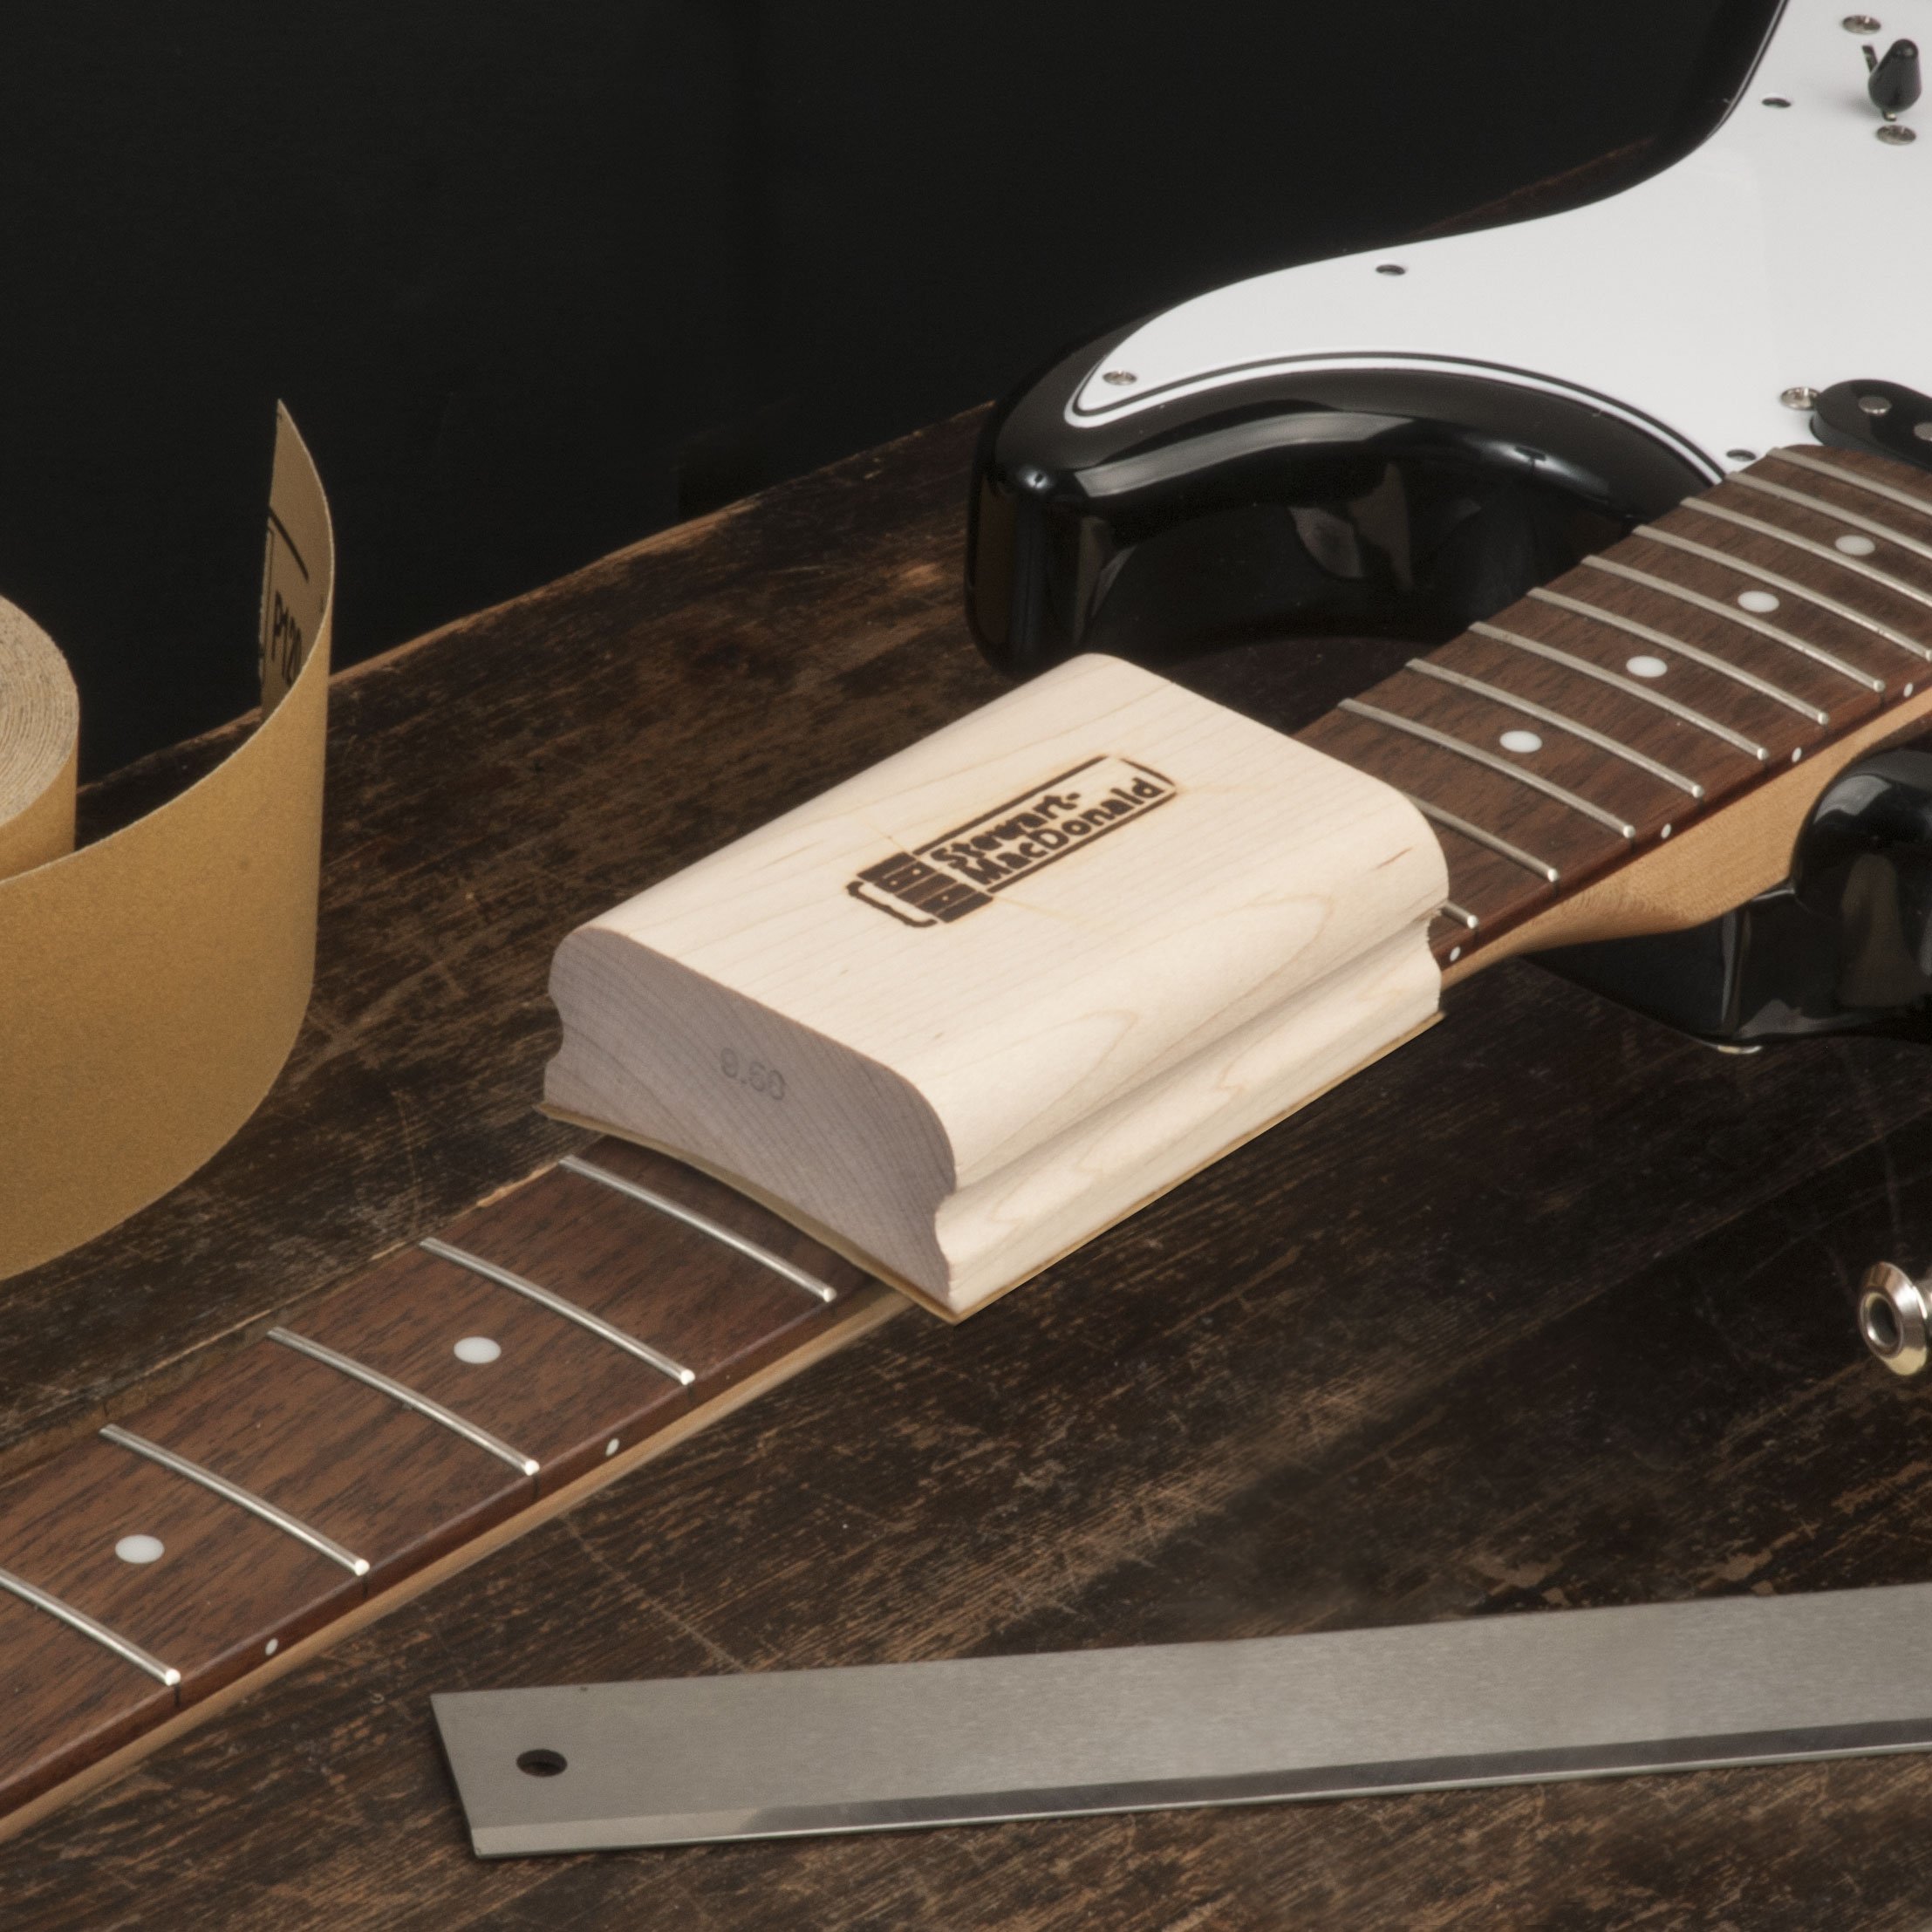
This is a saw fence that I made from a chunk of Radius Block, and I drilled a one-inch hole in it and pressed a one-inch Repair Magnet in there. And that's going to hold my blade in tight and keep it vertical to the cut and let me concentrate on sawing off a really thin little sliver of really any thickness that I want. This is our Japanese Fret Slotting Saw that has a really fine cut.
Now that is going to be beautiful when that goes in. It'll be invisible, and it's fun. I wish I would've screwed more of them up. I went ahead and let it dry all night, and really all I'm doing now is polishing. I've been through my different files and leveled all these pearls and plastic, and it just came out beautiful. Look at those S's. That's where the most fill was and it's about invisible. If I wipe a little alcohol across that, it's mighty pretty. And then down at the other end where I put that wood fill, that's just as pretty. I'm happy with that.


