Dreadnought Guitar Kit Instructions
Downloadable assembly instructions for the Dreadnought Guitar Kit, including a recommended tool and supplies list.
IN THIS ARTICLE
| • Recommended parts and tools • Braces and side assembly • Routing and binding | • Making a fretboard • Finishing • Final assembly and setup |
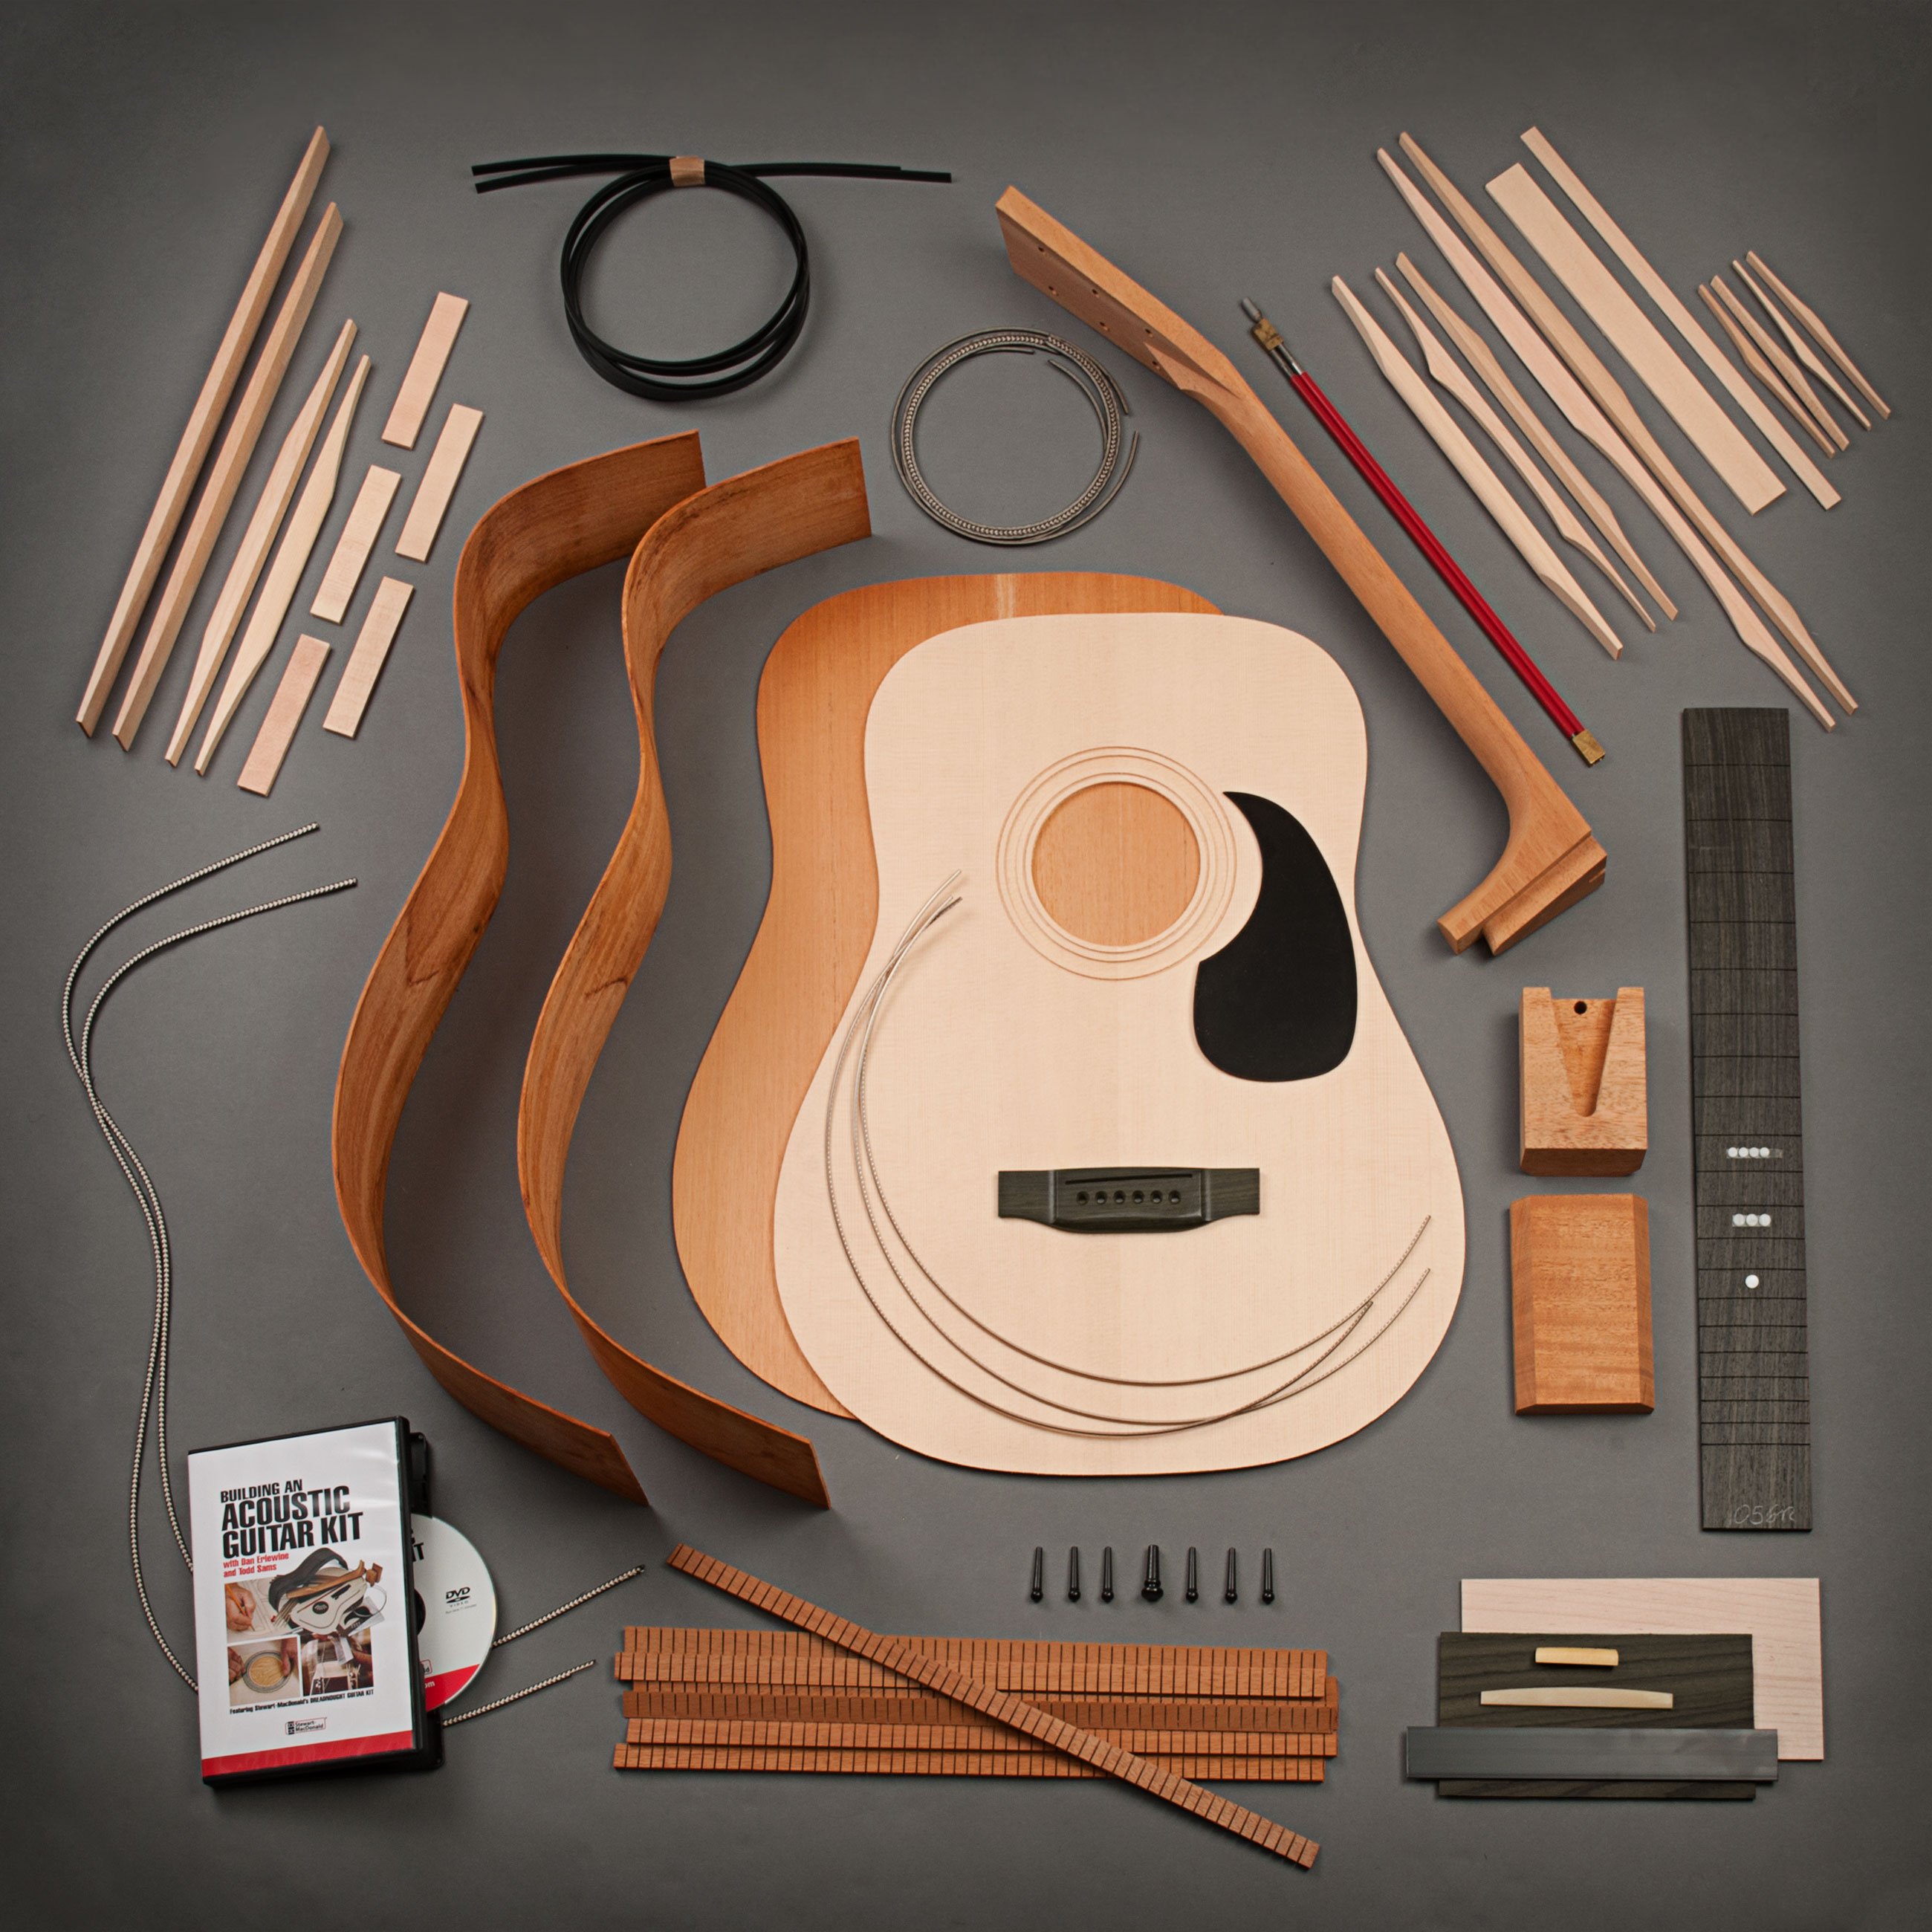
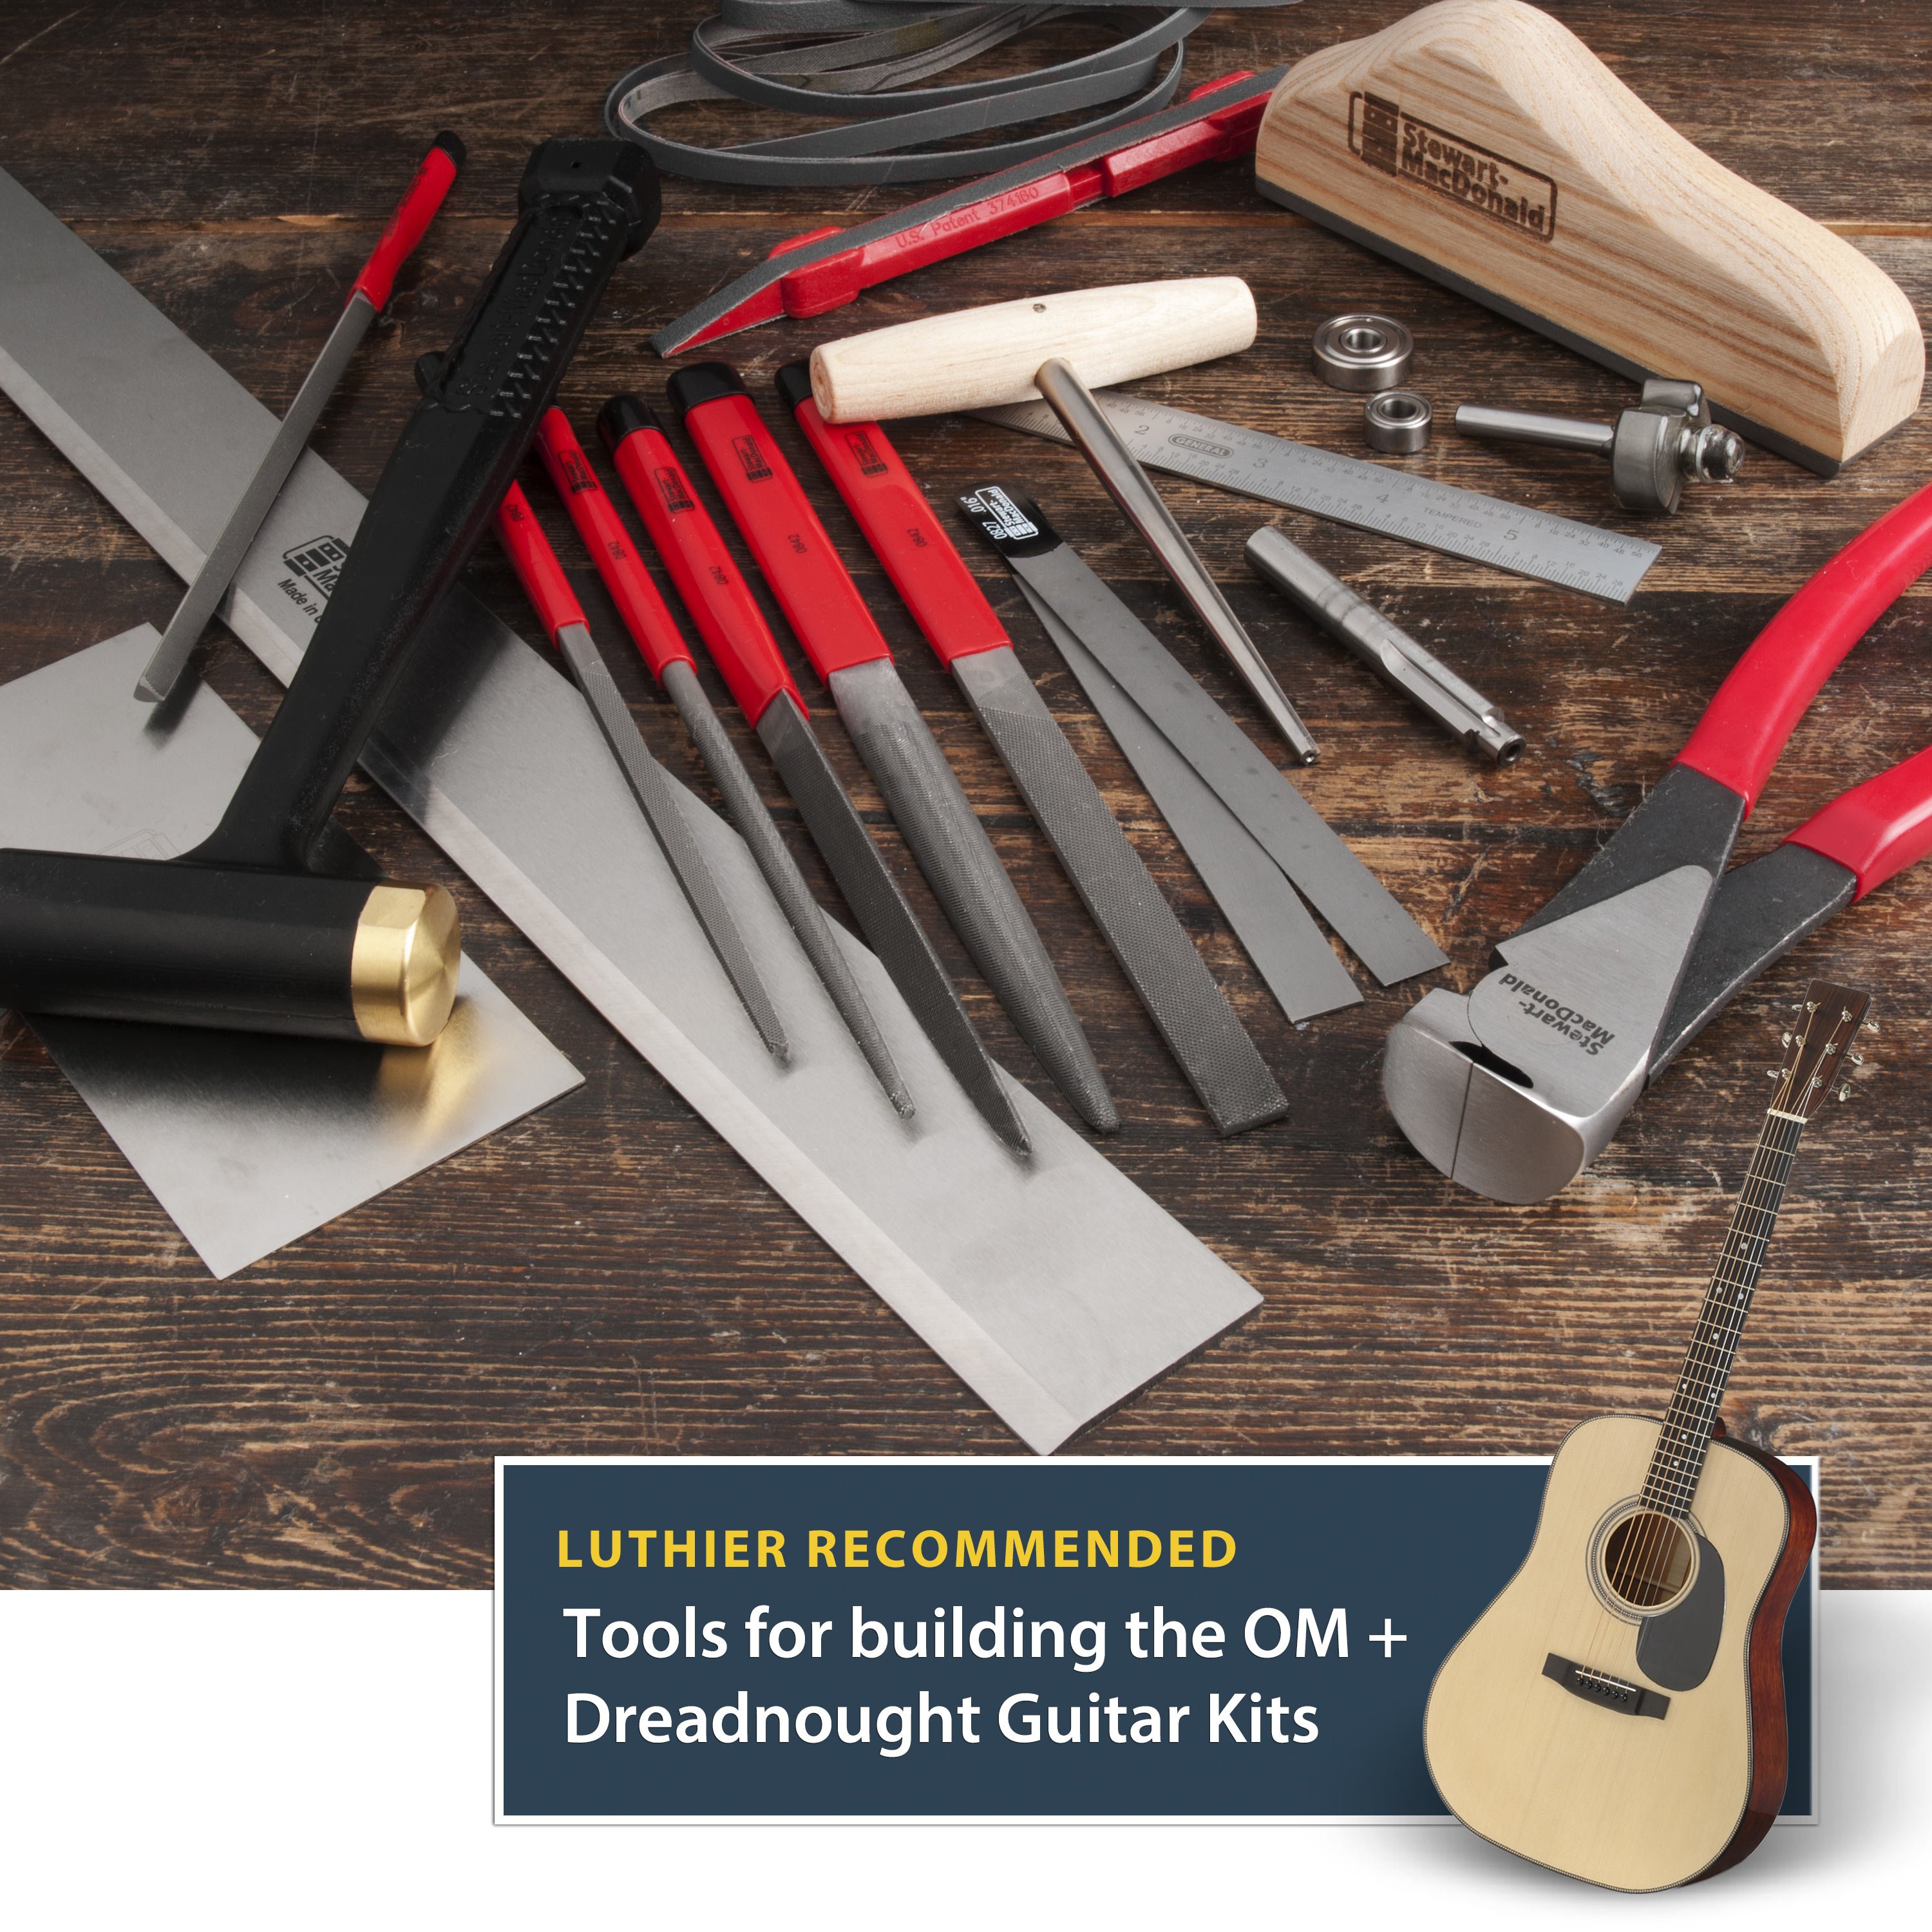
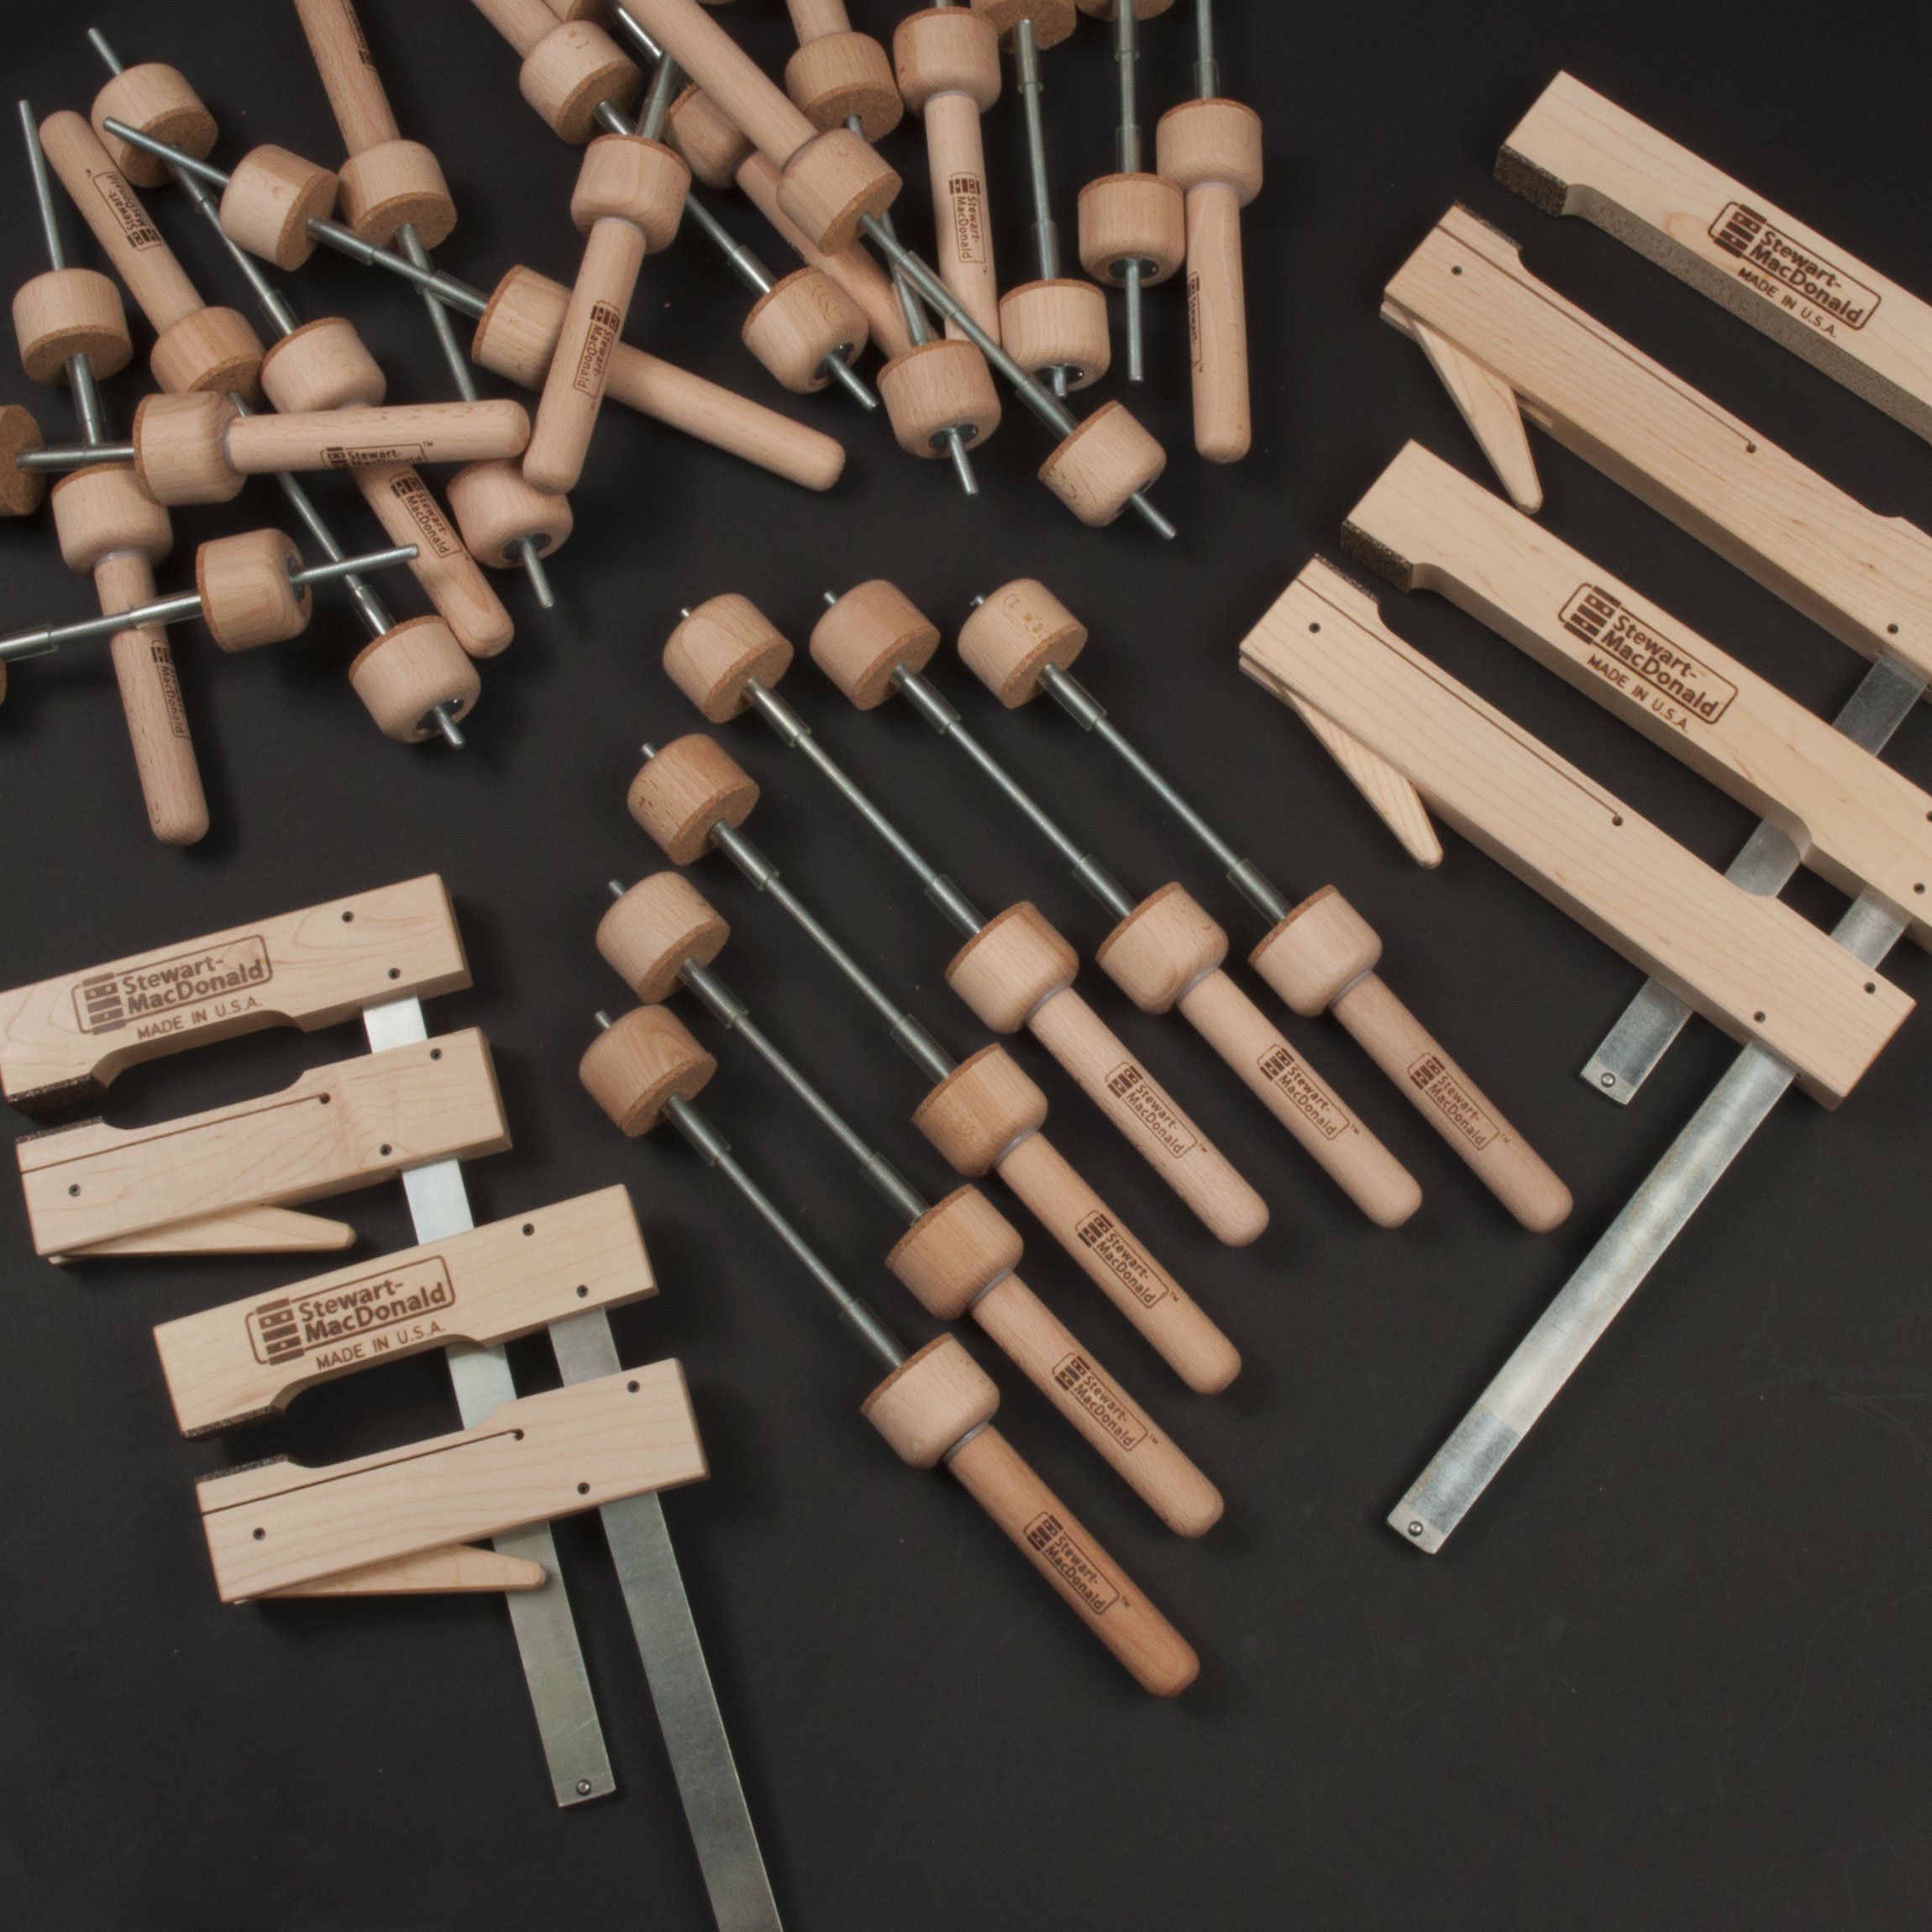
You are about to build a truly great guitar! We designed this acoustic kit with the small shop builder and a modest tool budget in mind, with the exception of a few specialty guitar making tools. Please read these instructions before building your guitar. They were written to include all variations of our Dreadnought Acoustic Guitar Kit. Options include dovetail or bolt-on neck, and back and side woods of either mahogany or rosewood. Throughout the assembly of the kit you'll need a flat workboard of 3/4" plywood approximately 24" long and 20" wide, big enough for your guitar's body assembly. This list is also provided in the PDF download, above. The following tools and supplies are recommended to assemble your kit. Though all of these tools aren't necessary to build your kit, they make many assembly steps easier and more professional. Tools available here at Stewart-MacDonald are linked for more information. Tools for Building the Dreadnought and OM Guitar Kits Clamps for Building an Acoustic Guitar Kit 3/4" plywood workboard Super Glue #10 Thin and #20 Medium Masking/binding tape Rubber binding bands Sandpaper Wax paper White pencil Felt-tip marker Electric hand drill Coping saw Scribe, center punch, or awl 1/4"-diameter brad point drill bit Radius-sanding block, 16" radius Clothespins (50) X-Acto knife Small carpenter's square You have a couple of different options to choose from depending on the tools you already own. If you plan on using a laminate trimmer or router for binding channels, we suggest our Binding Router Bit and bearings. If you plan on routing your binding channels with a Dremel tool, our Precision Router Set ships with everything you will need. However, if your budget allows, our preferred method is to use the TrueChannel Binding Router Jig as it makes cutting channels much easier and more precise. (for aerosol nitrocellulose lacquer finish) Our easy-to-apply ColorTone Aerosol Finishing Kit is a great choice for the first-time instrument maker. It's everything you need to complete a basic finish, plus it includes very informative Guitar Finishing Step-By-Step book for free! ColorTone Concentrated Liquid Stain — Tobacco Brown and Red Mahogany Foam Polishing Pads (2 or 3) and electric hand drill Clean cotton gloves Paint stripper Masking supplies: brown paper, masking tape, cardboard and rubber balloon (or newspaper) for soundhole


Recommended tools and supplies
Special lutherie tools
Our experienced luthiers recommend right tools to make your build easier and more professional.
Our experienced luthiers recommend the clammps you'll need to make your build easier and more professional.
Common tools and supplies
24" x 20"
(high tack)
(option to using binding tape)
(80, 100, 150 and 220-grit)Tools for Binding Installation
Finishing Materials


