Regluing a Rickenbacker fretboard
Issue 247 July 30, 2015
Did you know you can tap the truss rods right out of a Rickenbacker neck? Erick Coleman shows how, and he removes the fingerboard from a troubled RIC guitar neck using a household iron!
About the guitar in this video: This Rickenbacker 480 is from the 1970s. It’s a six-string with a body and peghead shape resembling the RIC 4000-series basses.
- How Rickenbacker truss rods slide out of the neck.
- A modified Fingerboard Removal Knife protects the peghead.
- A household iron heats the glue so the fretboard lifts off.
- Indexing pins keep the board lined up for regluing.
Video Transcription
[on-screen text reads: Stewart-MacDonald - Trade Secrets!]
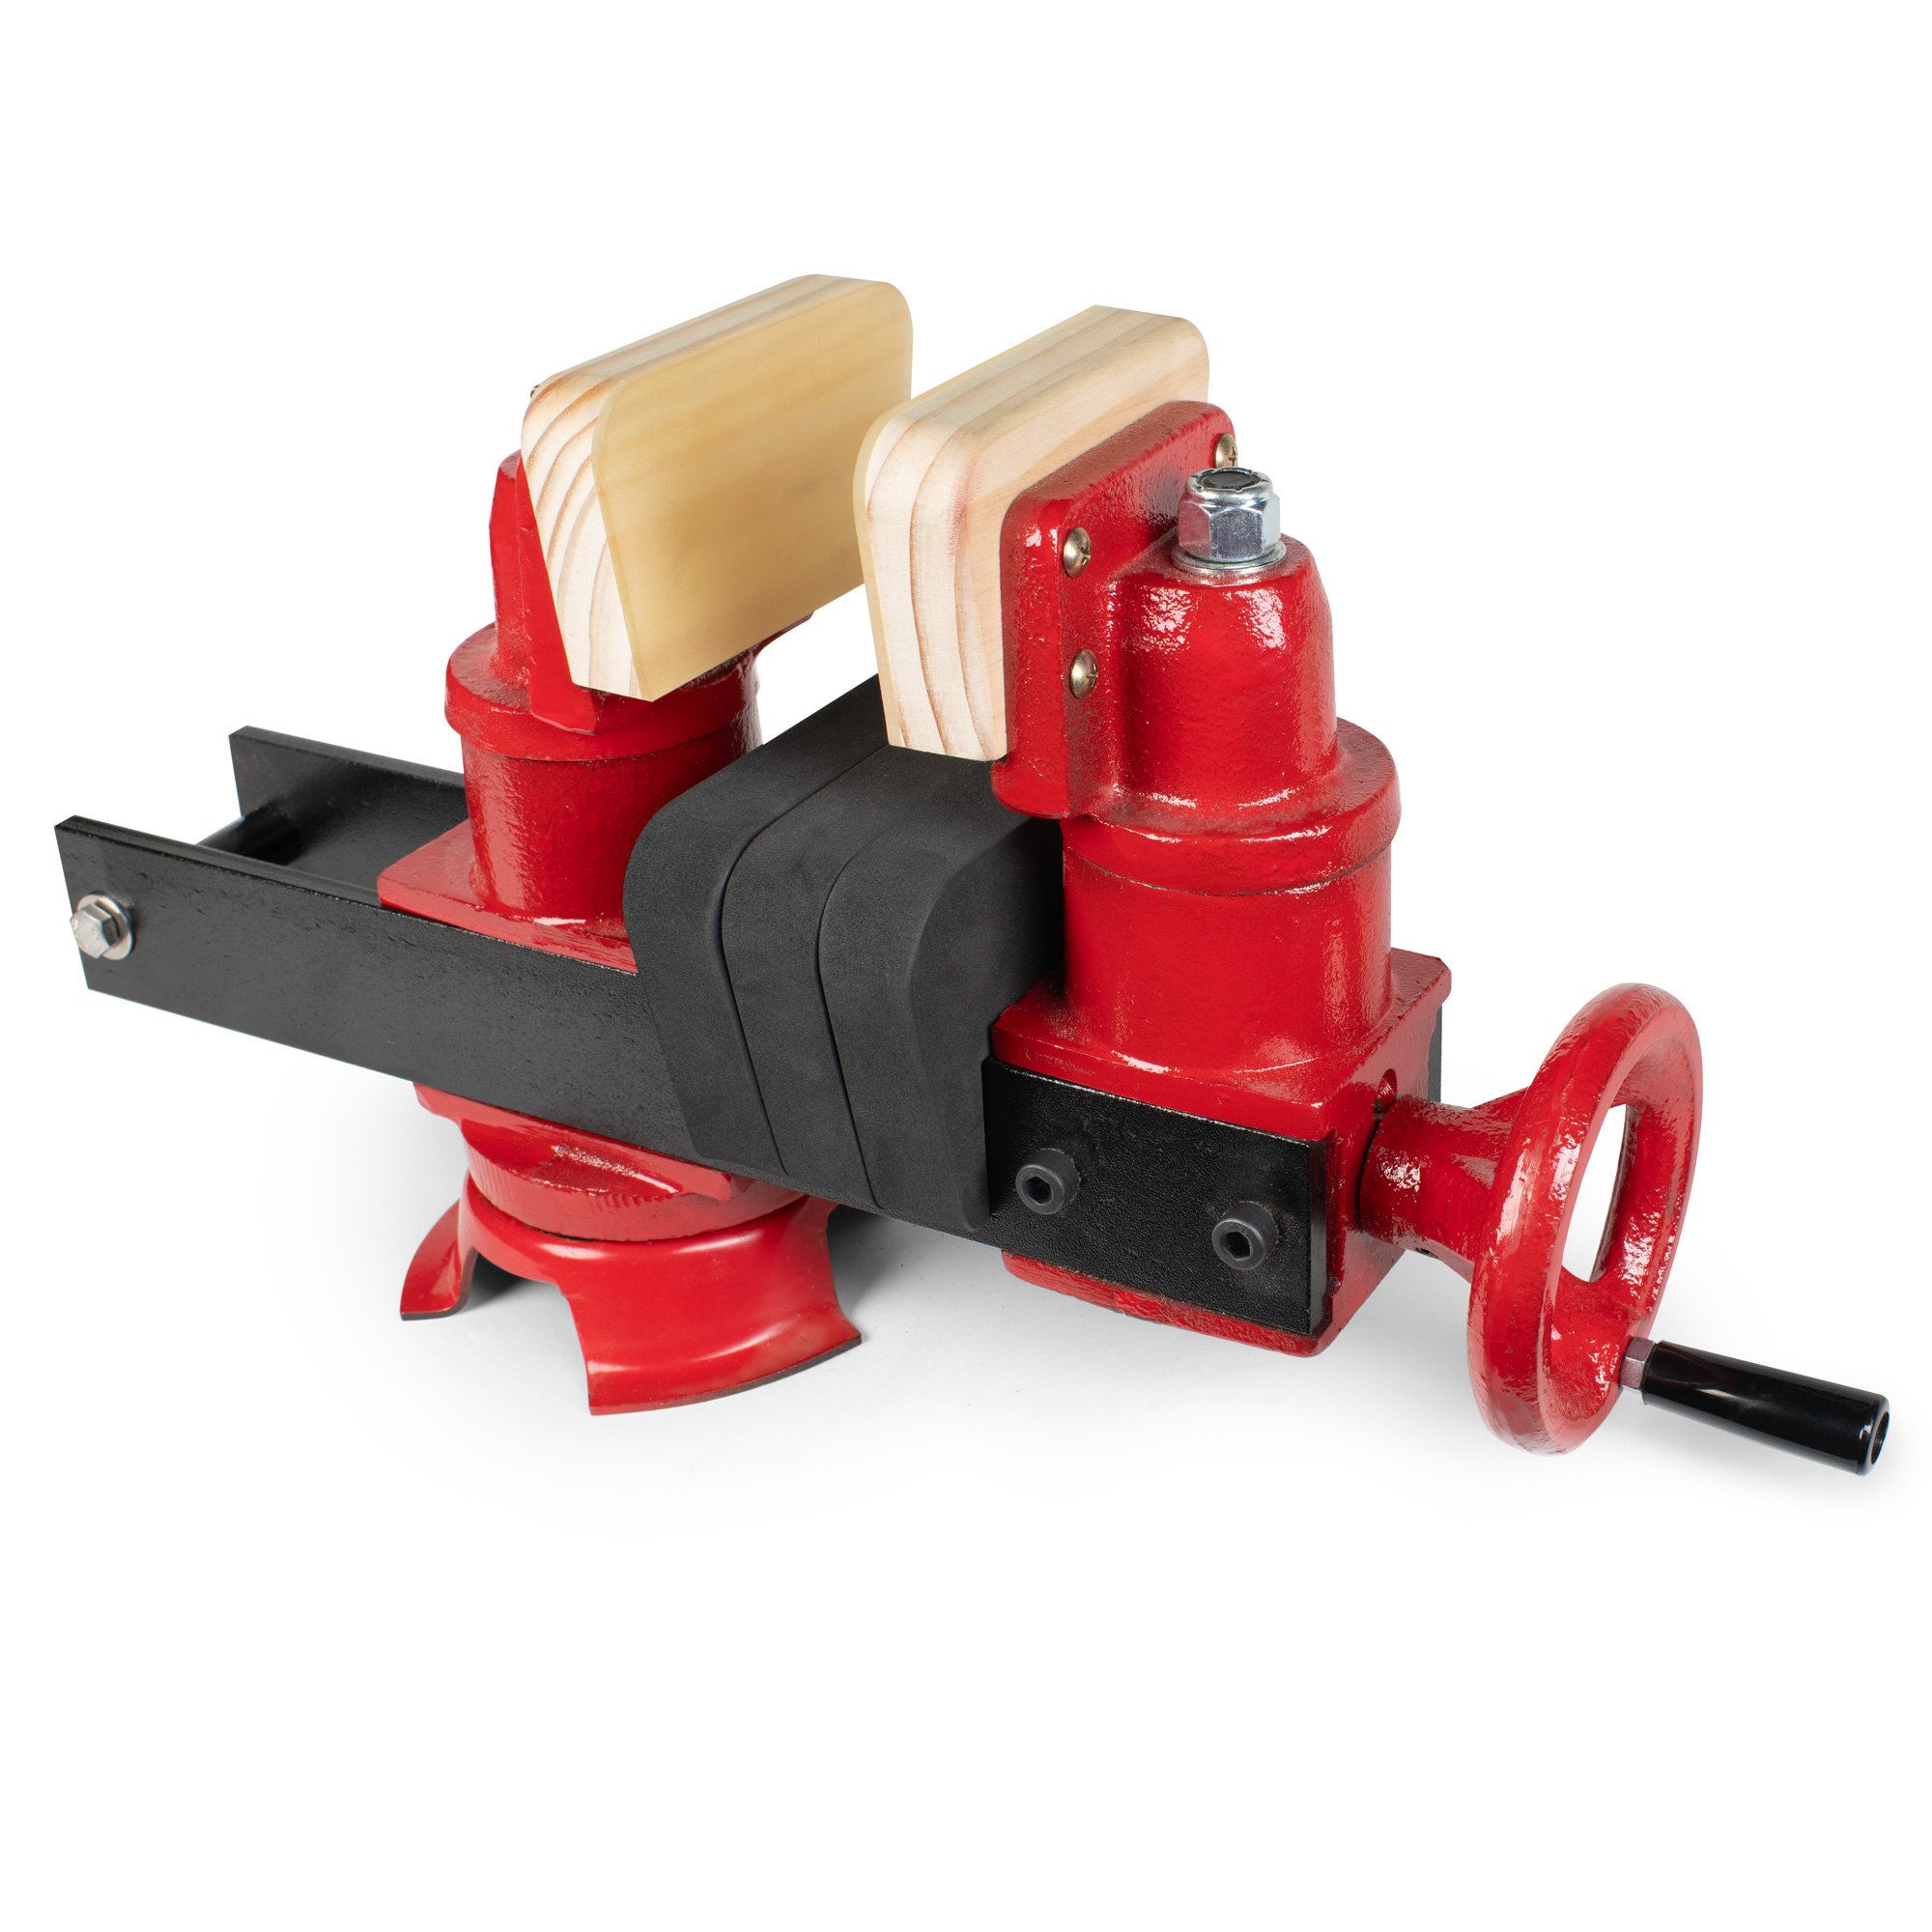
Erick Coleman: Here's a really cool guitar. It's a Rickenbacker 480 [on-screen text reads: Regluing A Ric Fretboard], built in the seventies and I really like these because they resemble the Rickenbacker 4000 series basses, but it's a guitar, so it's really, really neat. This particular guy has had hard life on the road. In addition to some modifications like pickups, it suffered some structural damage as well. In particular, the fingerboard has separated on the bass side of the neck, all the way down to around the 12th fret area here and it's solid, so there's some obstruction in there. This thing's not going to move and I need to figure out why that is. [Erick secures the neck of the guitar in a vice] It's not uncommon to see Rickenbacker truss rods messed up like this [on-screen text reads: StewMac Guitar Repair Vise]. They're pretty delicate. They're actually flat stock that is threaded, so they're prone to getting bent and chewed up in many different ways very easily.
Remove the truss rod
So what you need to do is remove these so you can clean them up, shorten them, whatever you're going to do in order to repair them. So they were installed through the heel and I'm going to remove them through the neck. It seems to be... I've taken a bunch of these out over the years and it seems that they want to come out the direction that they're going in. It would make sense to tap them out of the heel, but I always get the impression they just want to keep going through. So I'm going to remove them out the peghead end, tapping from the heel.
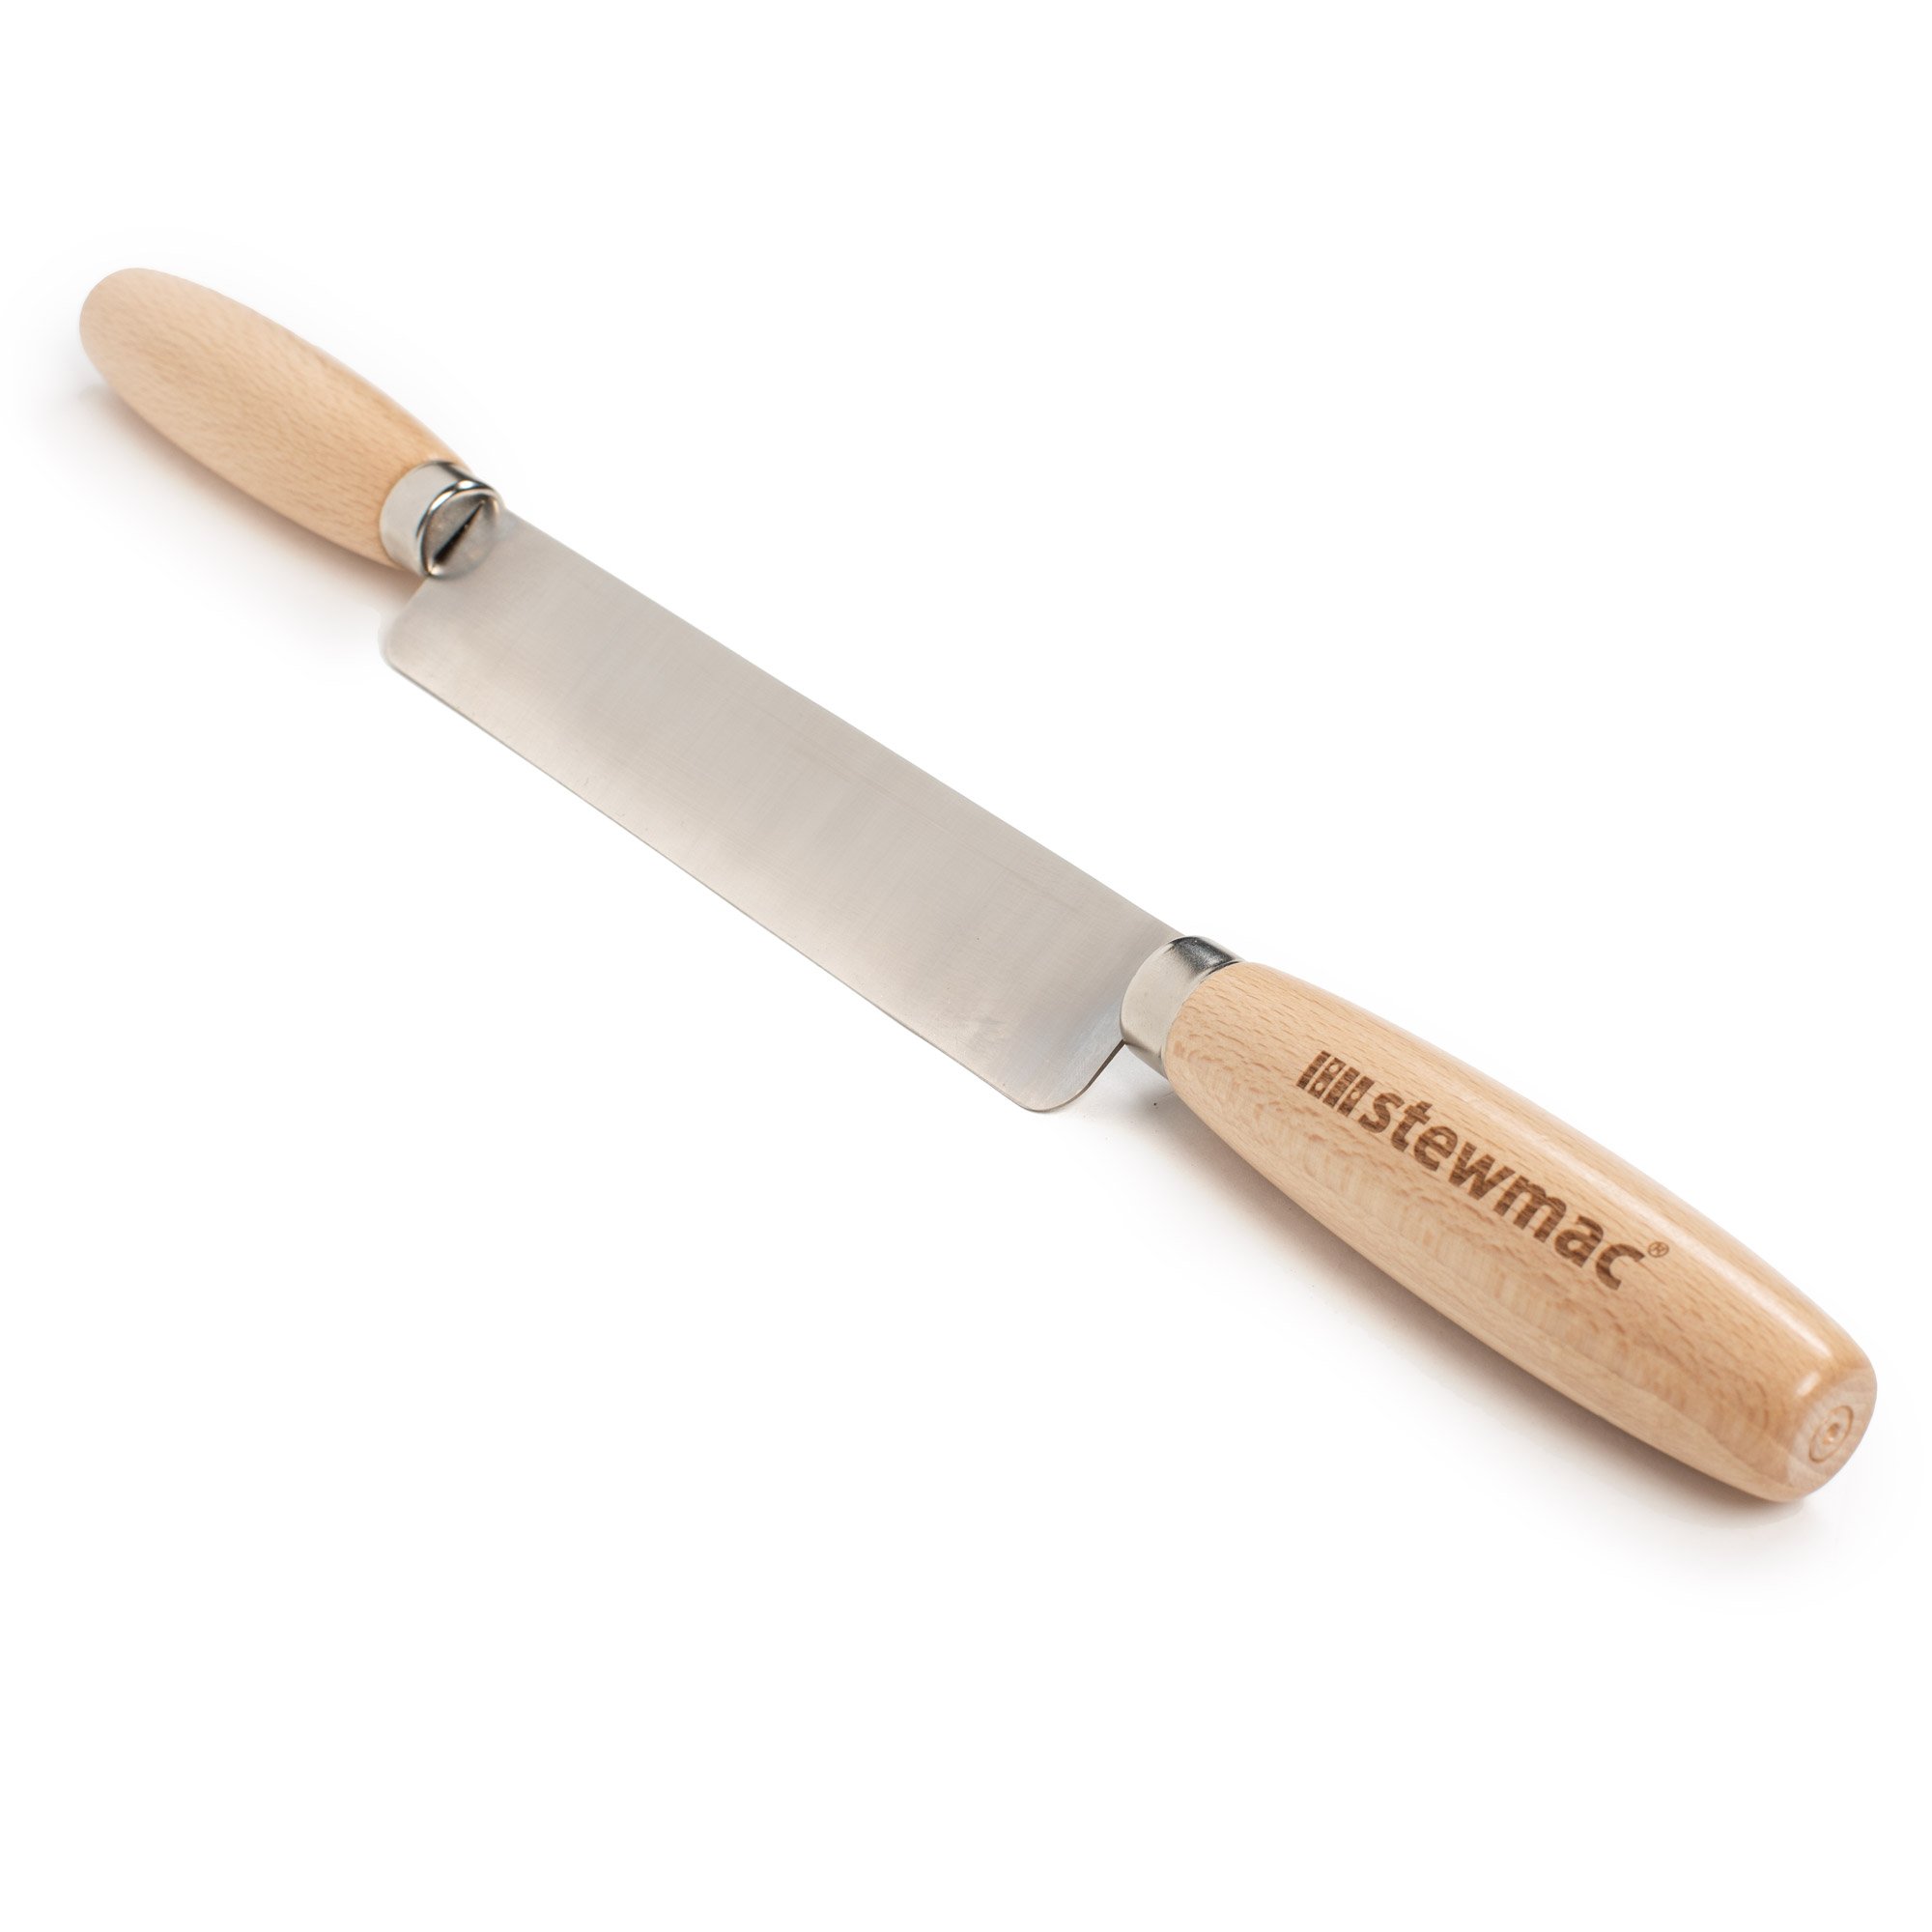
I've modified a Seam Separation Knife to fit in this cavity and what it does is it helps guide the rods out when you're tapping them out and keeps them from bashing into the wood, chewing up the finish and what not. Now I'm going to tap these out. I'm using a section of truss rod that I just cut down to size. Might even put a little bend in it a little bit to see, depending on how these come out. I go a little at a time on each one. All right, before I get any further, I'm going to put this Double Cam Clamp on because I don't want to put any additional pressure on the glue joint here, possibly causing it to separate as it is down on the heel end. All right, well I'm going to continue tapping. I should be able to get on this guy and pull it out.
There we go. Now we continue with the other one. Rest here. The damage portion is only about five eights of an inch long. So what I'm going to do is cut these back that distance and re-thread them [Erick is using a Thread Cutting Die to rethread the rod] before reinstalling them and losing that little bit of length off the rod won't affect the adjustability at all. I'm going to be removing the fretboard because it still wouldn't close up, that obstruction still wouldn't close up. And what I want to do is remove the first and last fret [Erick touches the first fret with a Soldering Iron and pulls it out with a Fret Puller], so I can install indexing pins. That'll allow me to put this board back on straight without any issues when I go to reattach it.
Remove the fretboard
When removing a fretboard, I like to use a regular clothes iron. The heat transfers to the frets right into the center of the board and softens up the glue quickly and need to heat it up for several minutes and then just slowly start working the knife in. As I start separating the board, I'll move the iron down as I work my way down the board. All right, I'm going in where the seam is already separated. I'm going to start working this knife in, the glues are already softening up. I started with the Seam Separation Knife because it's wedge shaped and very sharp on the leading edge.
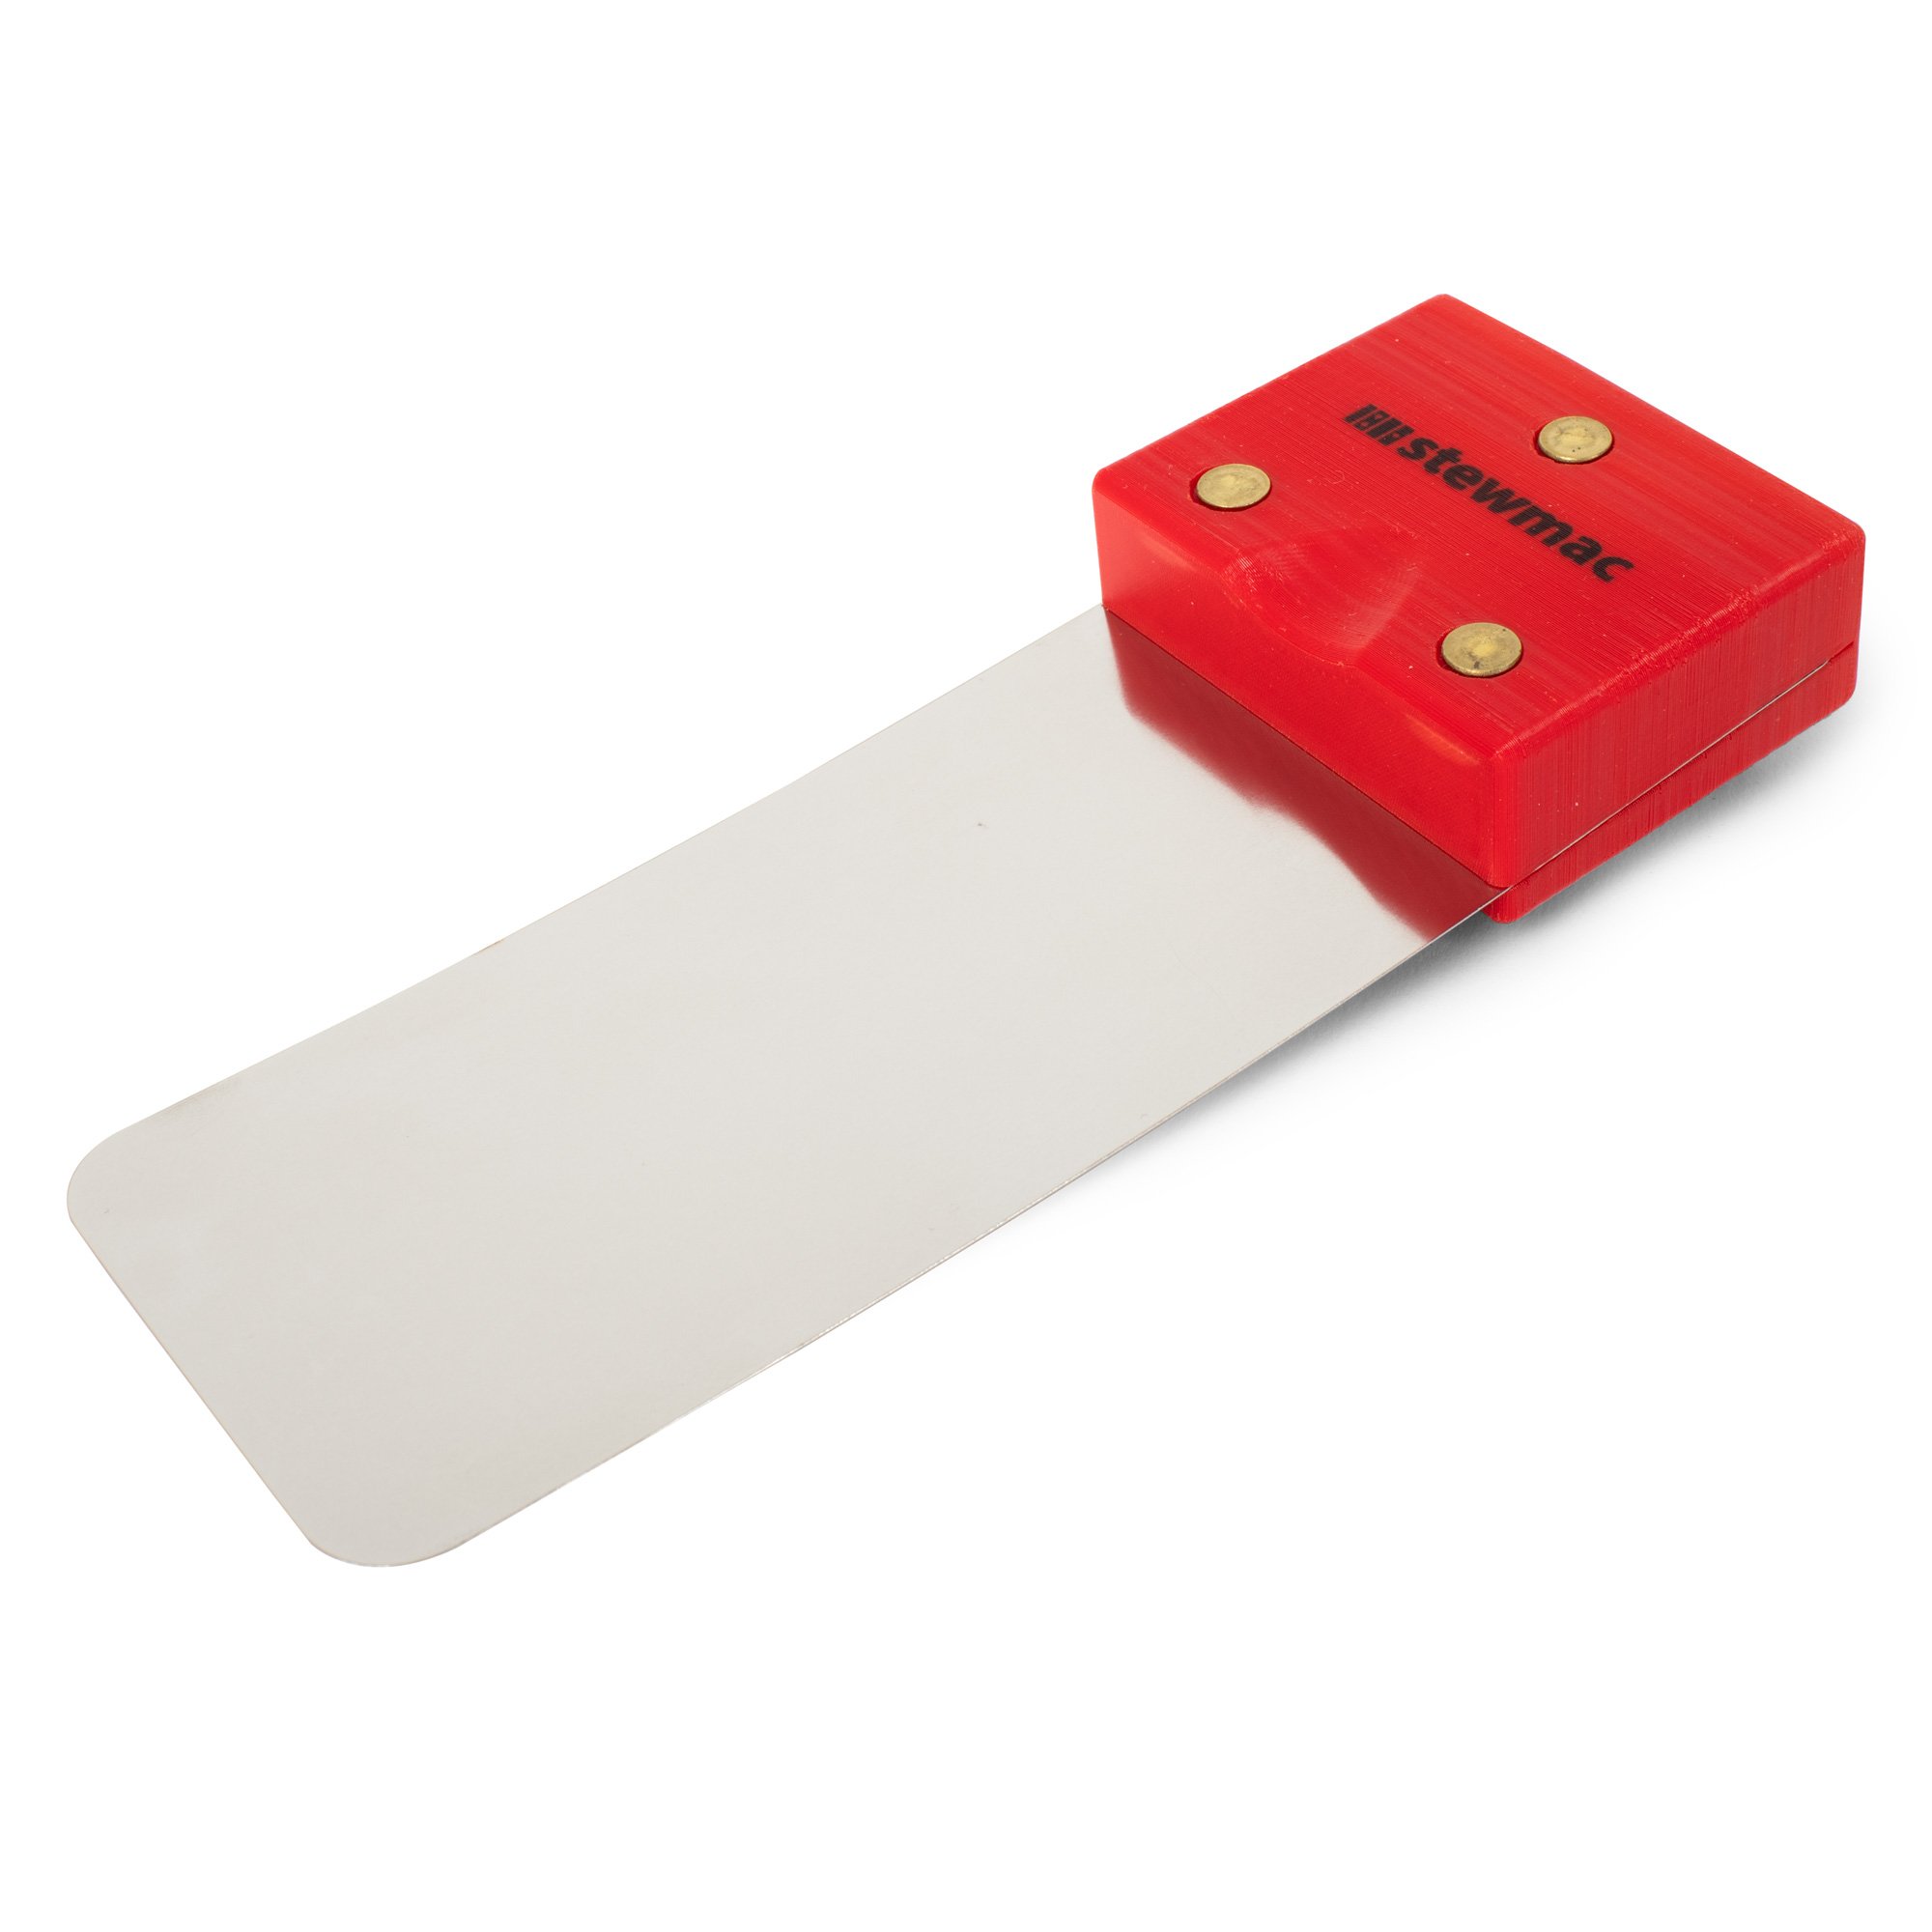
Then I switched to this bridge removal blade [on-screen text reads: Bridge Spatula] because it's wide and it's thin and makes it easier to just get underneath the fretboard and work my way all the way down. And I'm watching the inlays come loose here from the heat and they're starting to rise up out of their holes there. So what I'm going to do with these is once they're at a certain height, I'm going to go ahead and remove the iron, grab a sharp knife, like an X-Acto or something, I'm just going to carefully take these guys out, so they don't risk, I don't risk touching them to the iron. All right, the fingerboard is off, came off pretty clean. I got some paint chipping in stuff, but that's to be expected. You can see my indexing pin hole here. And then you can see Rickenbacker's indexing pin.
And the problem is right here, they just didn't get enough glue on the neck when they were gluing the fretboard on and it never attached. So the truss rod lifted it up and it probably got some glue or some kind of debris in there that kept it from seating down properly. I'm going to clean out these slots and reattach this fretboard. I brushed water on to help soften up the glue a little bit, so it could be scraped off easier. But this stuff is pretty stubborn. It had been on the neck for several decades, a few decades, and it didn't want to come off easily and I didn't really want to introduce too much more moisture to the fingerboard, so I didn't want it to swell up or warp or twist or anything like that.
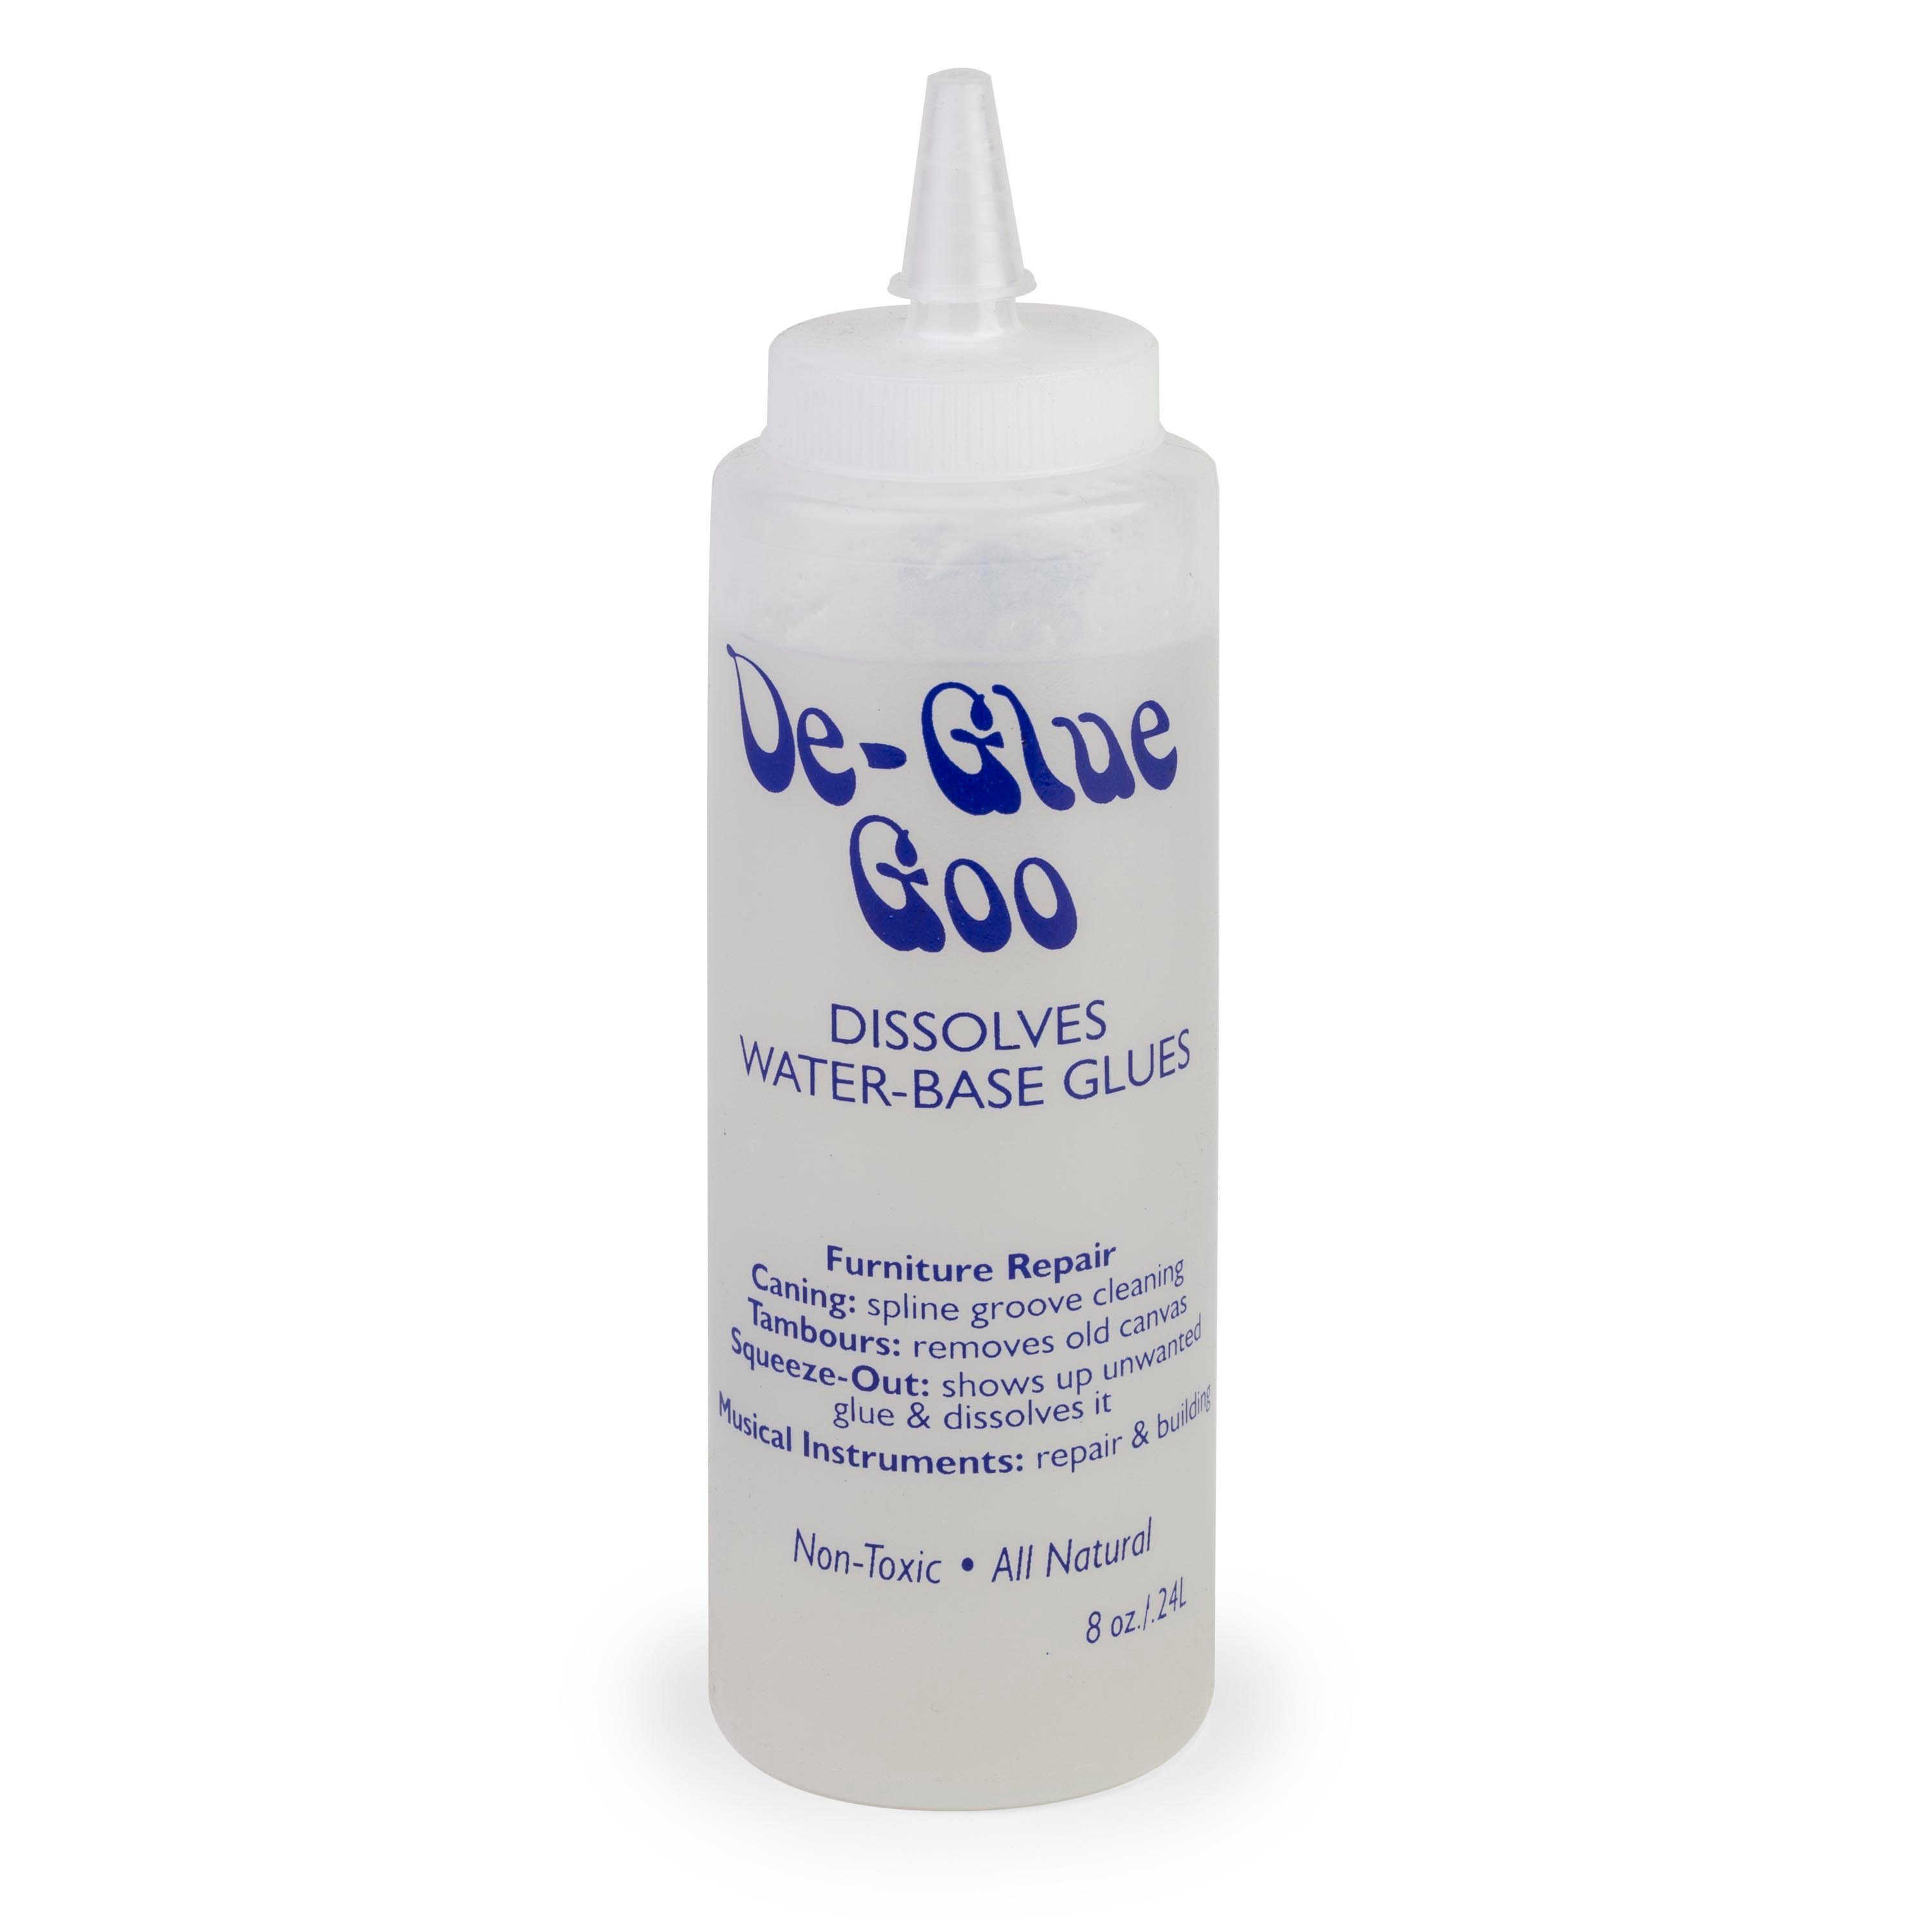
So I ended up using De-Glue Goo, spread that onto the fingerboard and through the neck surface, wrapped it in Saran wrap for about 10 minutes, and then any remaining glue came right off. And I had two very clean surfaces that had been mated together for years. So I really didn't feel it was necessary to do any additional preparation or sanding on those. Wanted to just get them right together as they were.
Reglue the fretboard
All right, this neck has been sitting overnight and it's really dried out and ready to go. Both surfaces are very clean. No further preparation is needed. You'll notice that the indexing pins have been installed in the neck. We drilled for those yesterday.
And I also have tape over the truss rod slots, so no excess glue gets in there while I'm spreading it with a brush. I also have Teflon rods in there to prevent any squeeze out from when I attach the board, from going into the channels as well. I think I'm ready to start spreading glue. Regular Titebond is fine for this job. Use a good amount, you're going to want to get good squeeze out all the way around. All right, I got glue spread sufficiently on the fretboard. Now I'm going to remove the tape. You'll see that the tape, there's no glue actually running into the channel at this point.
So now I'm going to put the board in place. And just with hand pressure, I'm going to clamp out as much, squeeze out as I can and clean that up, so I don't have to mess with it later. As I'm going, I'm wiping off again, as much squeeze out as I can [on-screen text reads: Rubber Clamping Bands]. I ended up using two rubber bands and I got a really good clamp [Erick wraps the entire fingerboard with the clamping bands]. I'm going to let the glue dry overnight. Then I'll remove the bands and the Teflon rods and I'll reinstall the truss rods just like we took them out through the peghead end. Then I'll reassemble the guitar, put it in the neck jig for a fret level and dress, and this guy's going to be ready to go.


