Upgrading guitar tuners: what you need to know
Issue 261 May 05, 2016
Will you need to drill holes in your guitar if you put new tuners on it? How do you figure out which tuners are an easy fit and which require more work? What about keeping the old tuners for resale value? We get questions, and Erick Coleman has answers.
- Two types: vintage tuners compared to sealed tuners
- When is it necessary to drill?
- Stashing original tuners for later resale
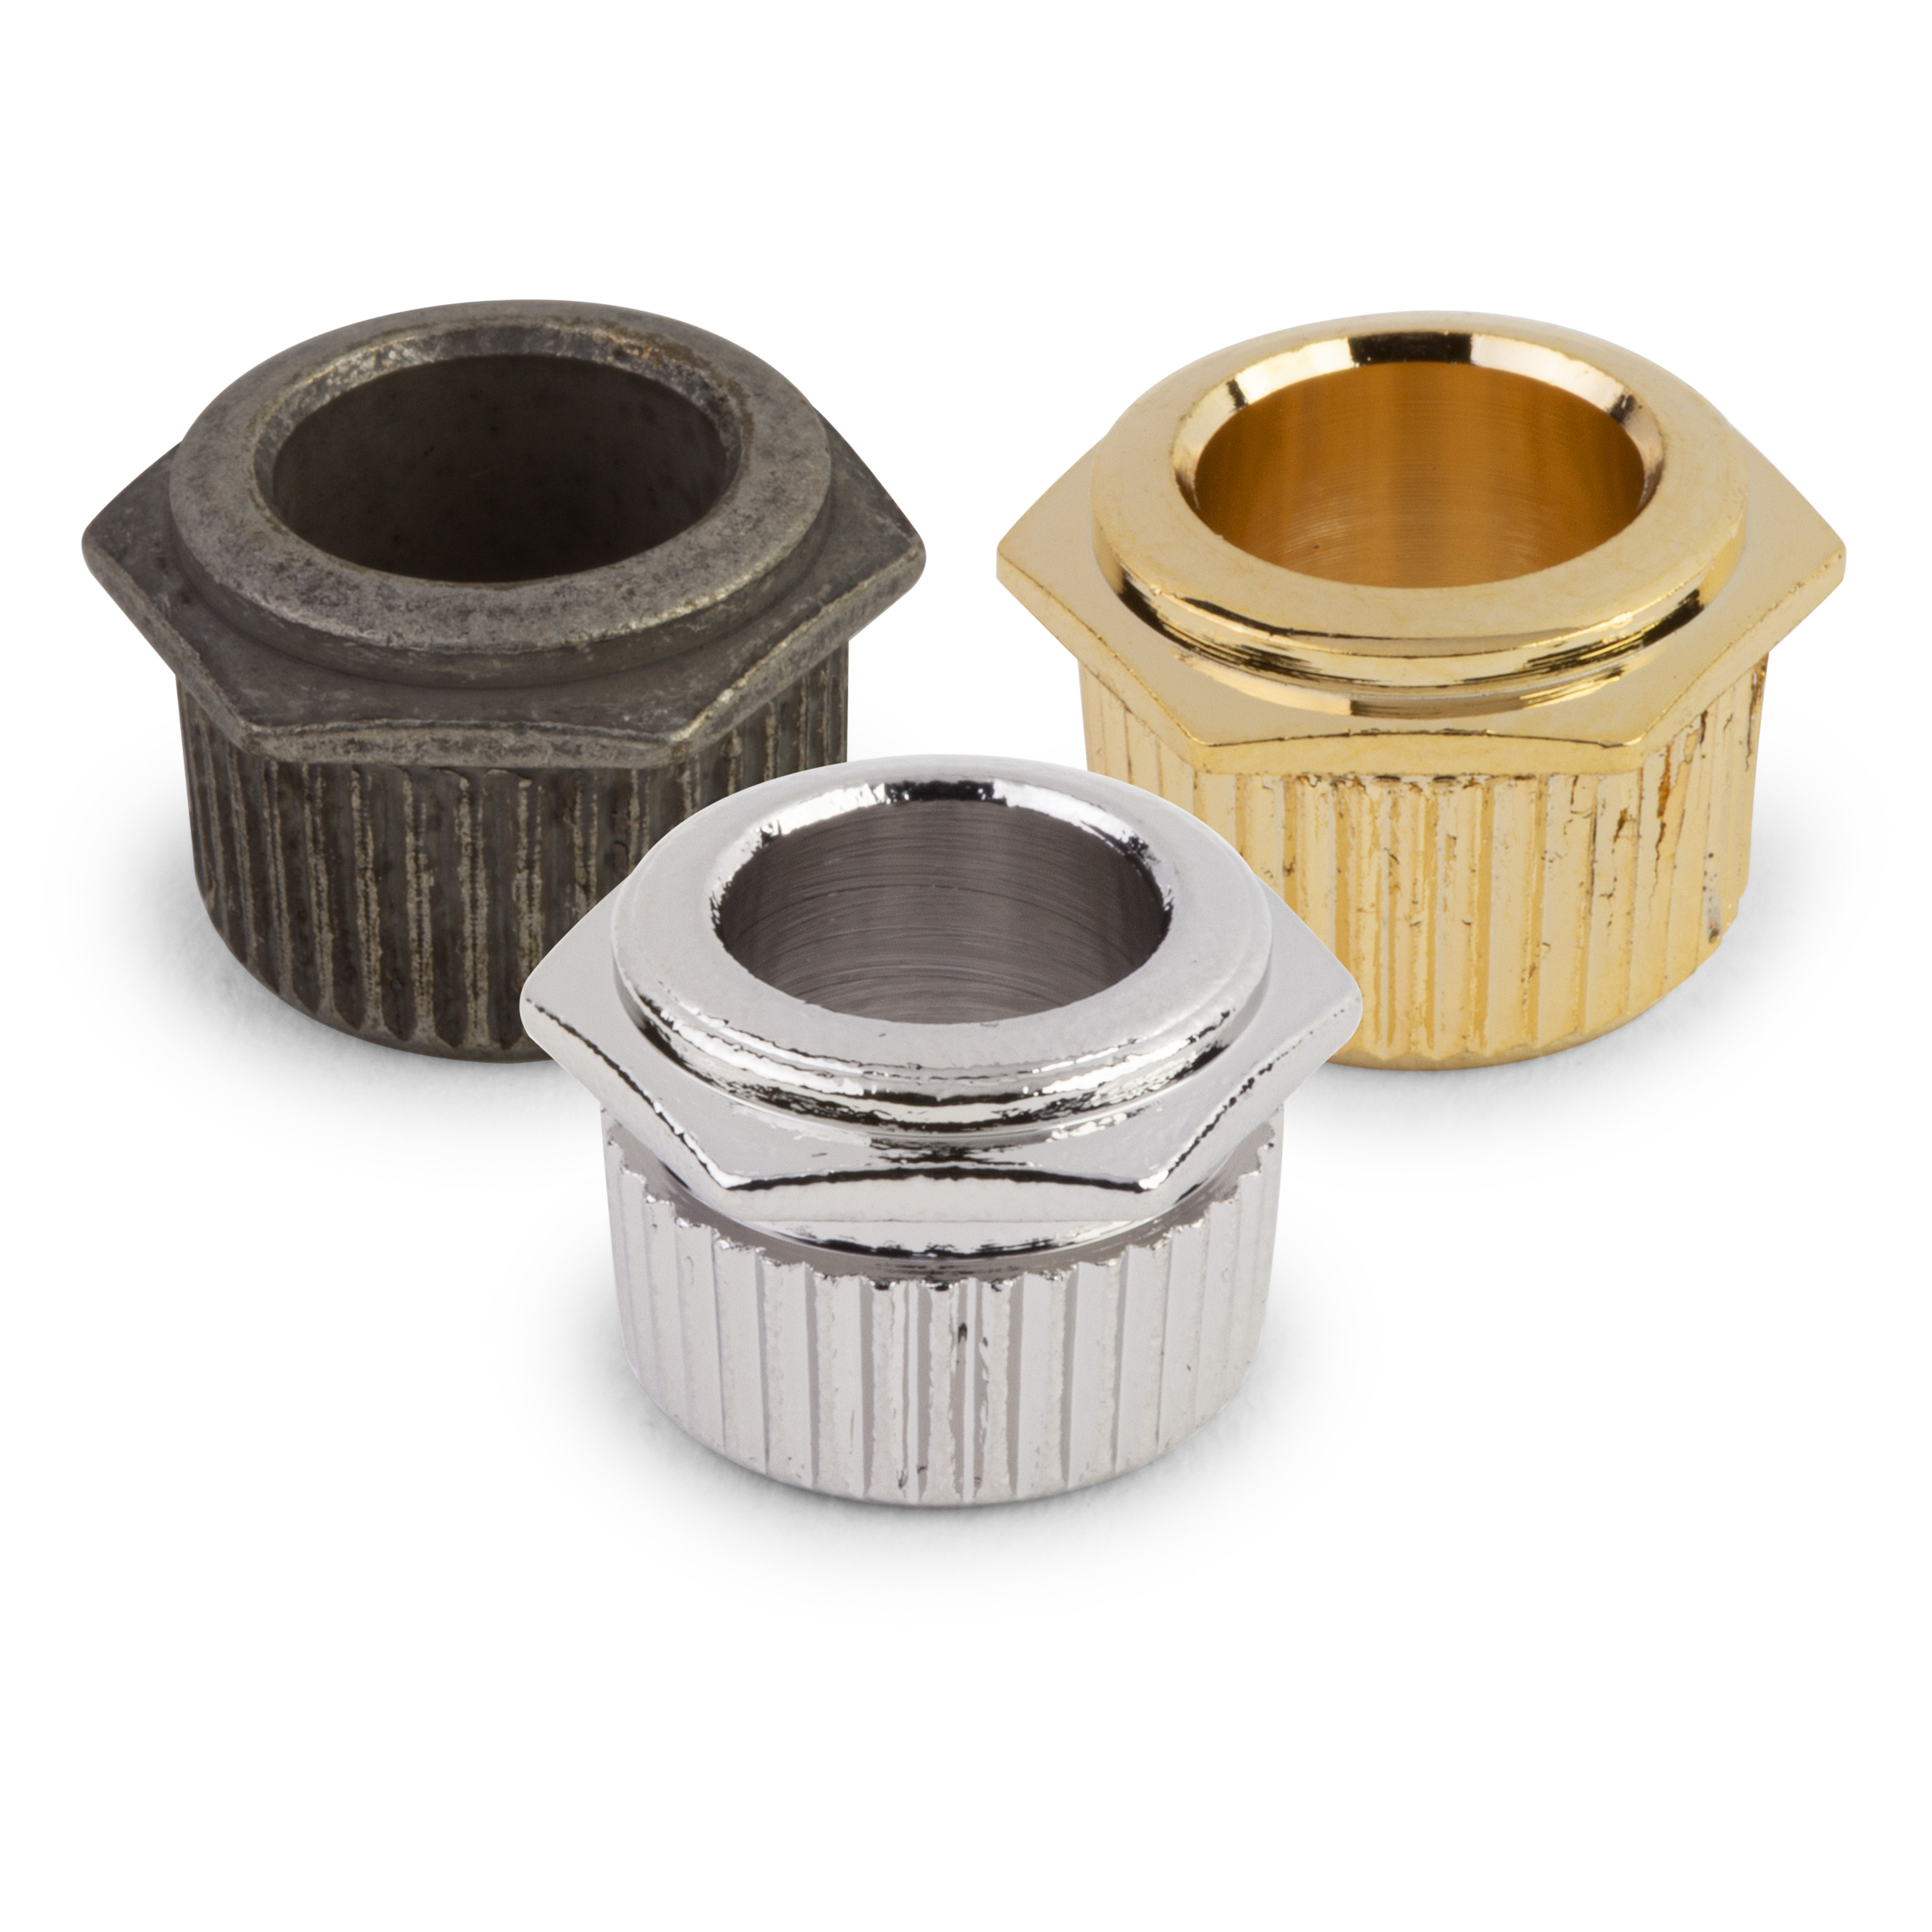
- Retrofit bushings: reverting to vintage tuners
Here's what's covered in the video:
With so many tuner choices on the market, upgrading to a new machine can be kind of confusing. Unless you are changing to a machine with the exact same specs as the one you removed, some modifications will be necessary to your guitar in order to install them. That could be enlarging the pegholes, drilling additional mounting screw holes, or in some cases using bushings to shrink down enlarged pegholes.
Identifying Your Tuners
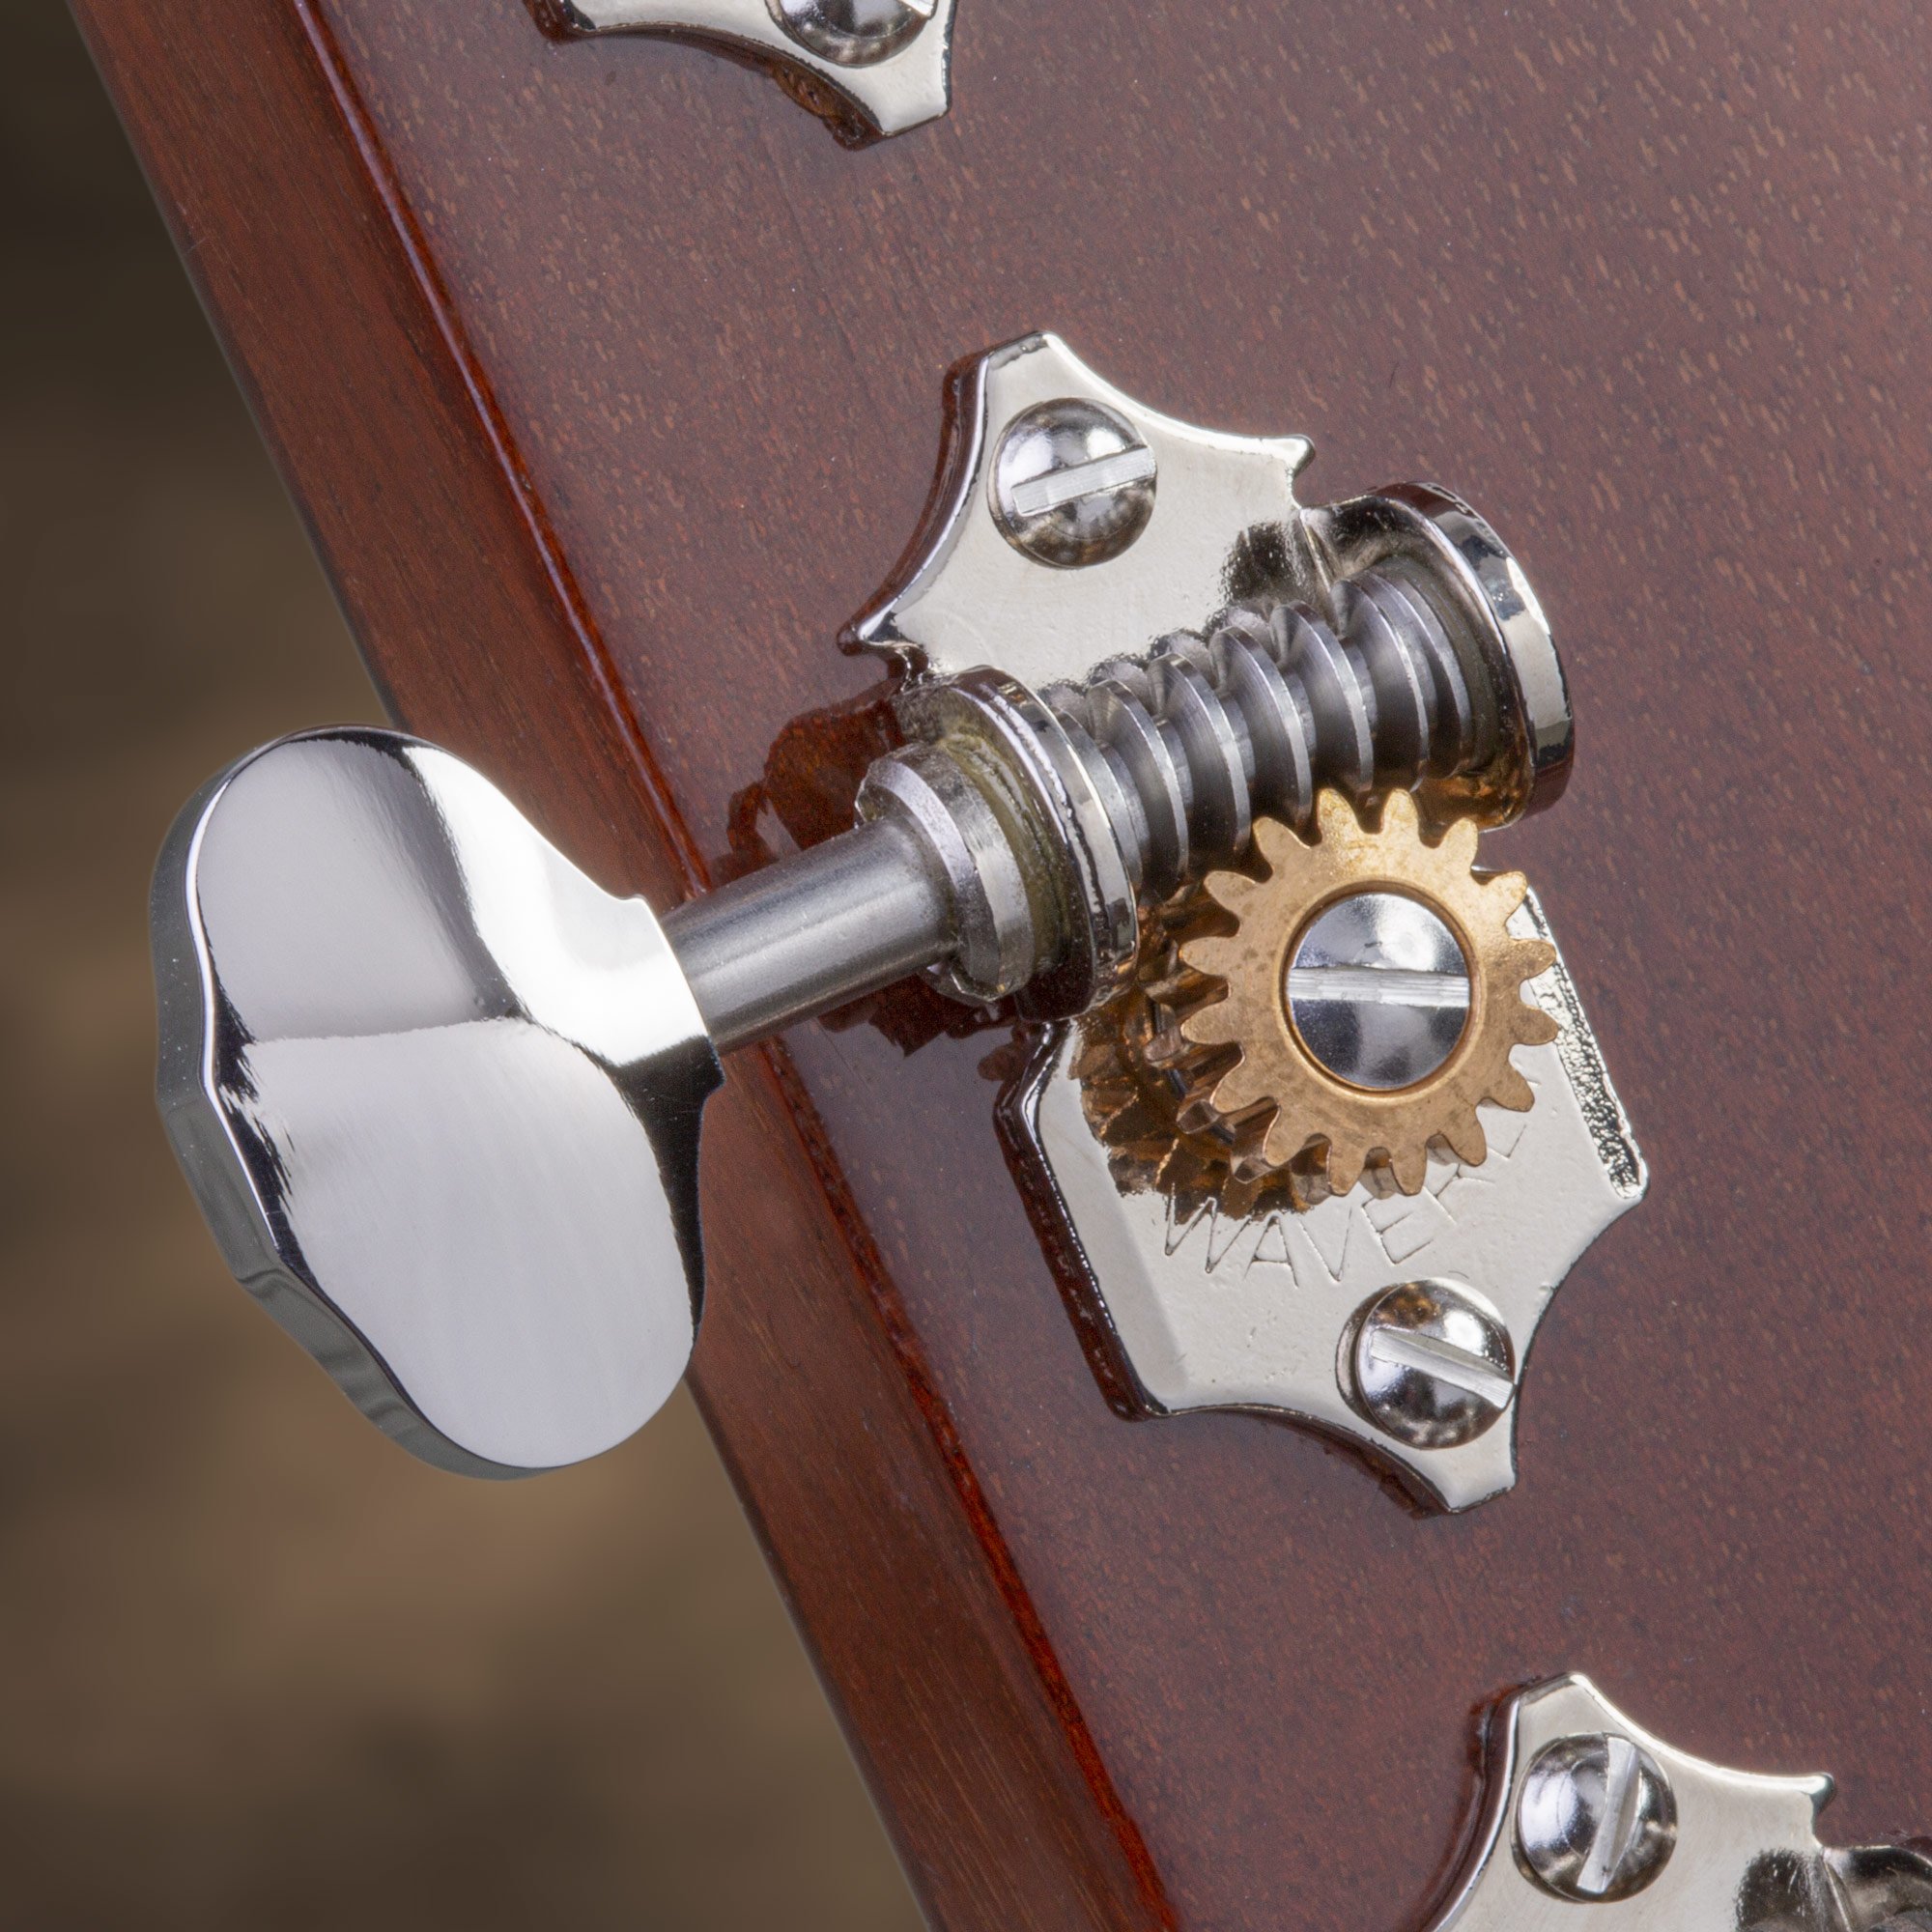
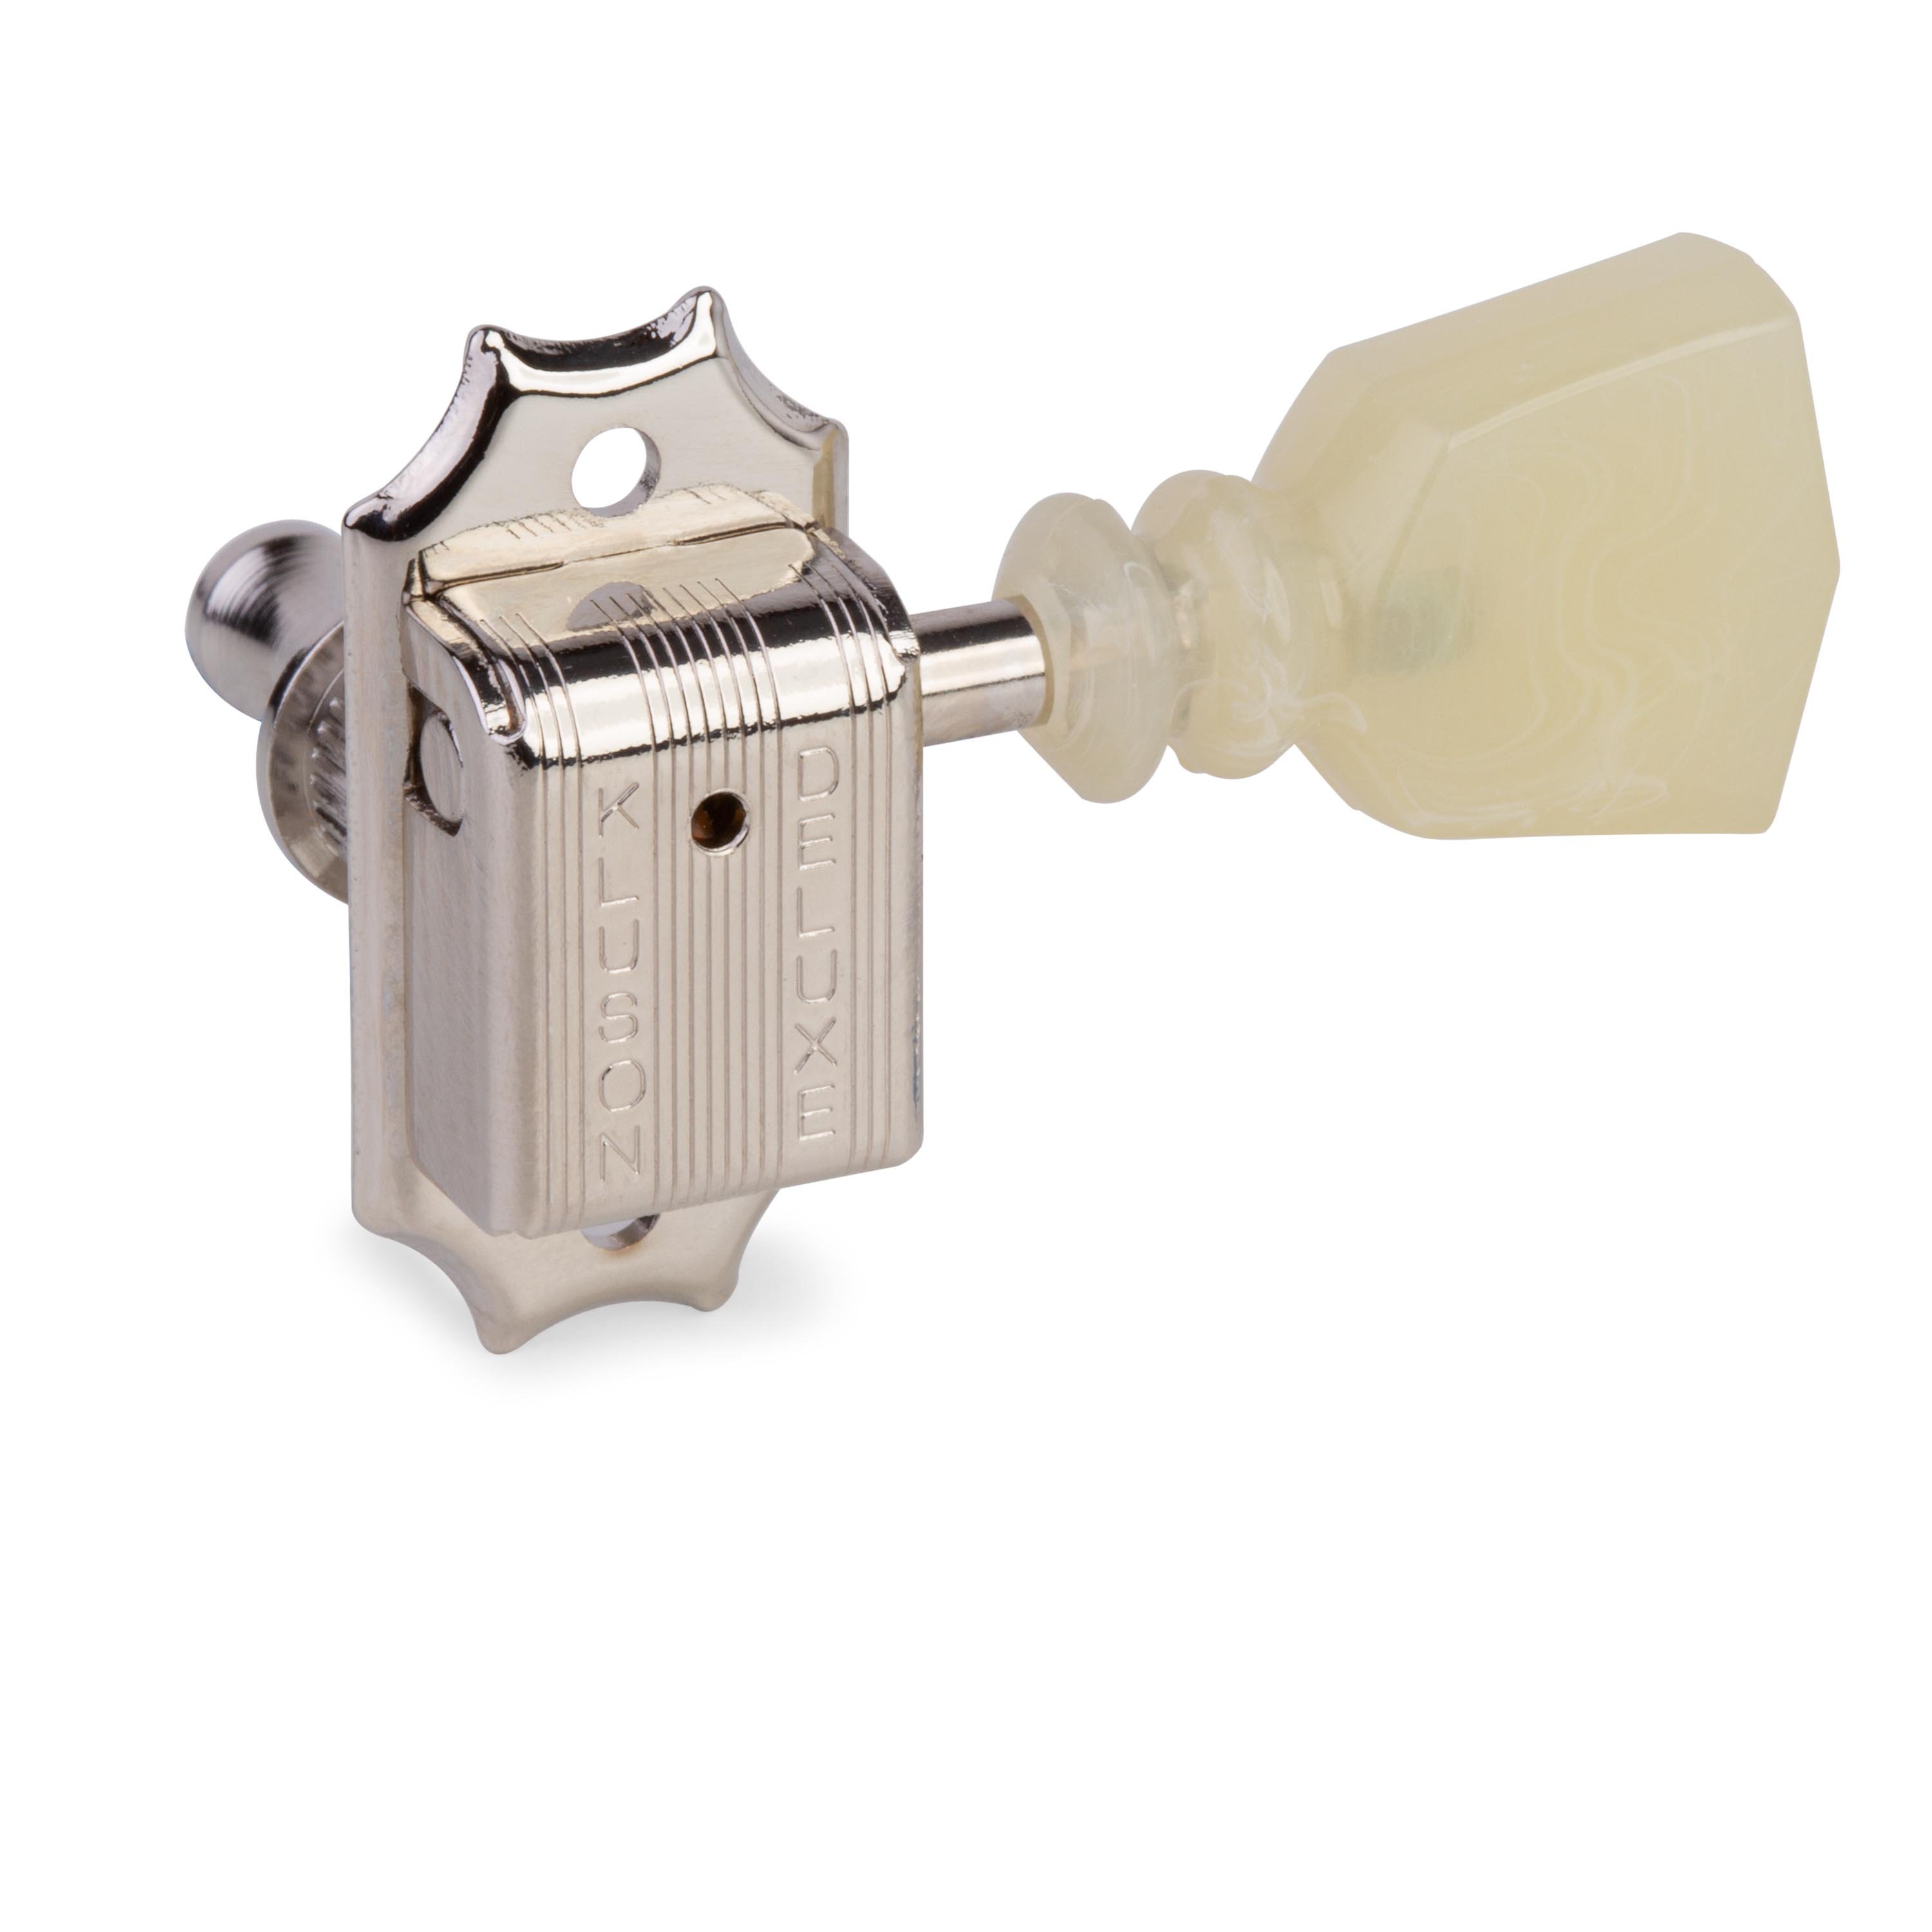
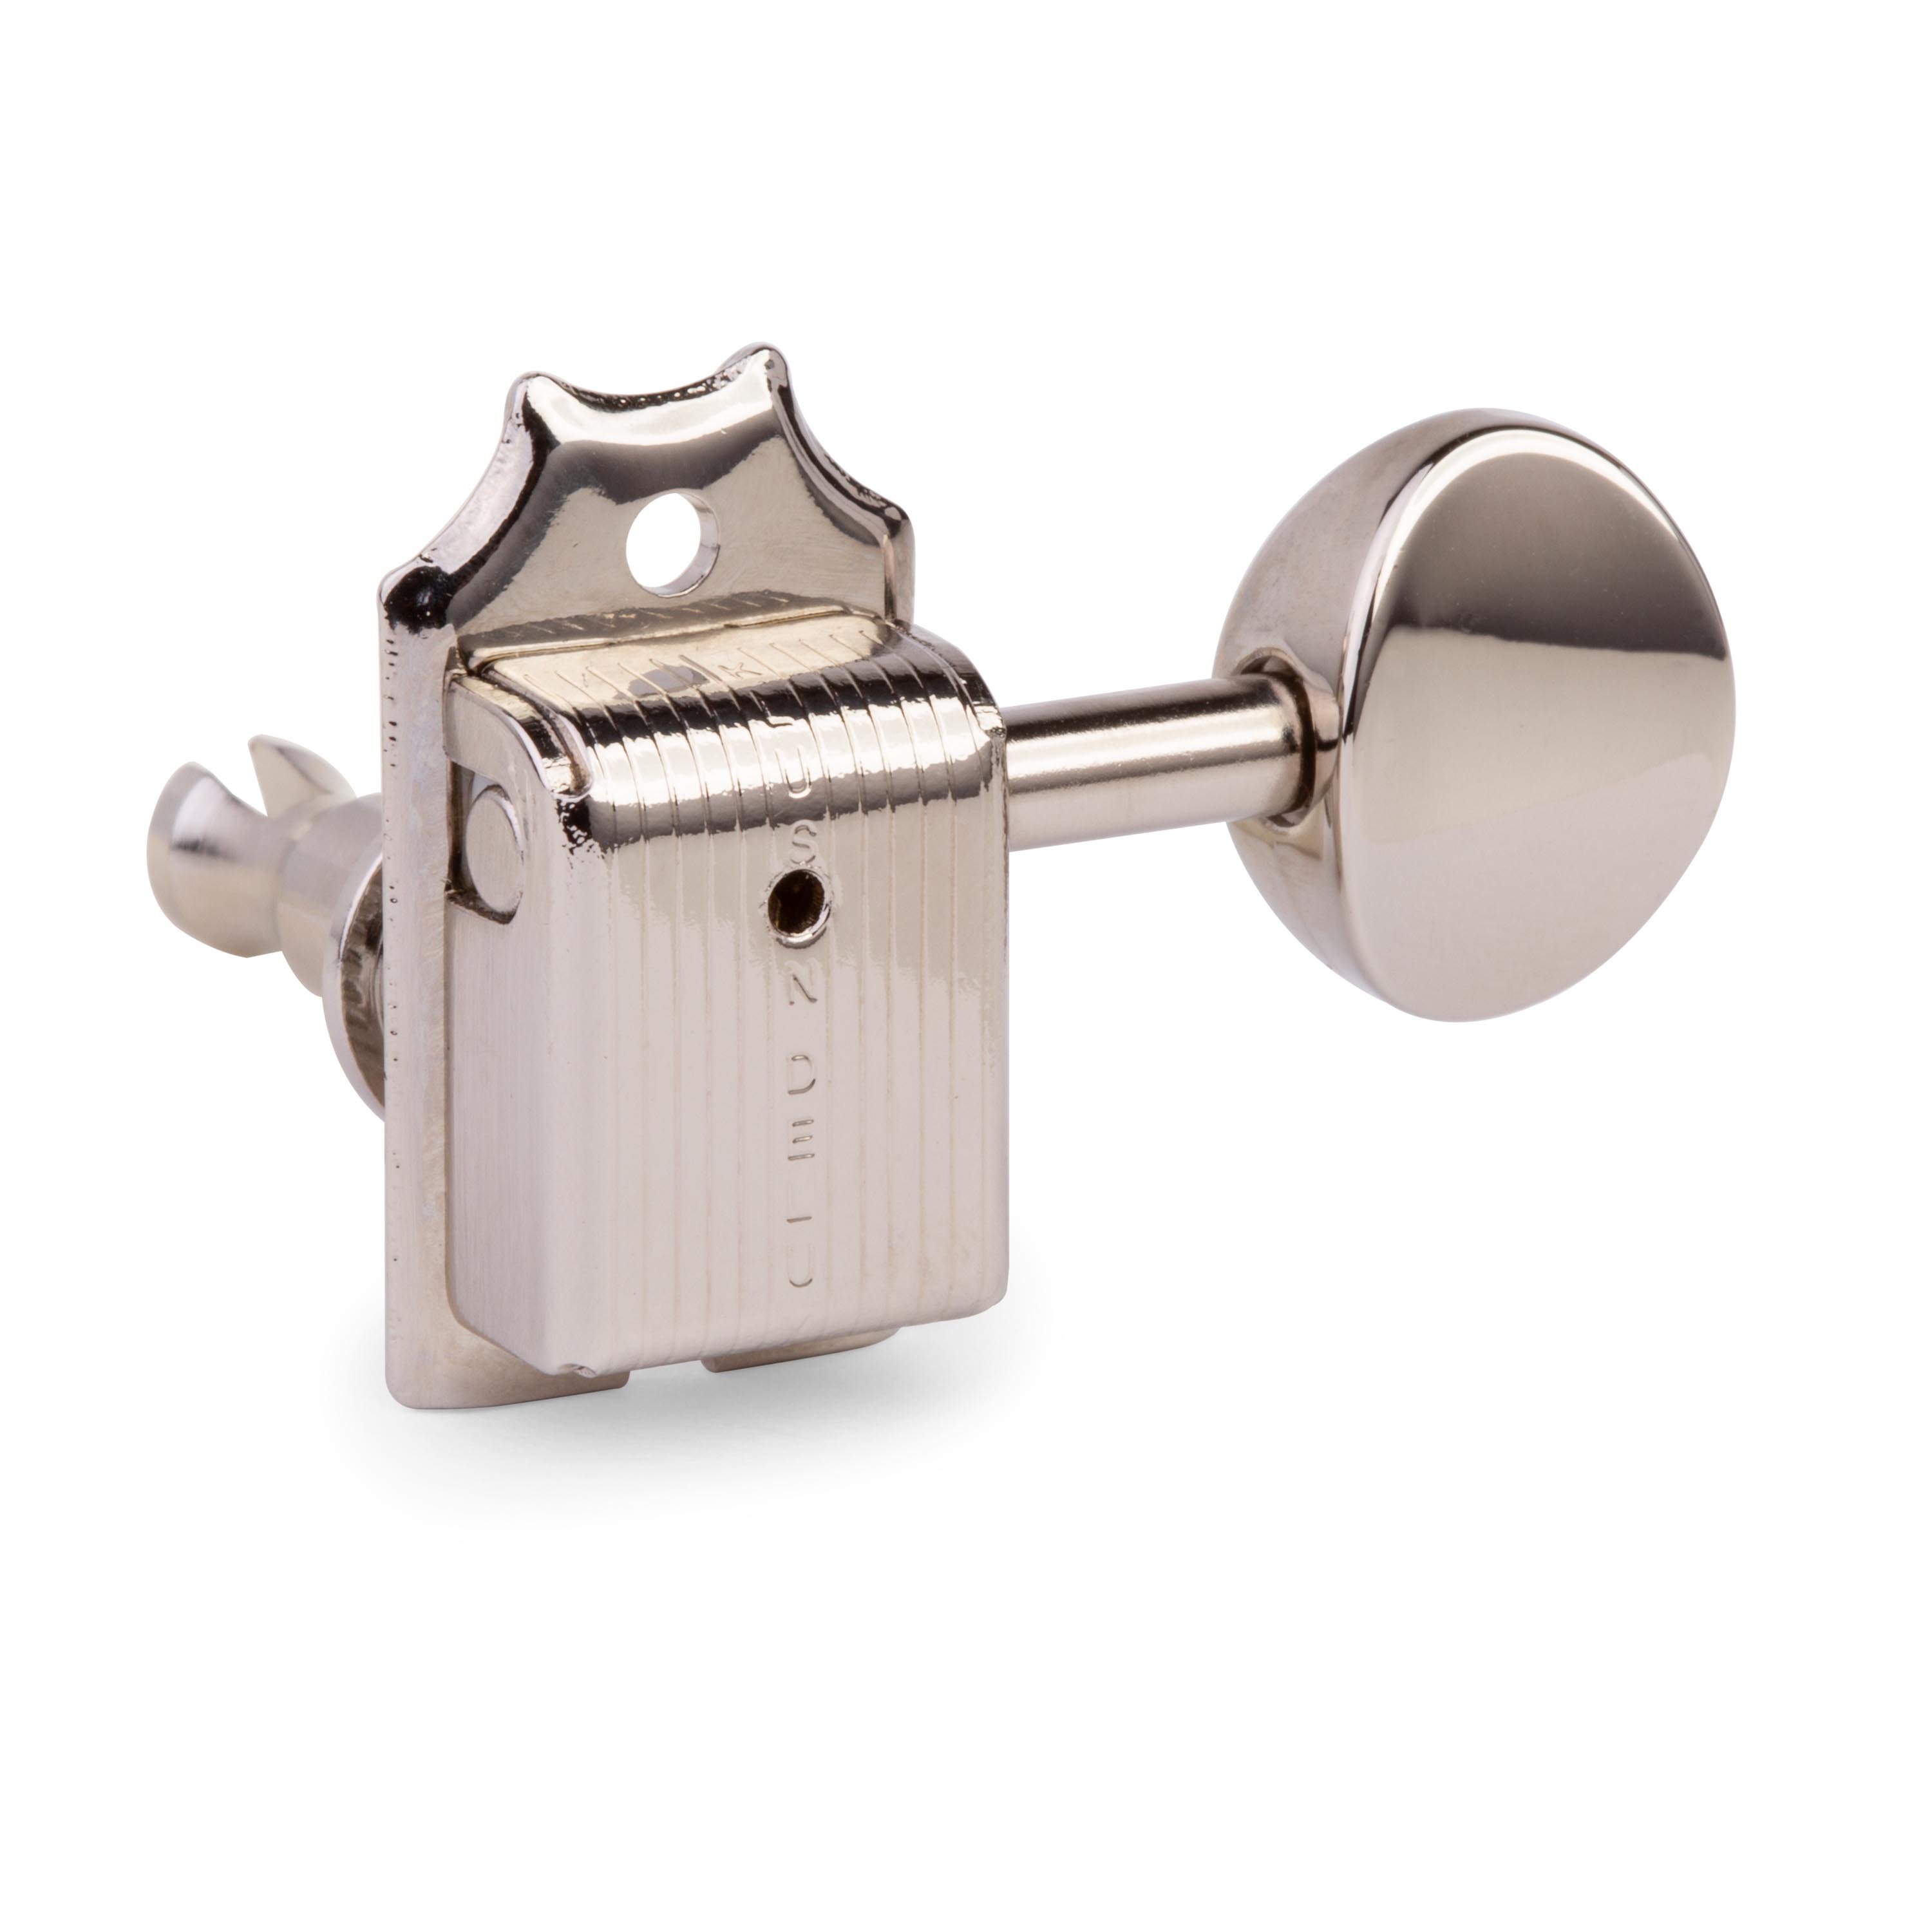
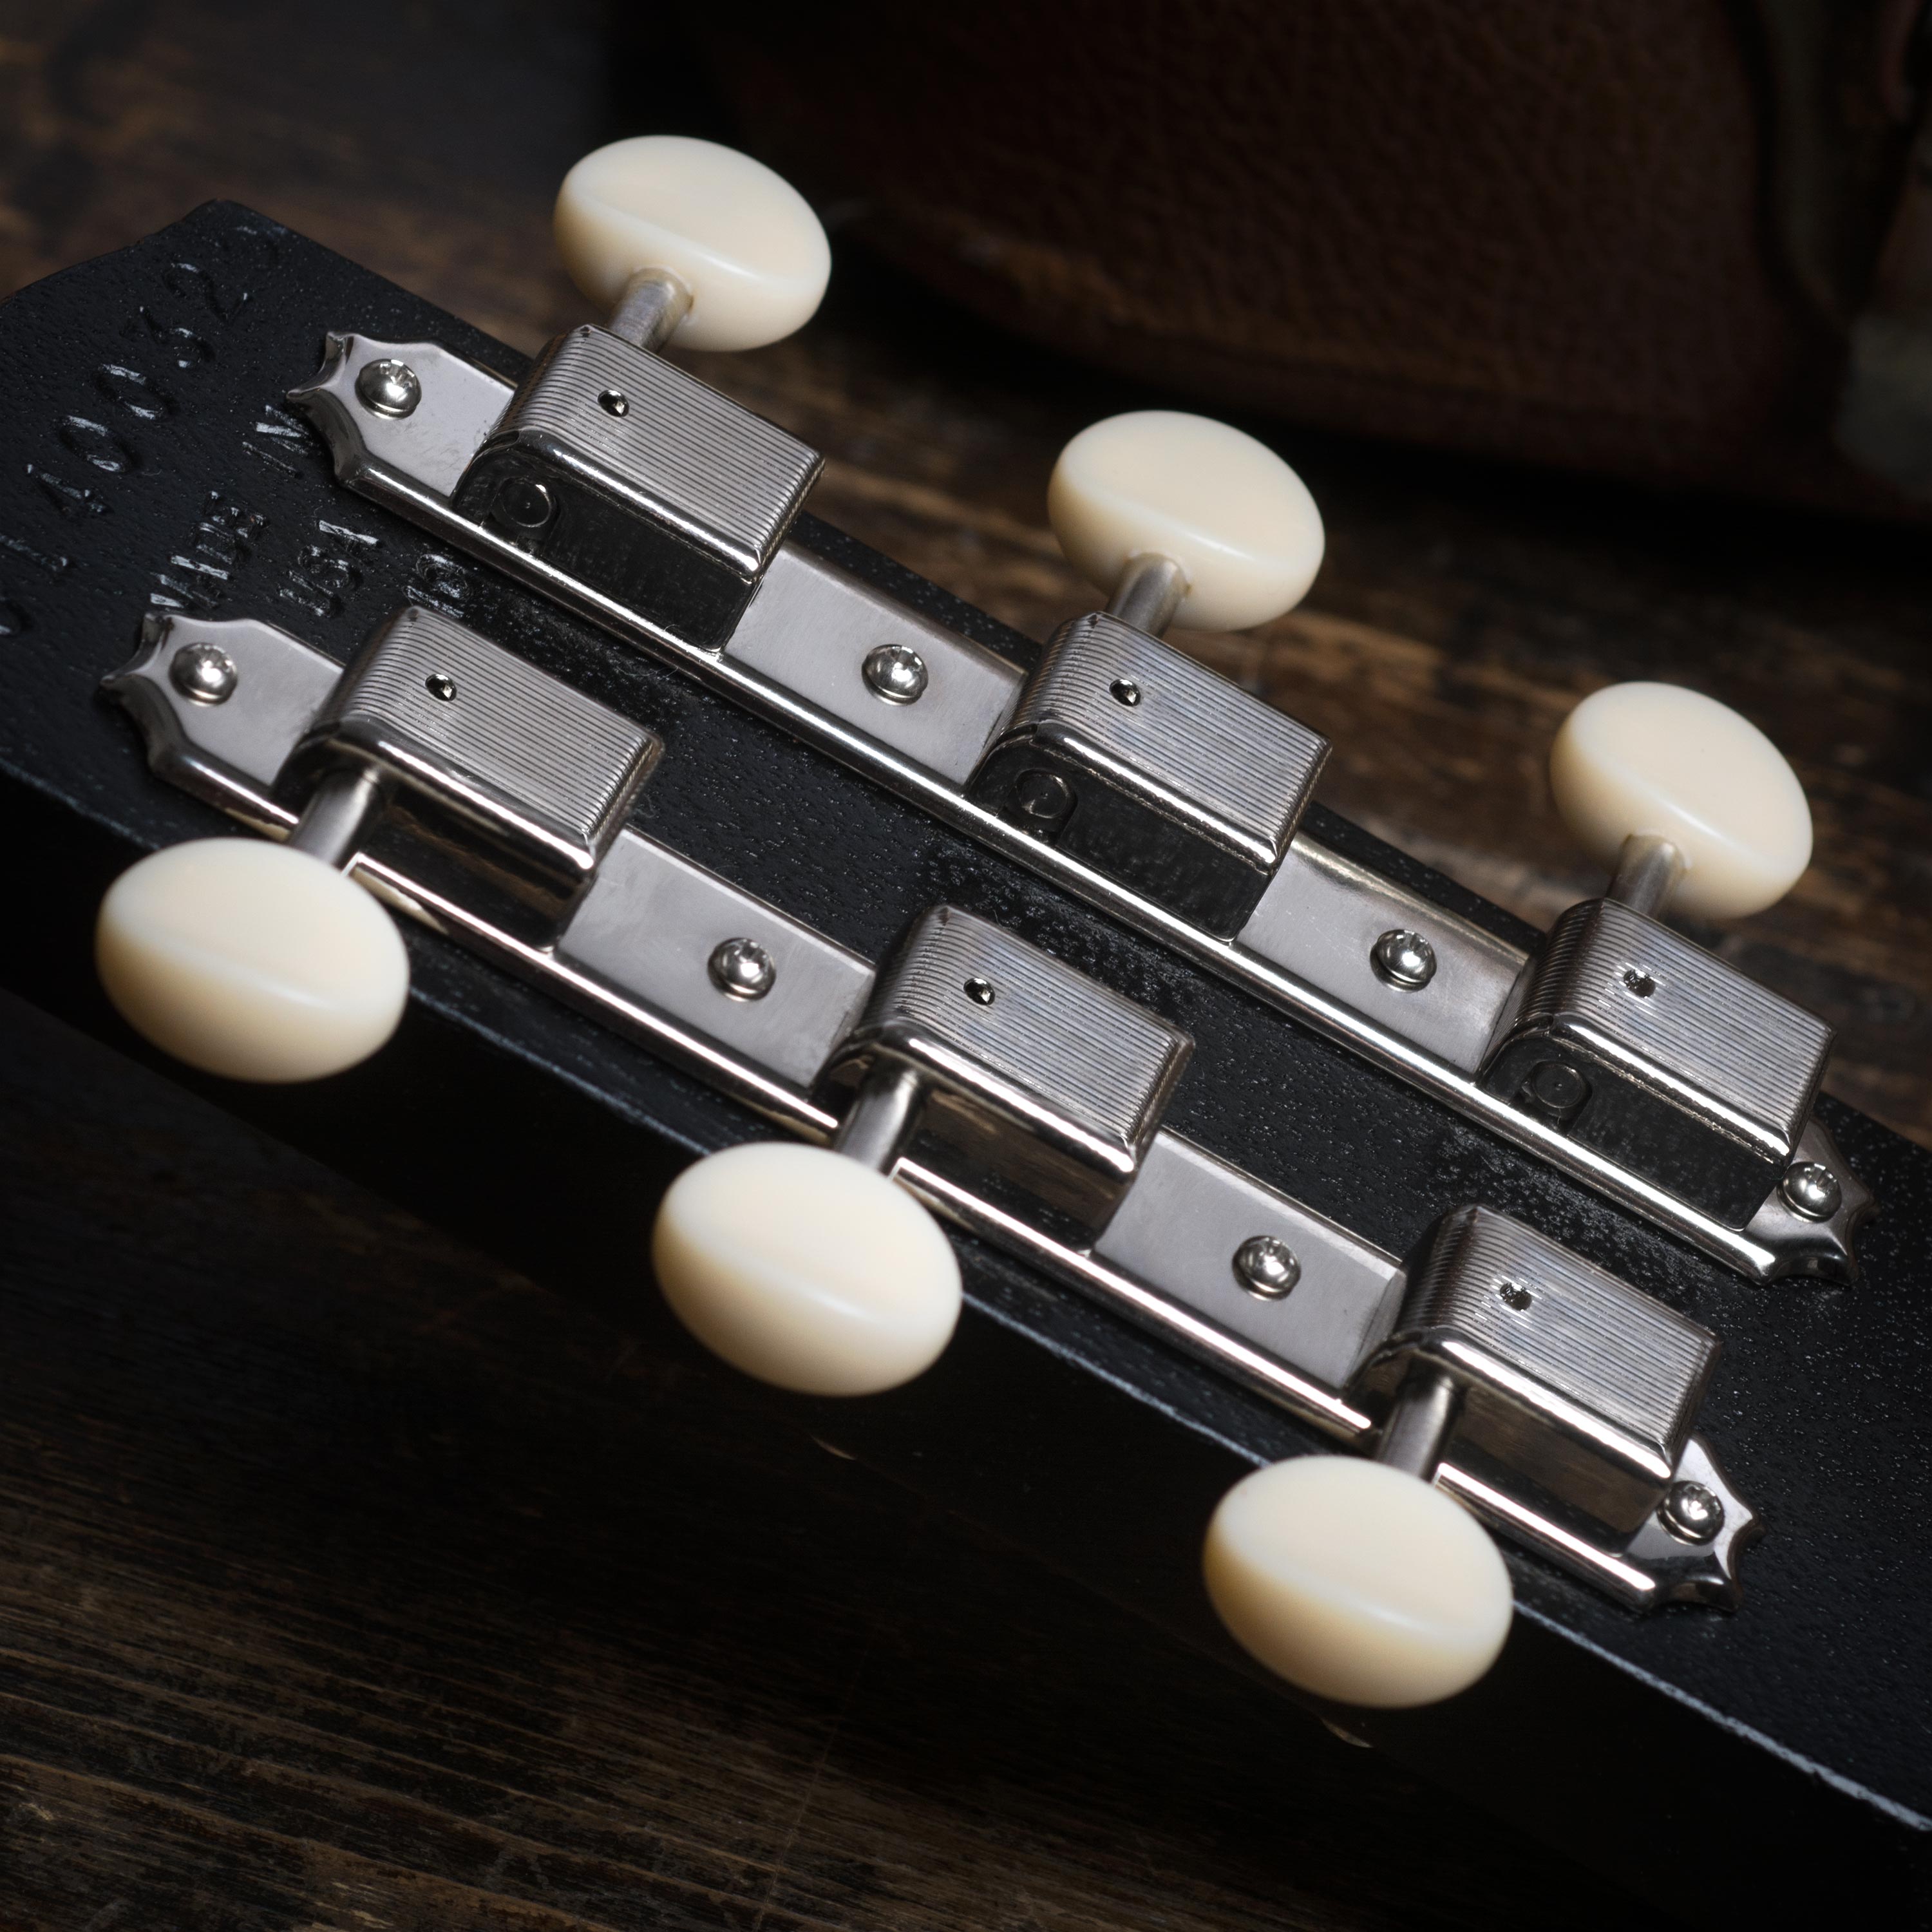
Tuners basically break down into two different types: vintage-style machines and sealed machines. Vintage-style machines include open-back tuners like our Waverlys, Kluson types that include Keystones and six-in-line and three-on-a-plate tuners like our Golden Age.
Vintage tuners can be easily identified by their press-fit bushings. These bushings are pressed into the wood of the peghead and held in by friction.

More often than not, you'll see vintage tuners installed into 1/4" inch holes that have been reamed to 11/32" on the peghead face in order to accept the bushing.
In an old guitar like this Gibson, any modifications that you would do to it would have a negative impact on the overall value. So when choosing replacement tuners for this instrument, I'm choosing machines of the exact same specs—machines that will drop right in and install without having to change anything.
The tuners on this guitar are nearly 60 years old now. They still work fine, but I'm a little worried that the knobs are about to dry up and crack off. So for the sake of authenticity, I'm just taking these off and replacing them with another set, so the owner can continue to play the guitar without having to worry about the knobs.
PRO TIP: When installing the new machines, I'm using the original screws so I don't cross thread those holes. I'm also leaving the original peghead bushings in place so I don't accidentally chip the finish out trying to replace them with the new ones. The old ones are fine. They can stay just where they are.
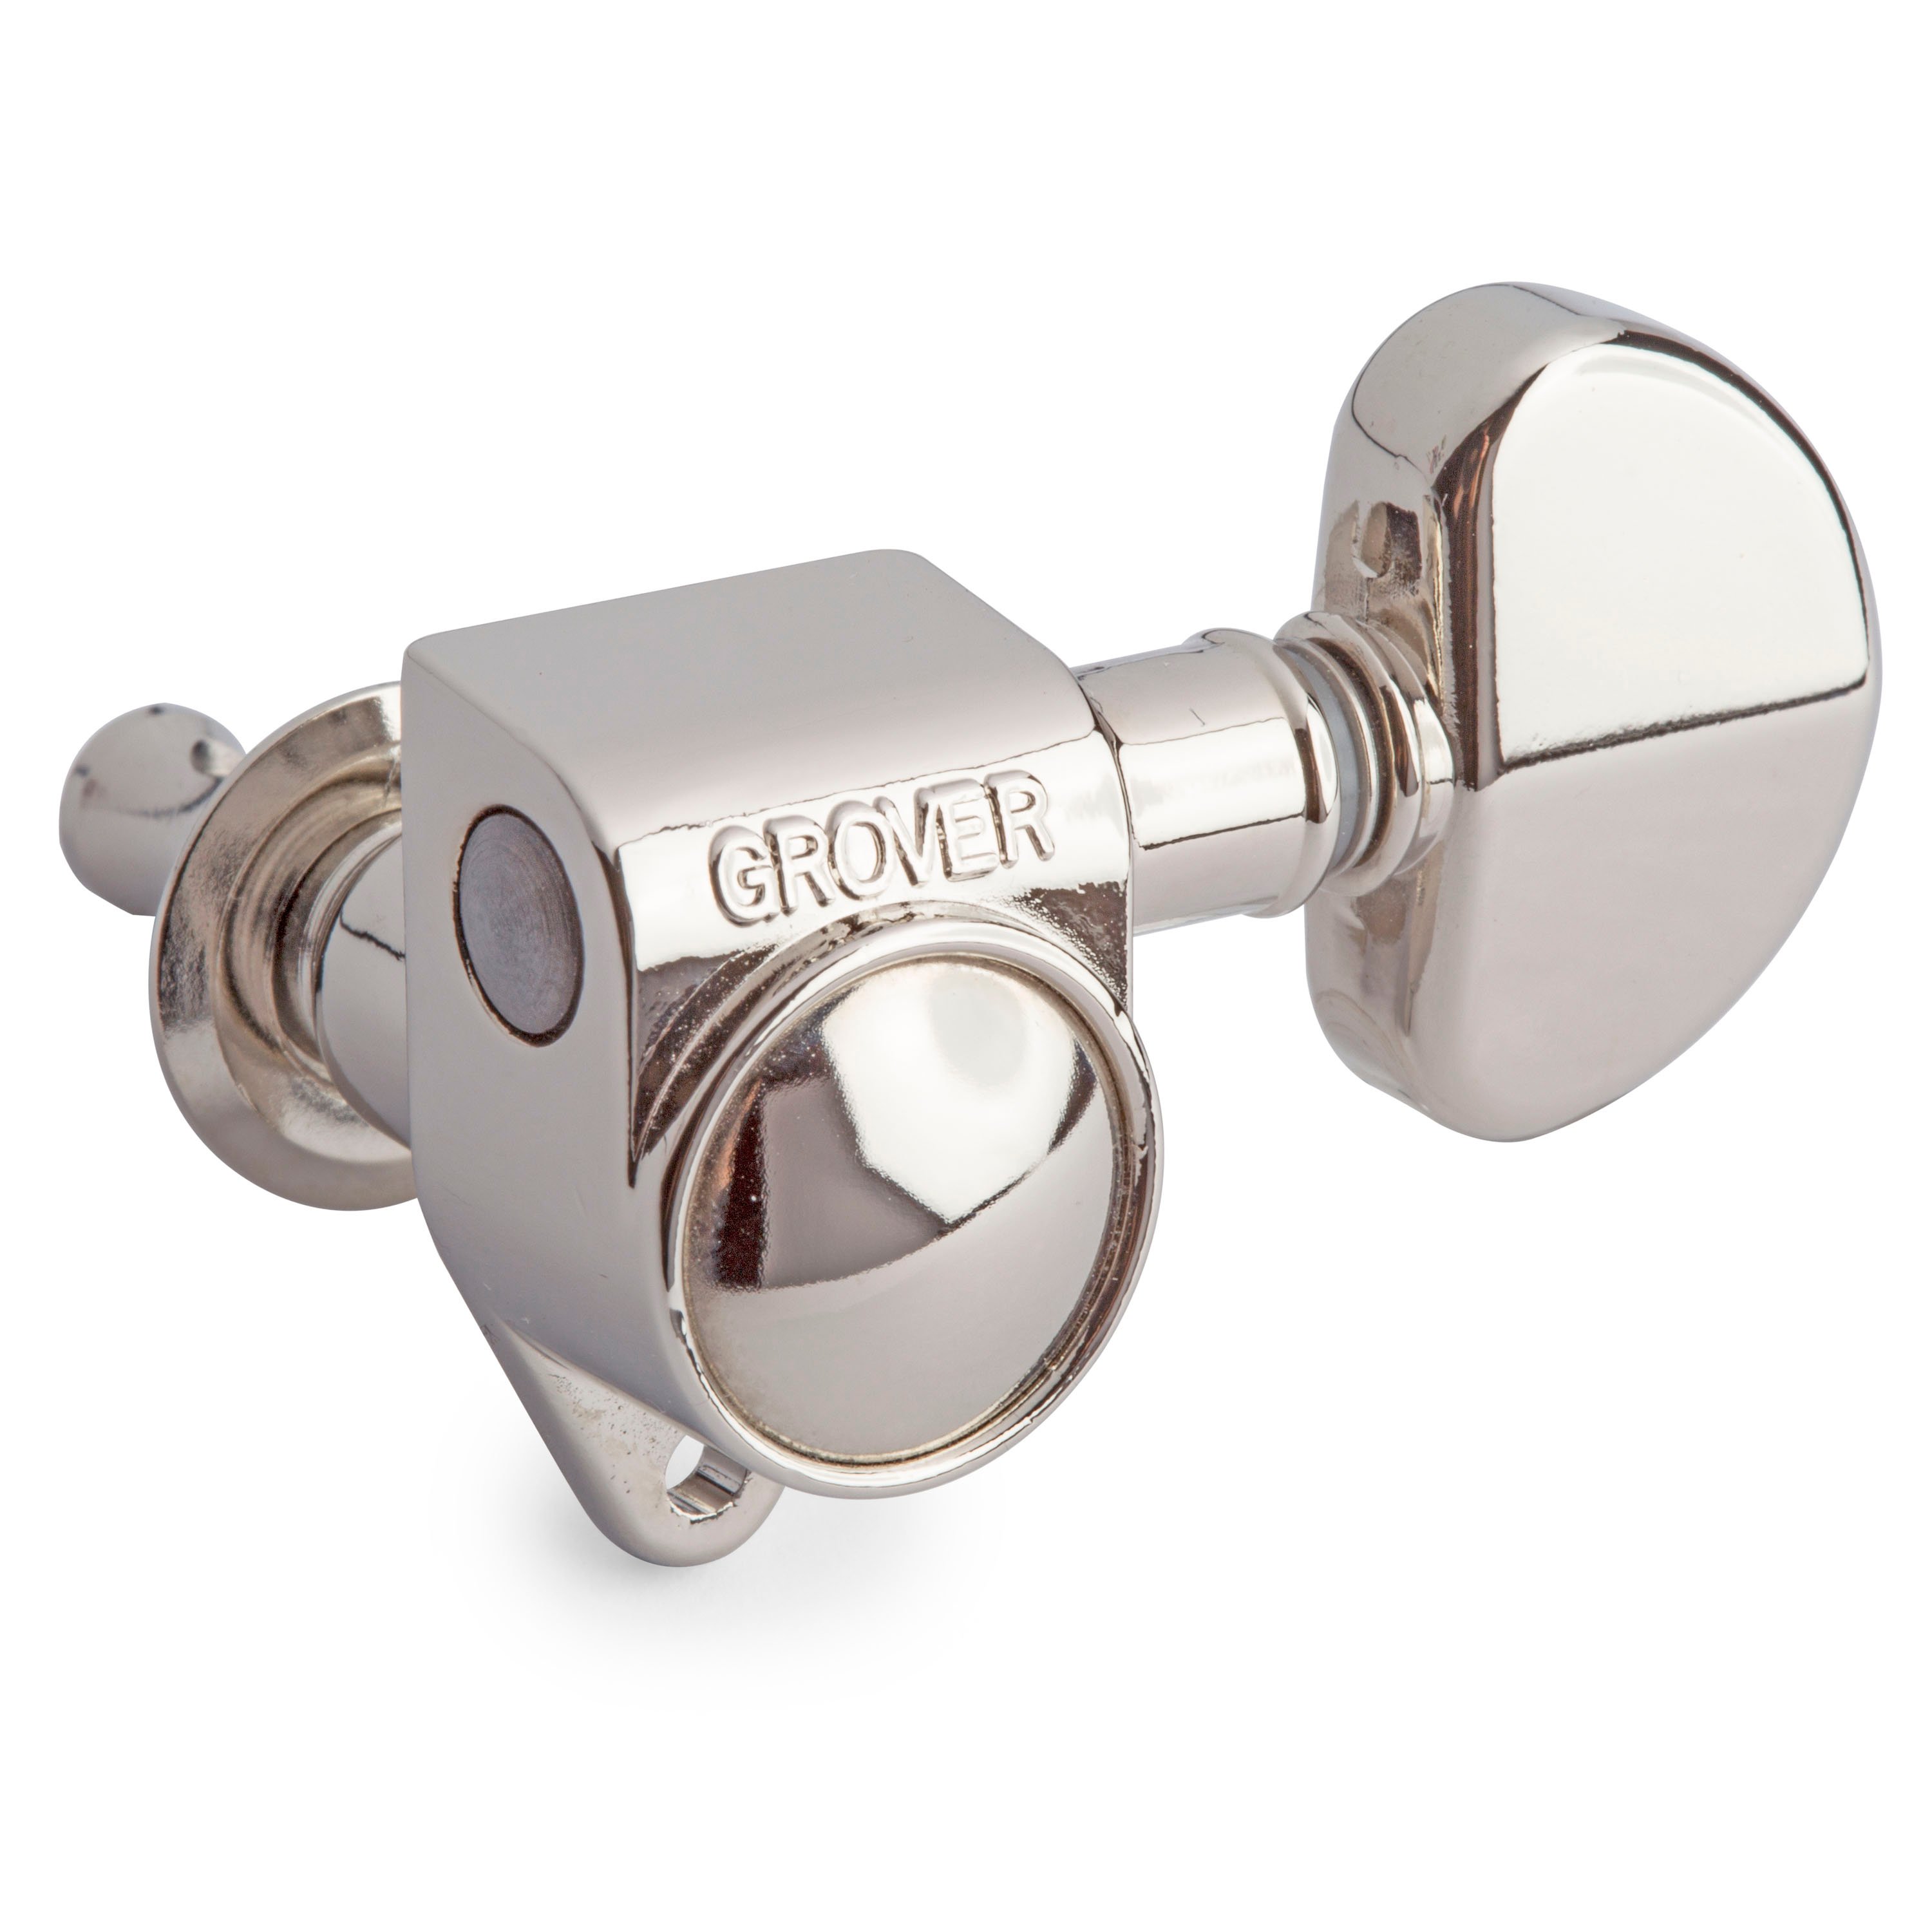
Next in vintage-style machines, we have sealed-gear. These have a diecast housing that encloses the worm and cog gear to keep dirt and debris out as well as to keep them permanently lubricated. They look generally the same brand to brand, so they're easy to spot.
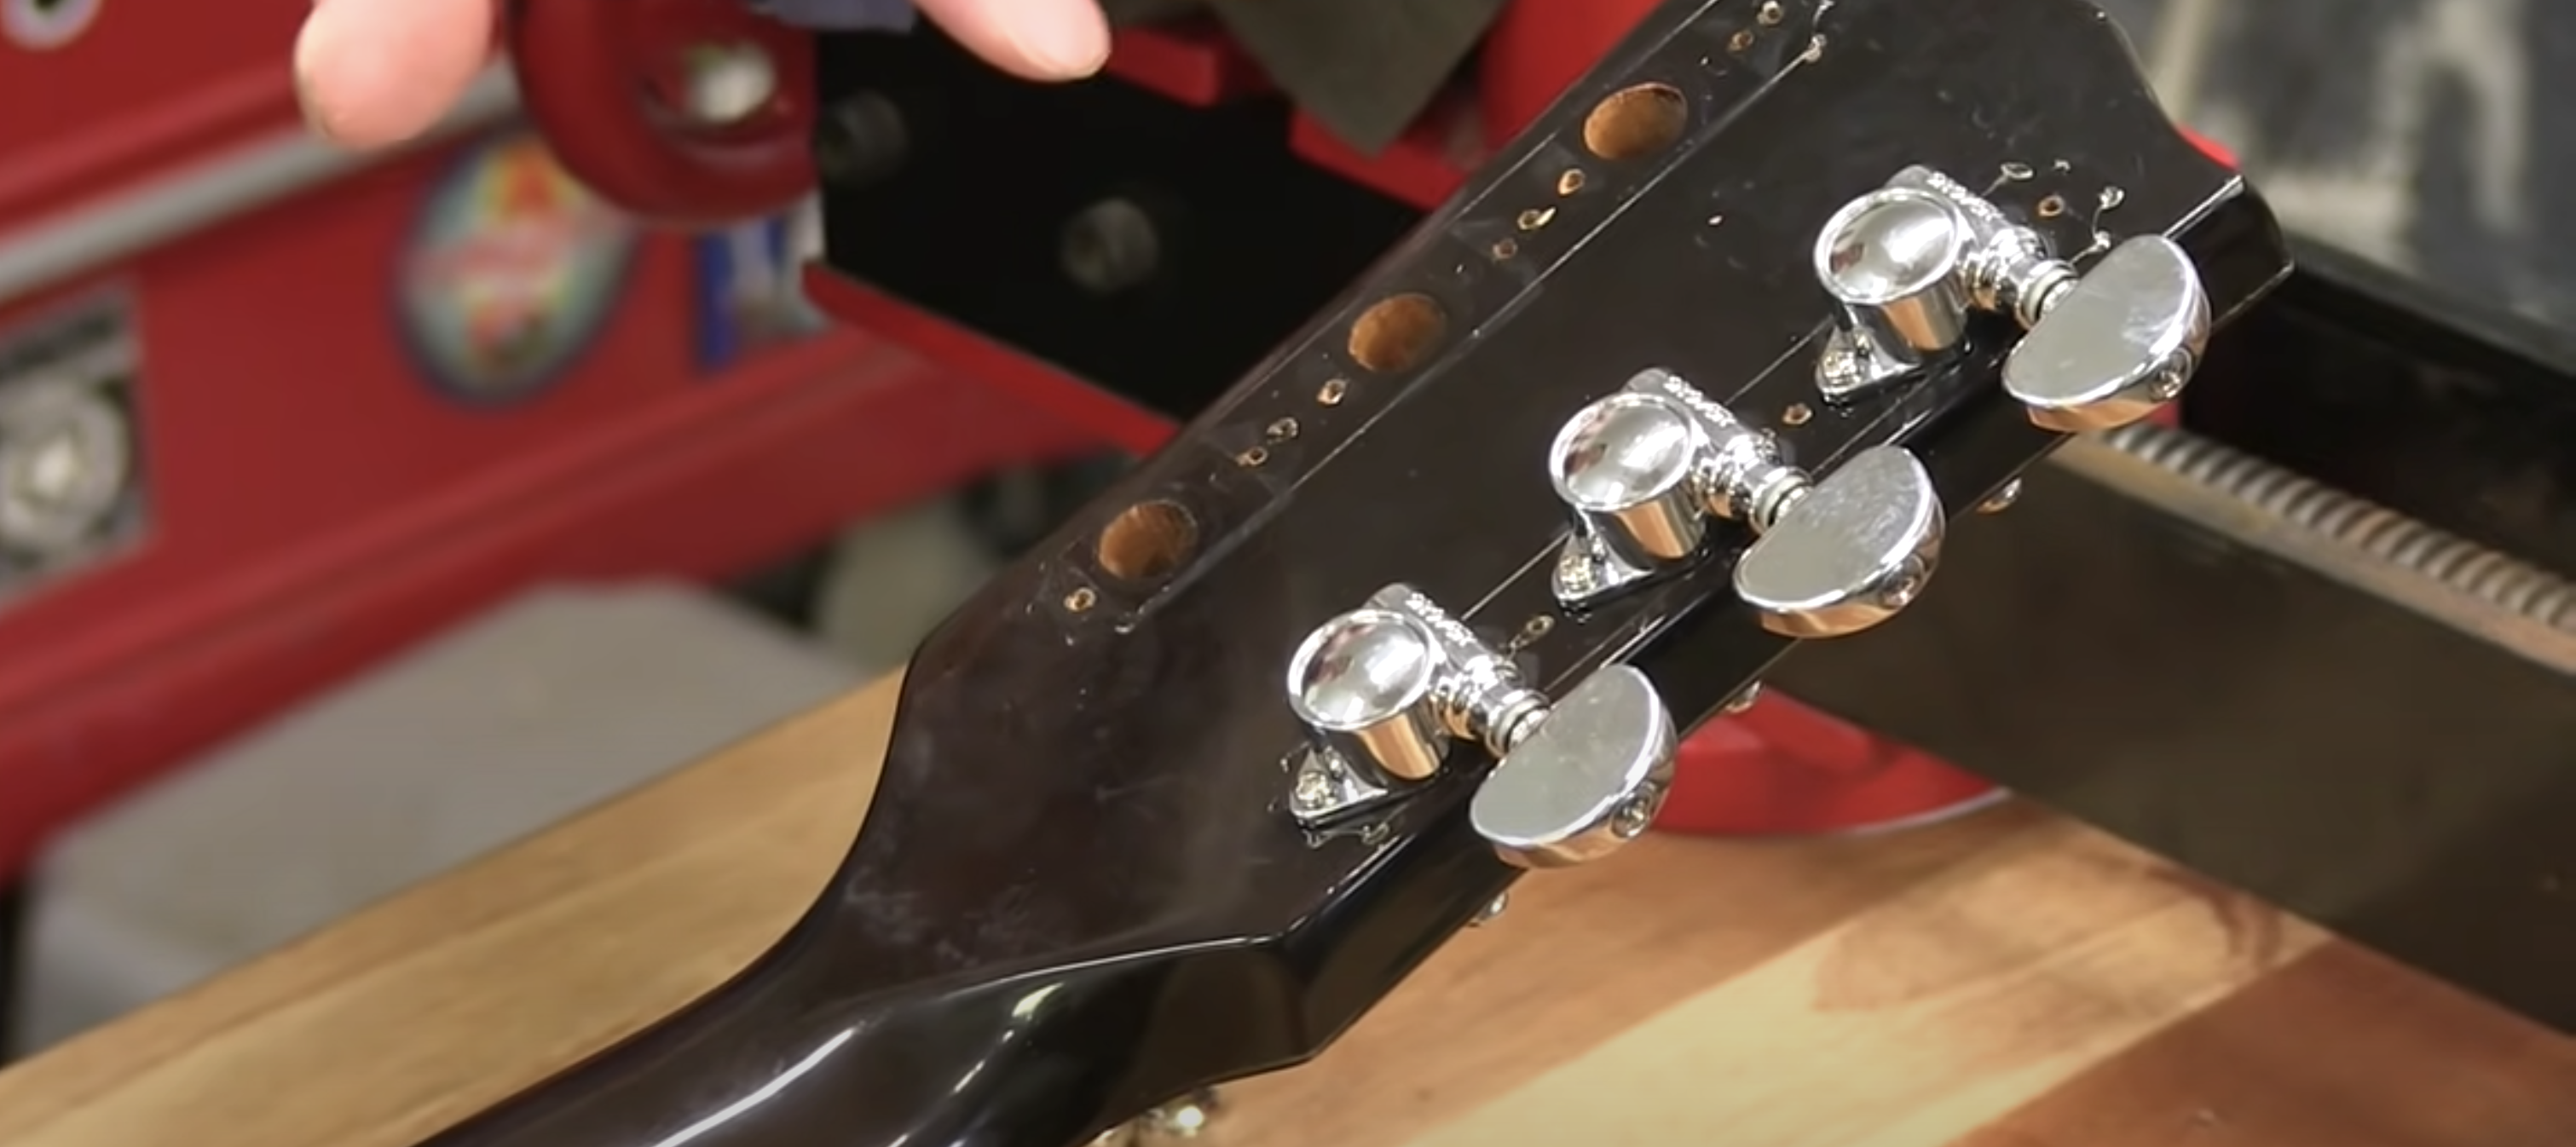
The best way, however, to determine if this is what you have on your guitar is to look at your peghead. If your guitar has a 10mm threaded bushing and surrounding washer on it, then it's a good chance that you have a sealed-gear machine on your guitar.

Turn it over and they're held in place on the peghead with a single mounting screw. The pegholes for sealed-gear tuners vary from 3/8" to 10mm, depending on the brand that you're using. The hole is drilled straight through with no step, to accommodate the larger housing of the sealed-gear machine.
Fitting the New Tuners
What You'll Need
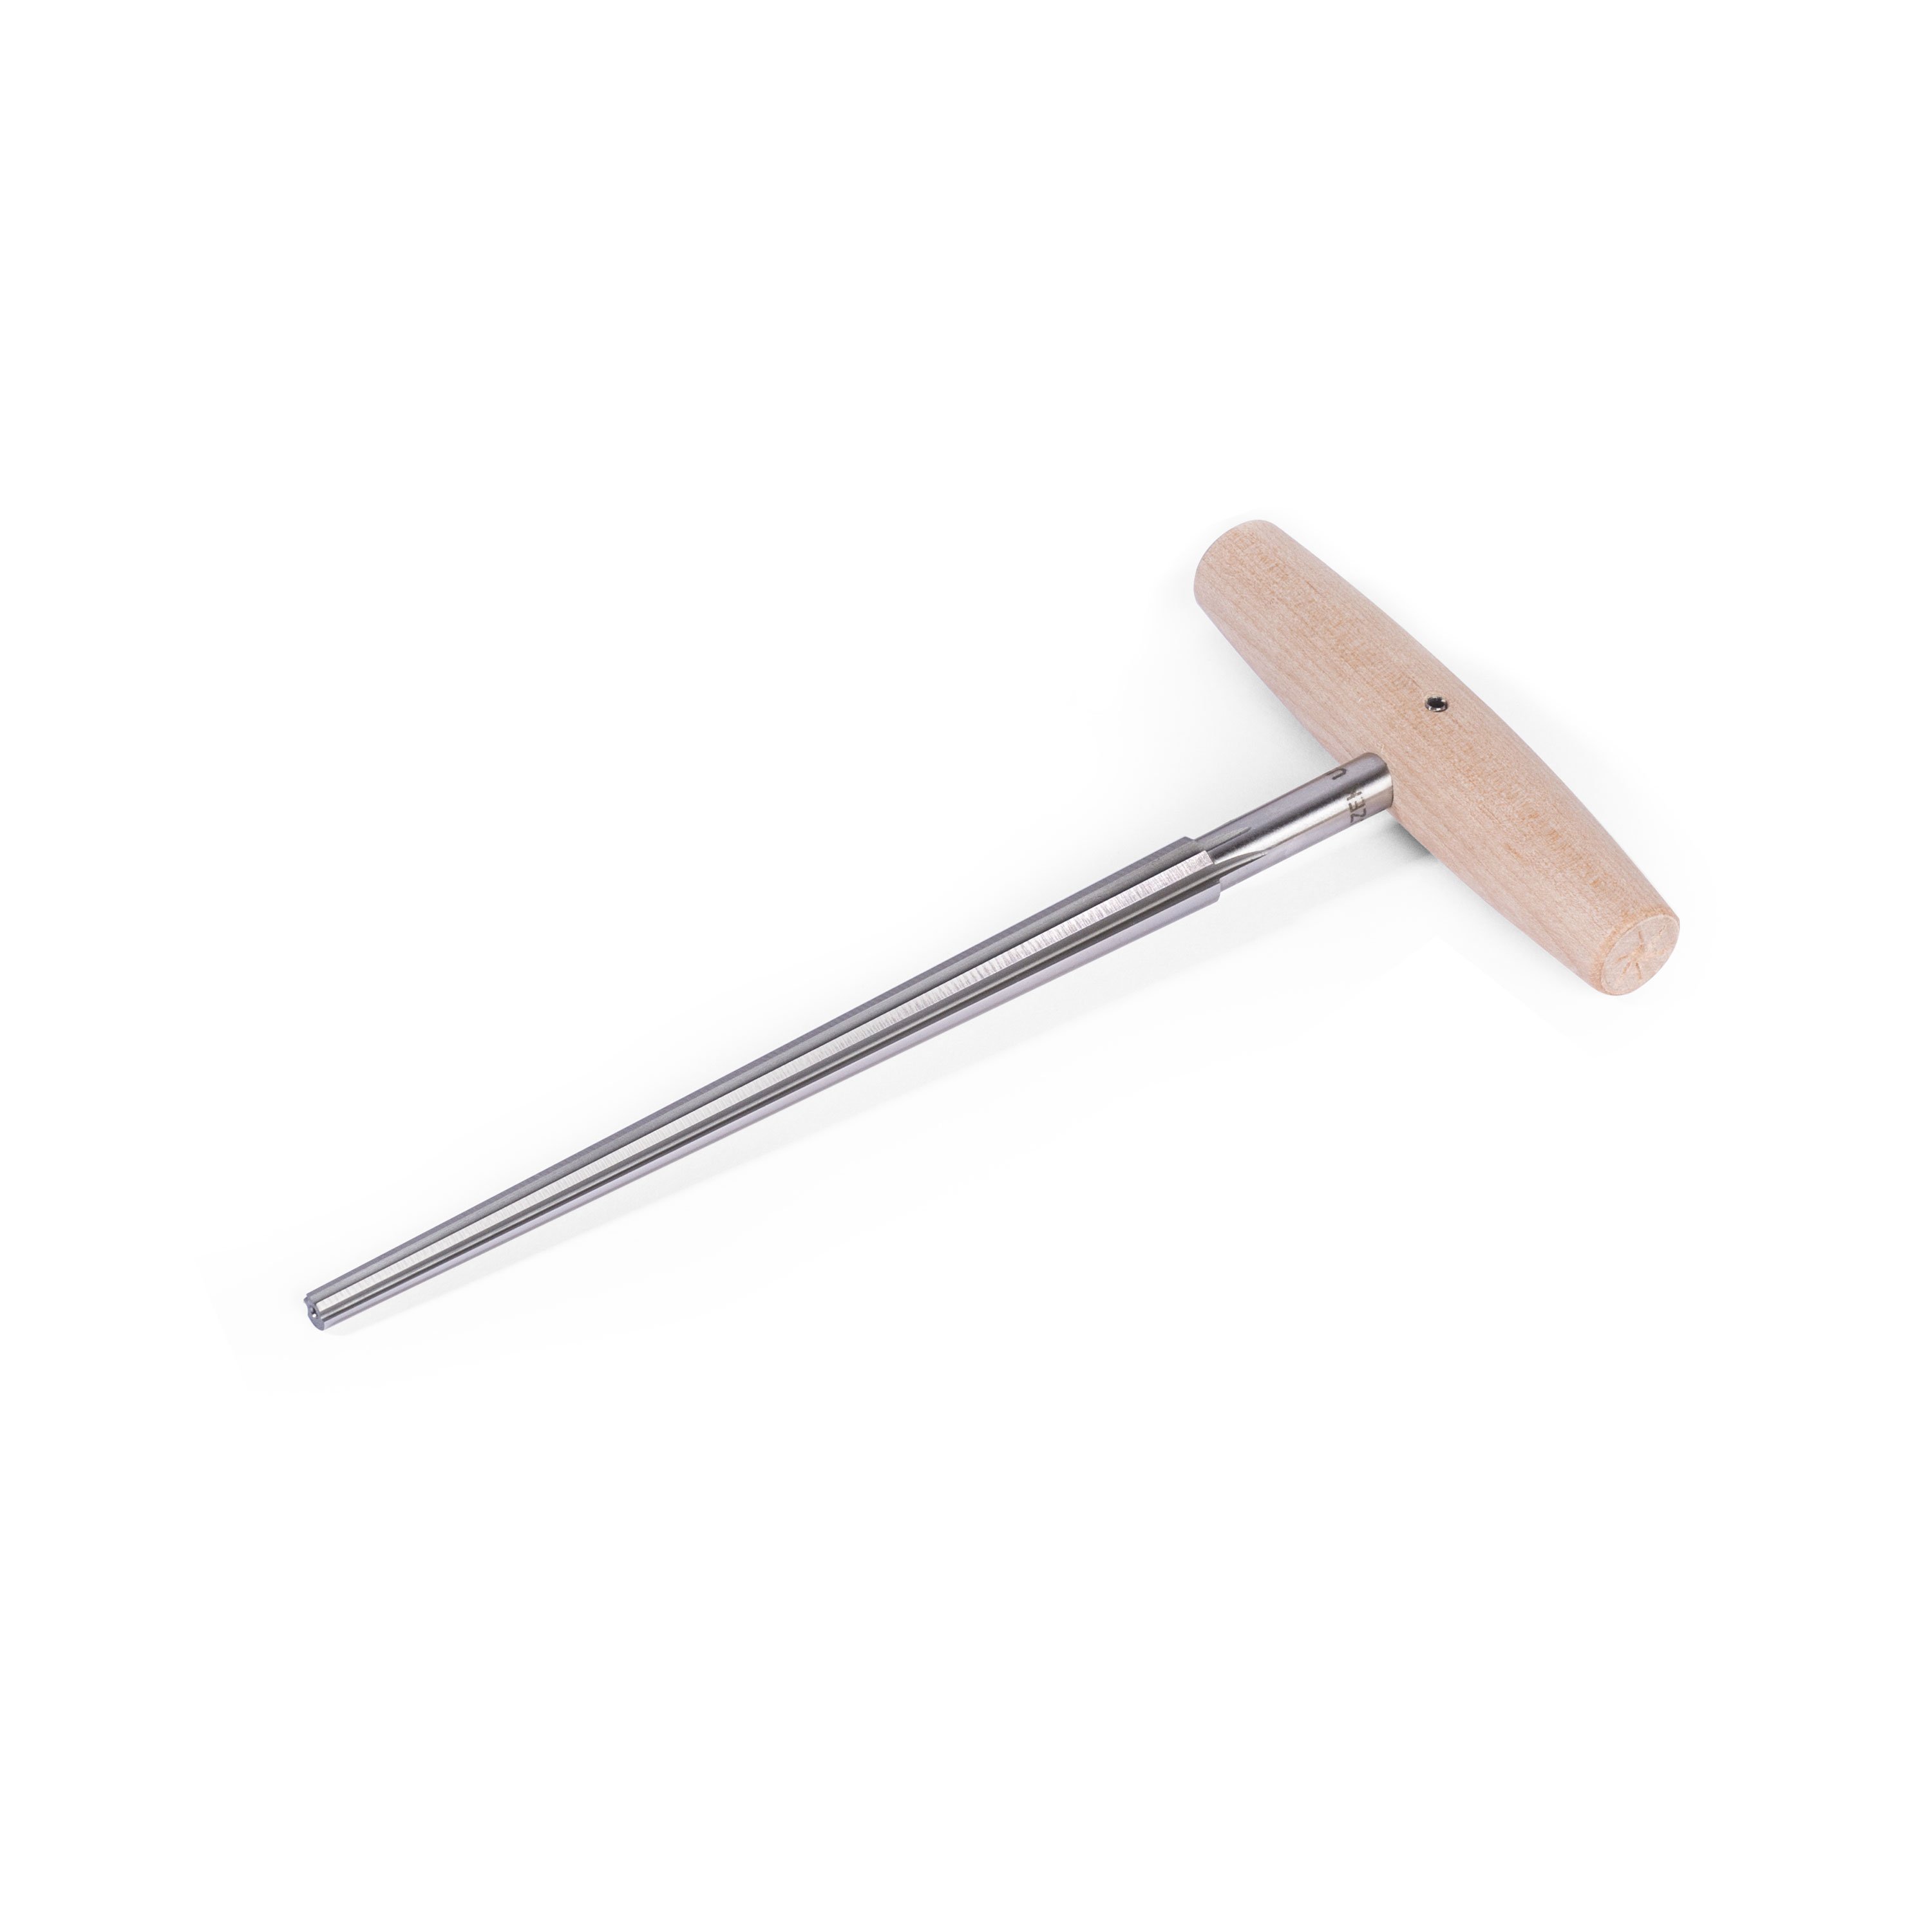
Peghole ReamerIf you're installing this type of machine on a vintage guitar, you're at least going to have to enlarge those pegholes. When enlarging pegholes to install a sealed-gear machine, the right tool for the job is a tapered reamer. It keeps the holes round, square, and clean.

Something to think about when switching between sealed gear tuners is the location of the mounting screw tab. It's not the same on any two machines, even within the same brand. Here's three different Grovers, and the tabs are in three different locations on each of them.

So in switching from one sealed-gear machine to another, expect to have to redrill for the mounting screw tabs.
You're going to have some holes left over from the other machines and there's a couple of different ways that you can go about dealing with those. One is to just leave them open like I did on this particular guitar, that way they're ready to go should you decide to re-install the original tuners down the road somewhere. Another option is to just take the old mounting screws and run those in. That keeps the holes free of debris or any kind of crud and moisture that could get down in there.
If neither of those is suitable and you want a seamless look, the best option is to plug those holes and finish over them.
Here's an example where a modern-style machine has been designed to look like a vintage tuner. The housing looks very similar and the knobs are the same, but as soon as you flip them over, you can see the difference. The housing on the modern machine has a larger diameter casting and requires a larger peghole to fit in.

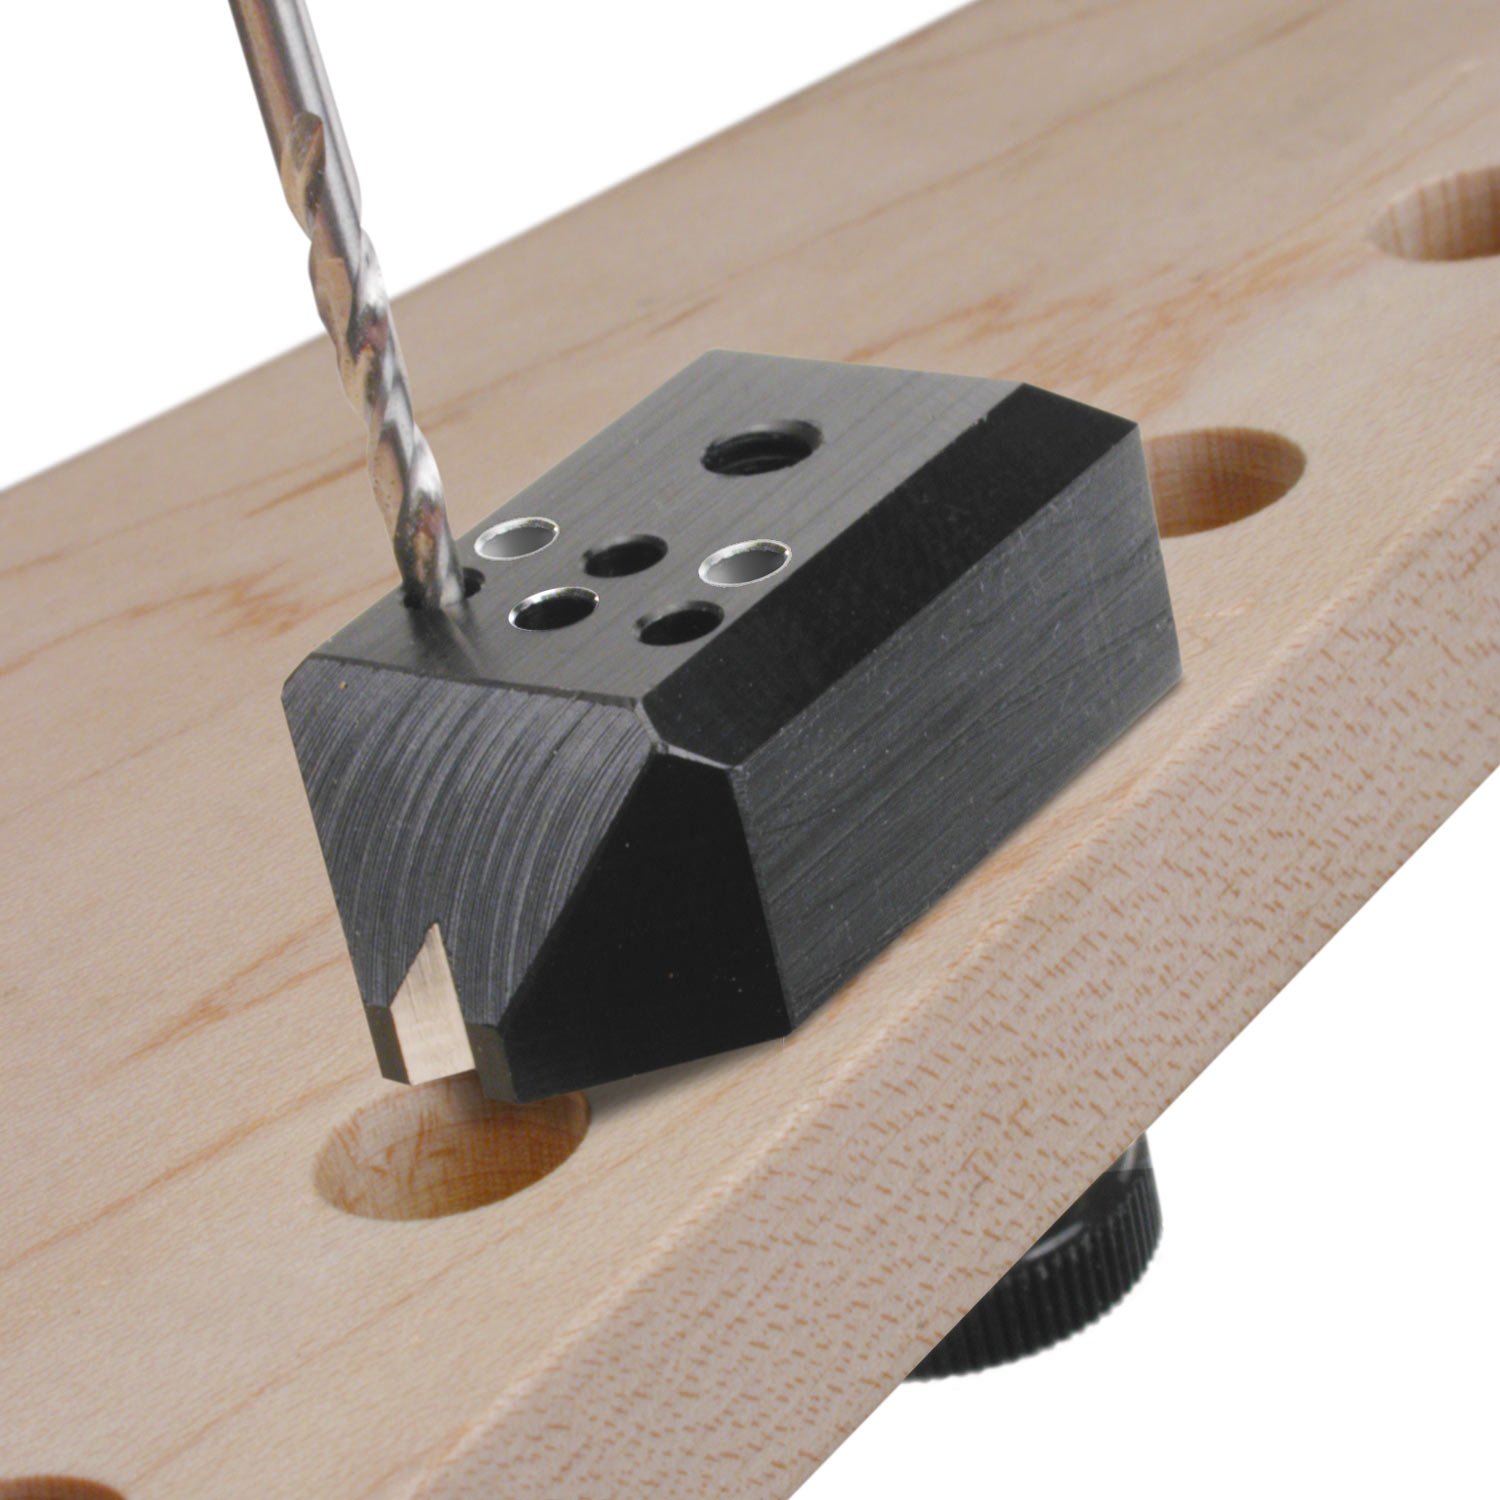
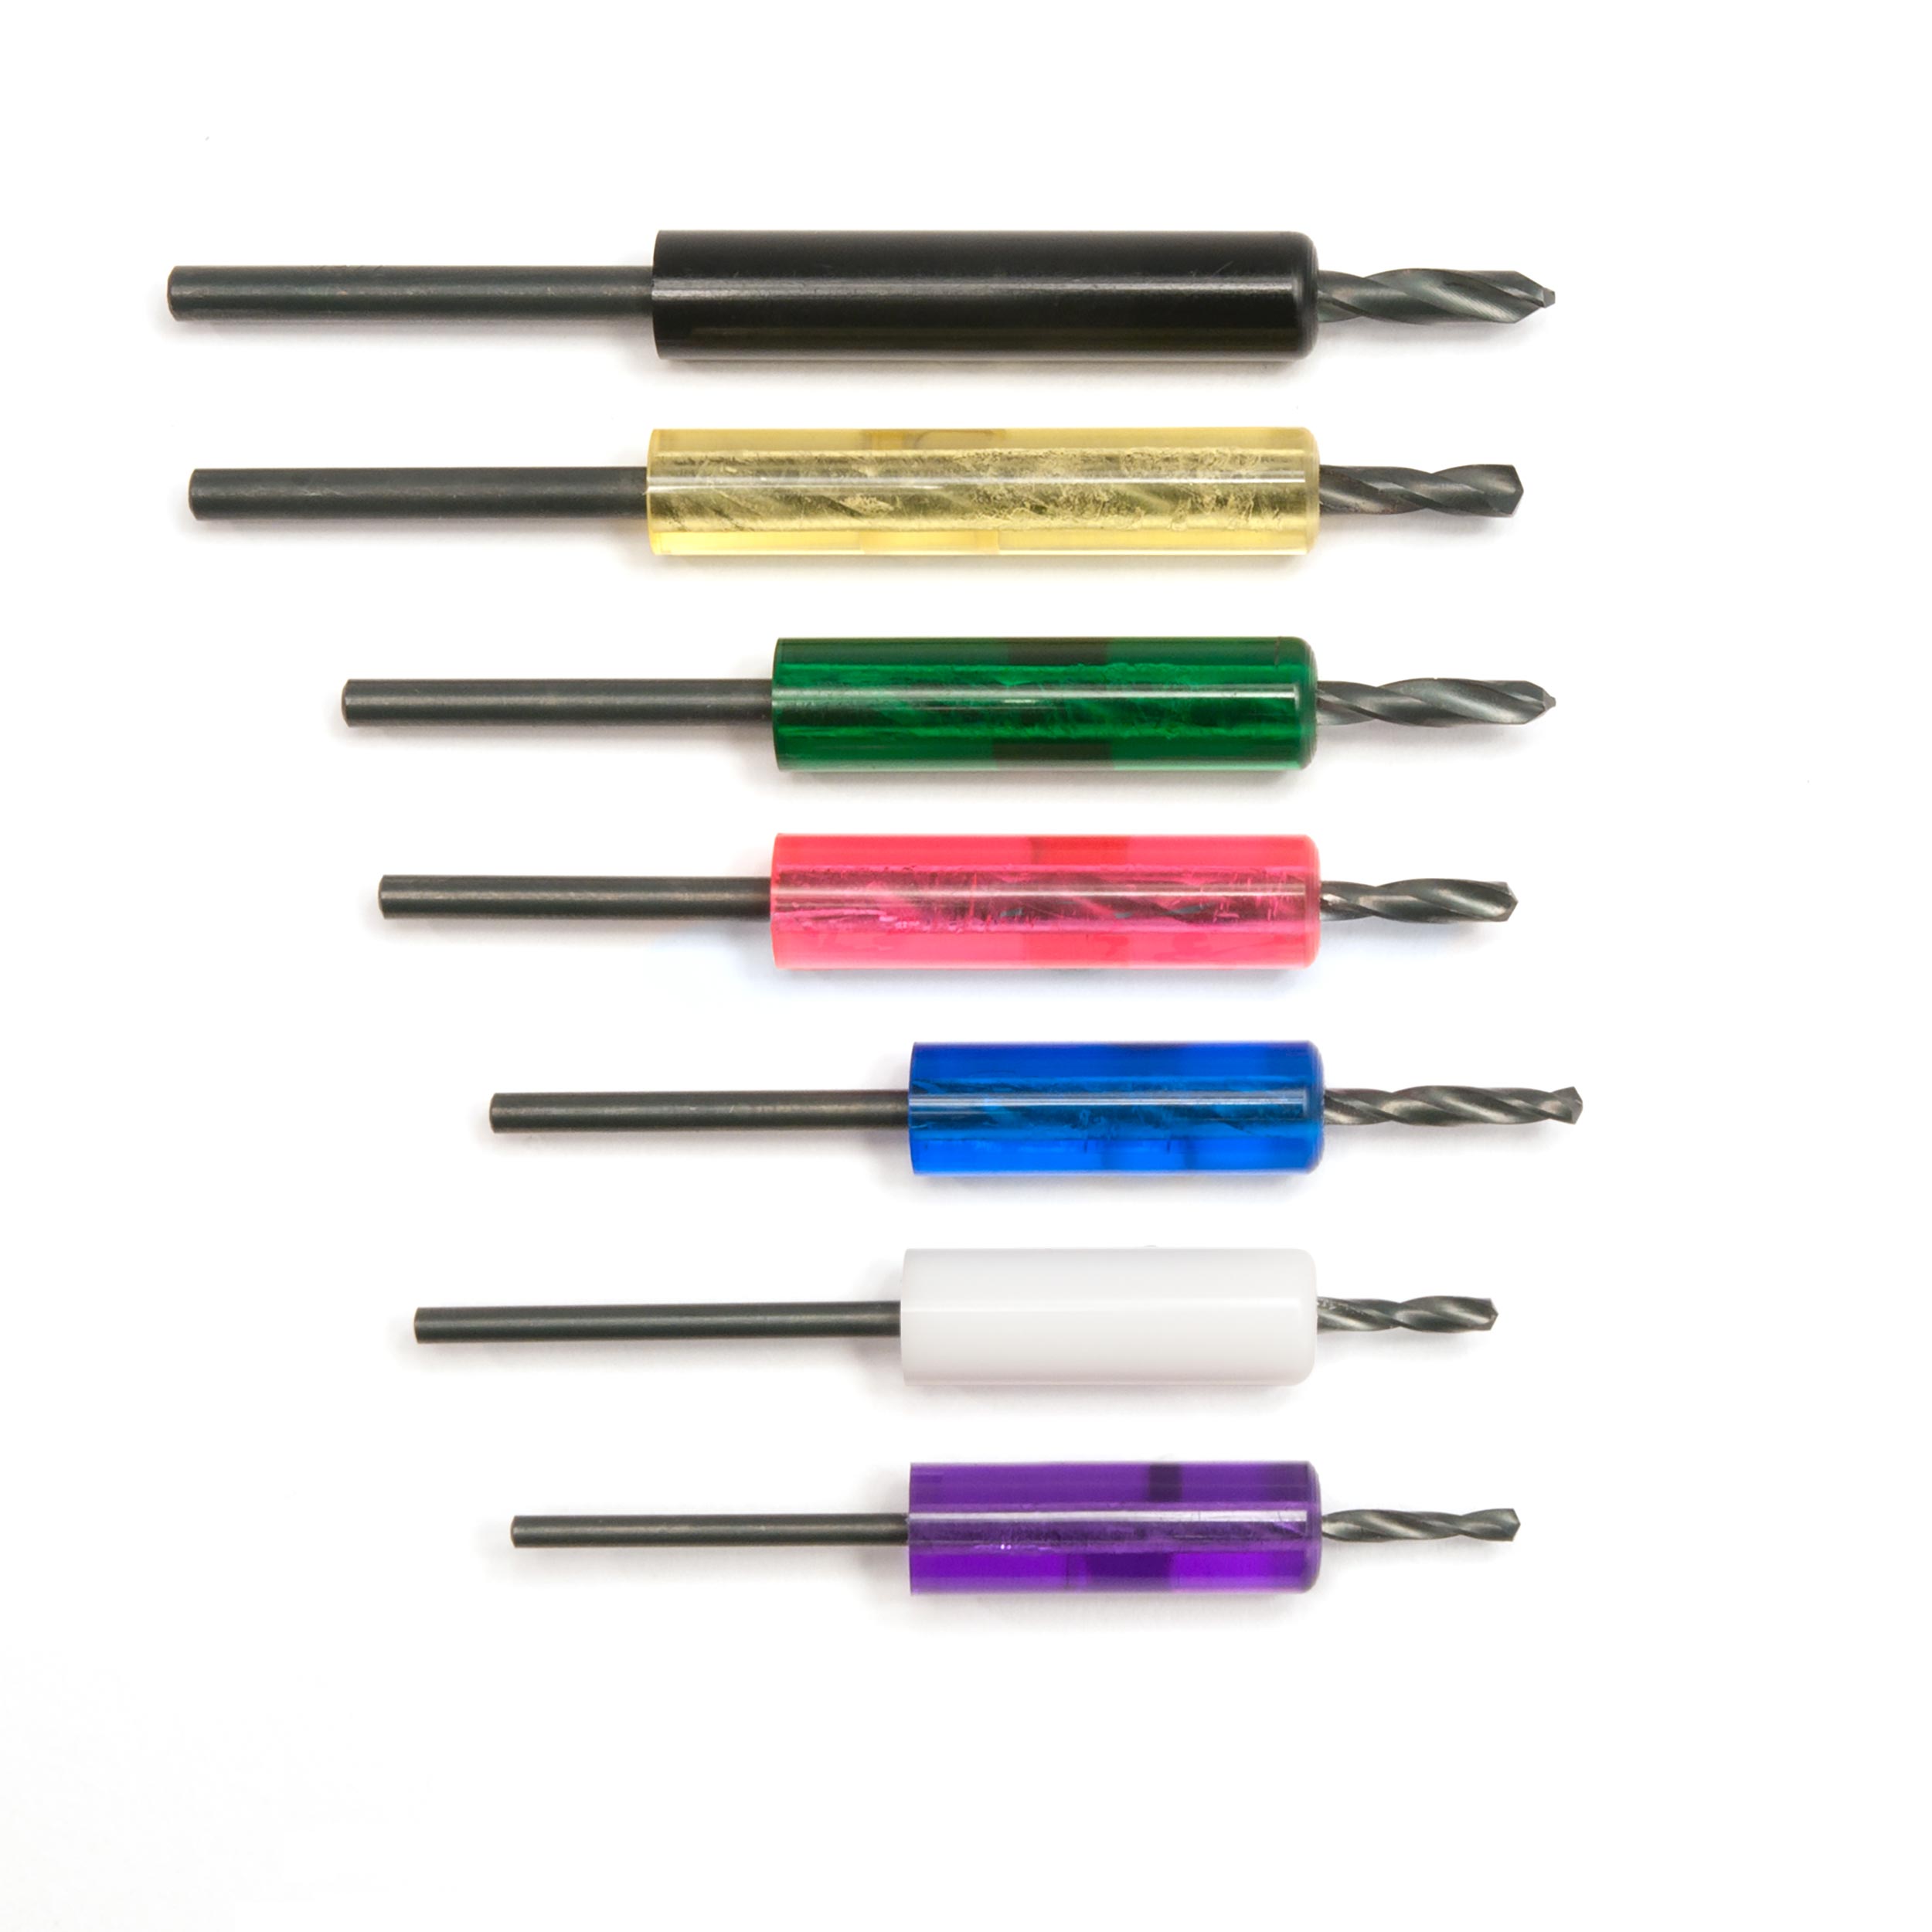
Some locking tuners don't utilize mounting screws at all. What they have is an indexing pin underneath the housing that fits into a hole drilled in the peghead, which keeps the tuner in place under string tension. Now that hole's kind of tough to drill because it's underneath the housing. It's tough to line up. So to make that job easier, we have a drill jig for just that job to drill those holes perfectly.

Want to Put The Original Tuners Back?
You'll see a lot of vintage guitars that have been modified for sealed-gear machines, and more than ever people want to reconvert those guitars back to their original format because they want to sell them or they just like the vintage look.
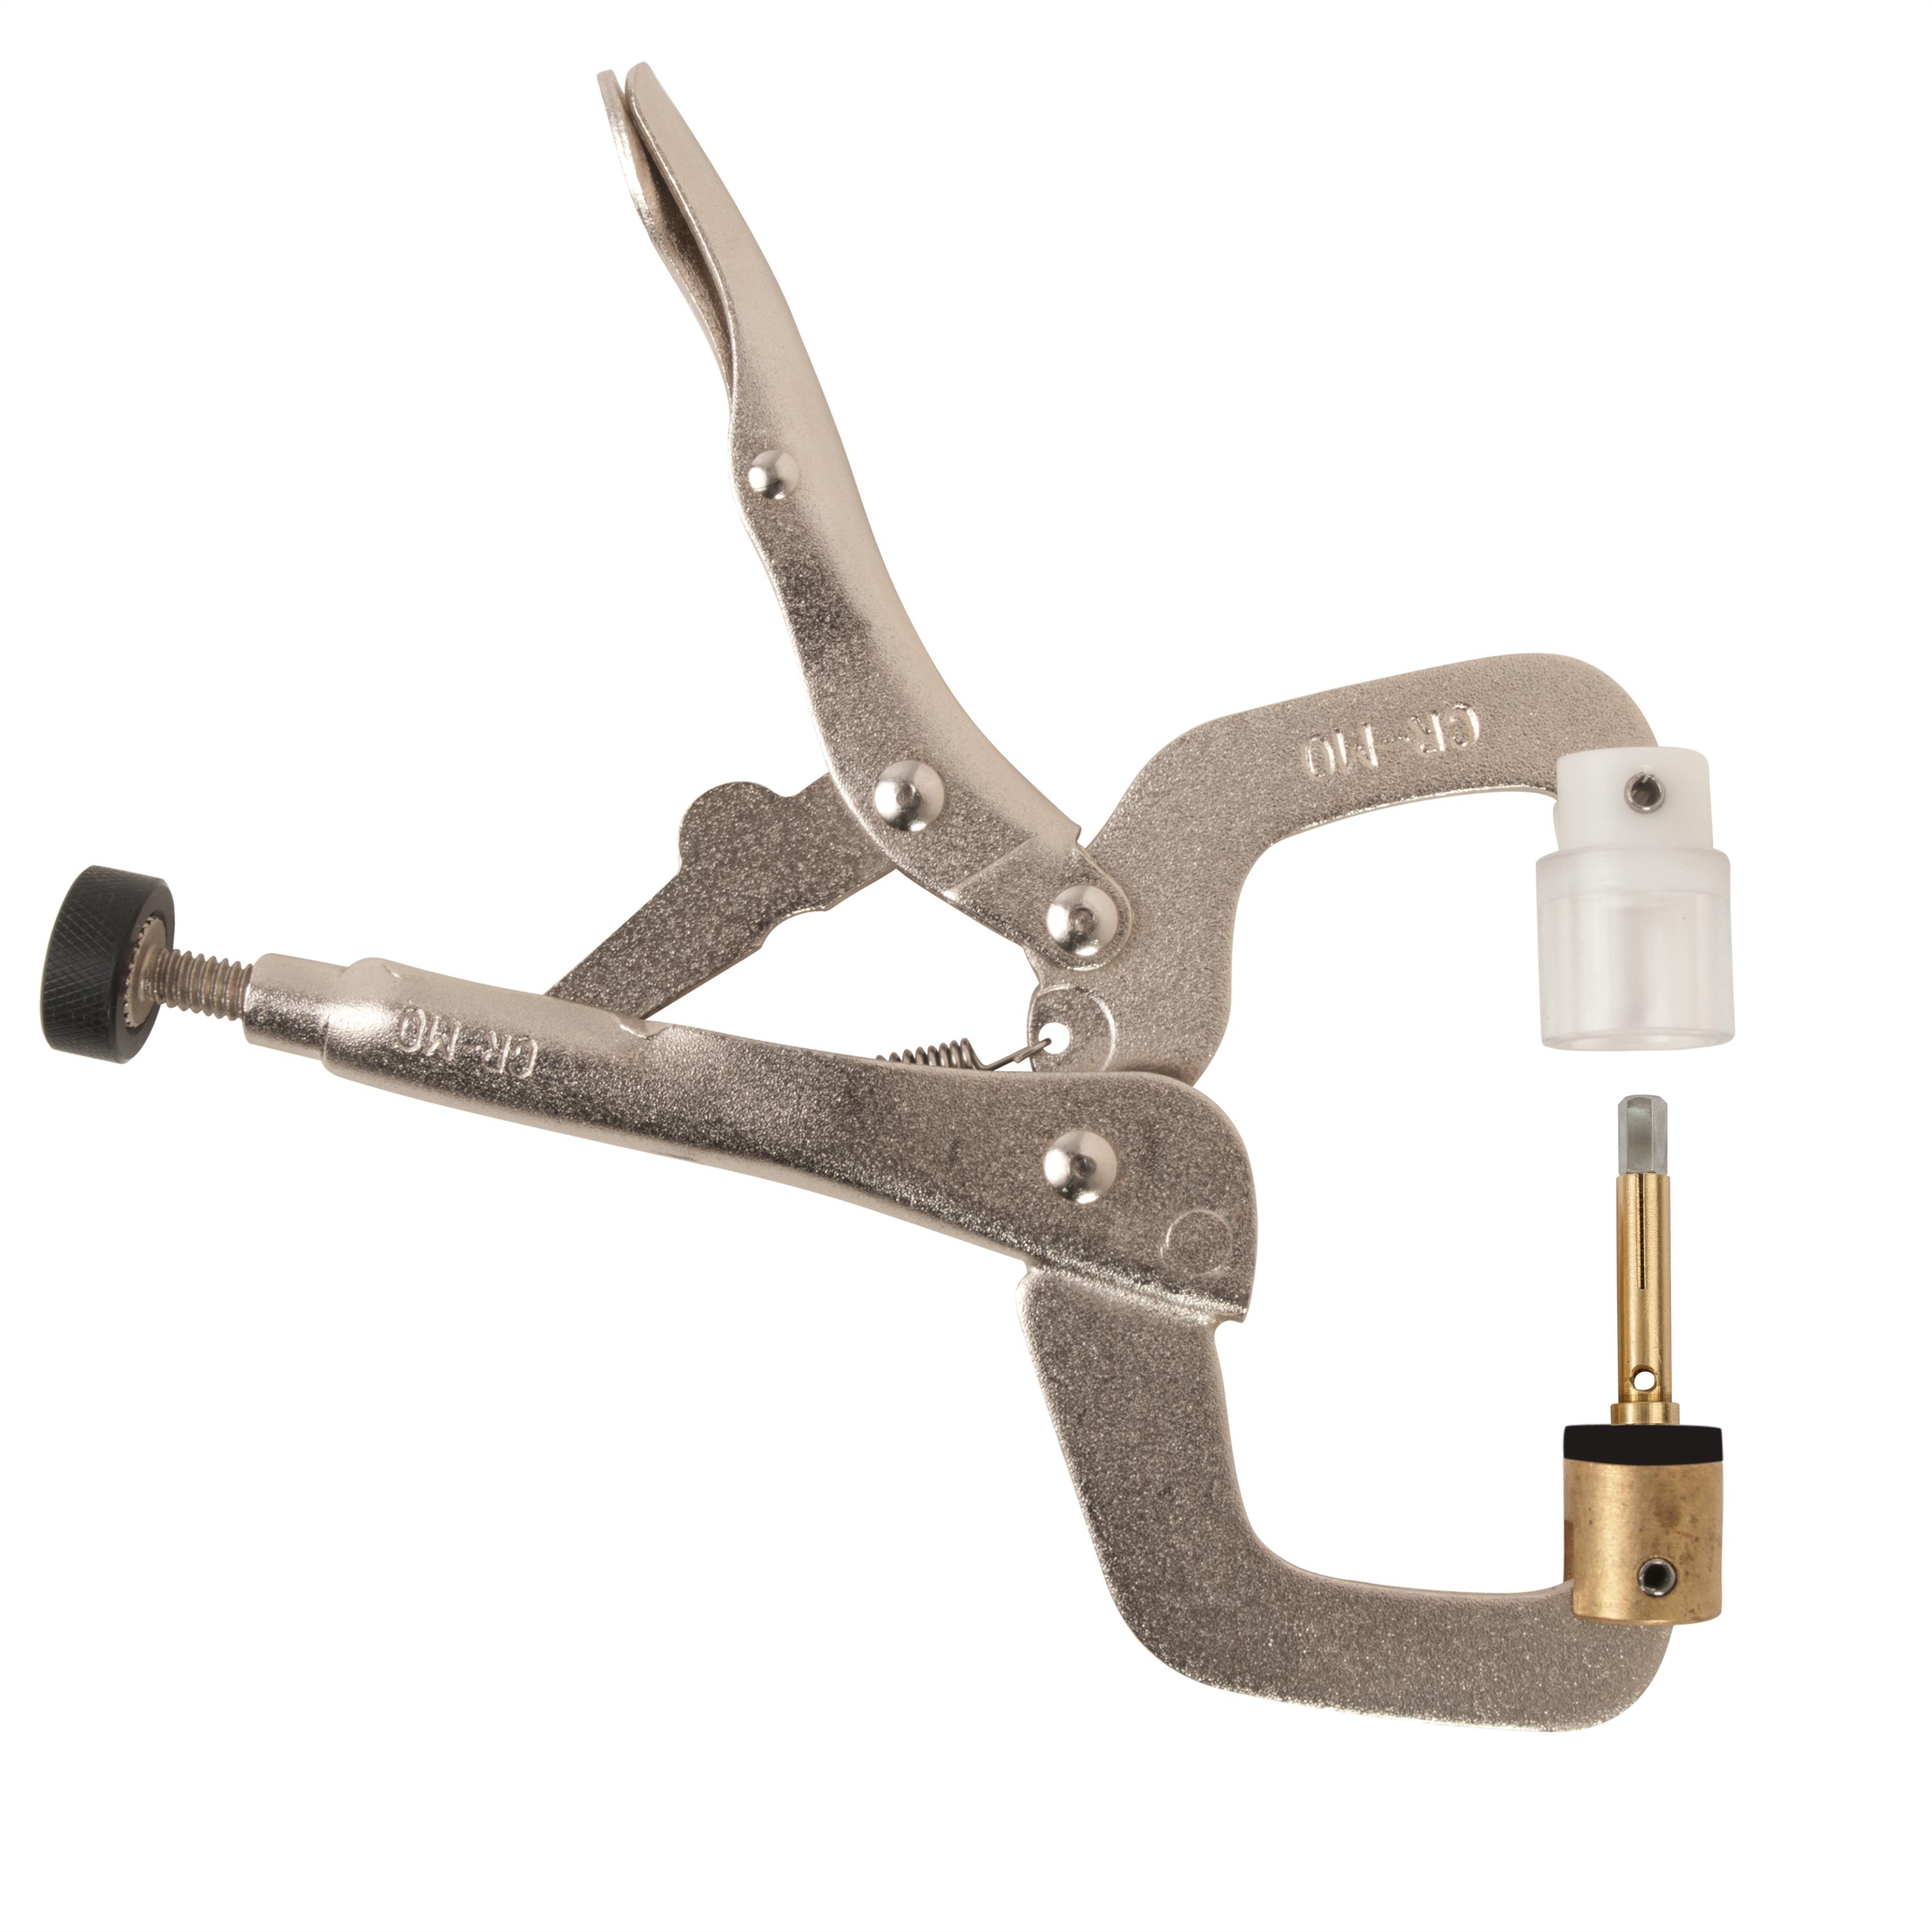
Whatever the reason is, there's a problem when you want to do that because the holes have been enlarged. So we came up with a conversion bushing to reduce the diameter of that hole so you can reinstall your original machines. You'll notice the machines are nice and snug, and they're no longer moving around in the 10mm holes.
We have more options than ever available to us when it comes to replacing tuning machines. So whether you're upgrading for looks, function, or collectability, follow these tips and it should make the job go a lot easier for you.

