Finishing a Blue Guitar, Staining the guitar
Part 2: Dan Erlewine shows how to apply the stain for a PRS-style finish with aerosol lacquer.
Part 2: Staining The Guitar
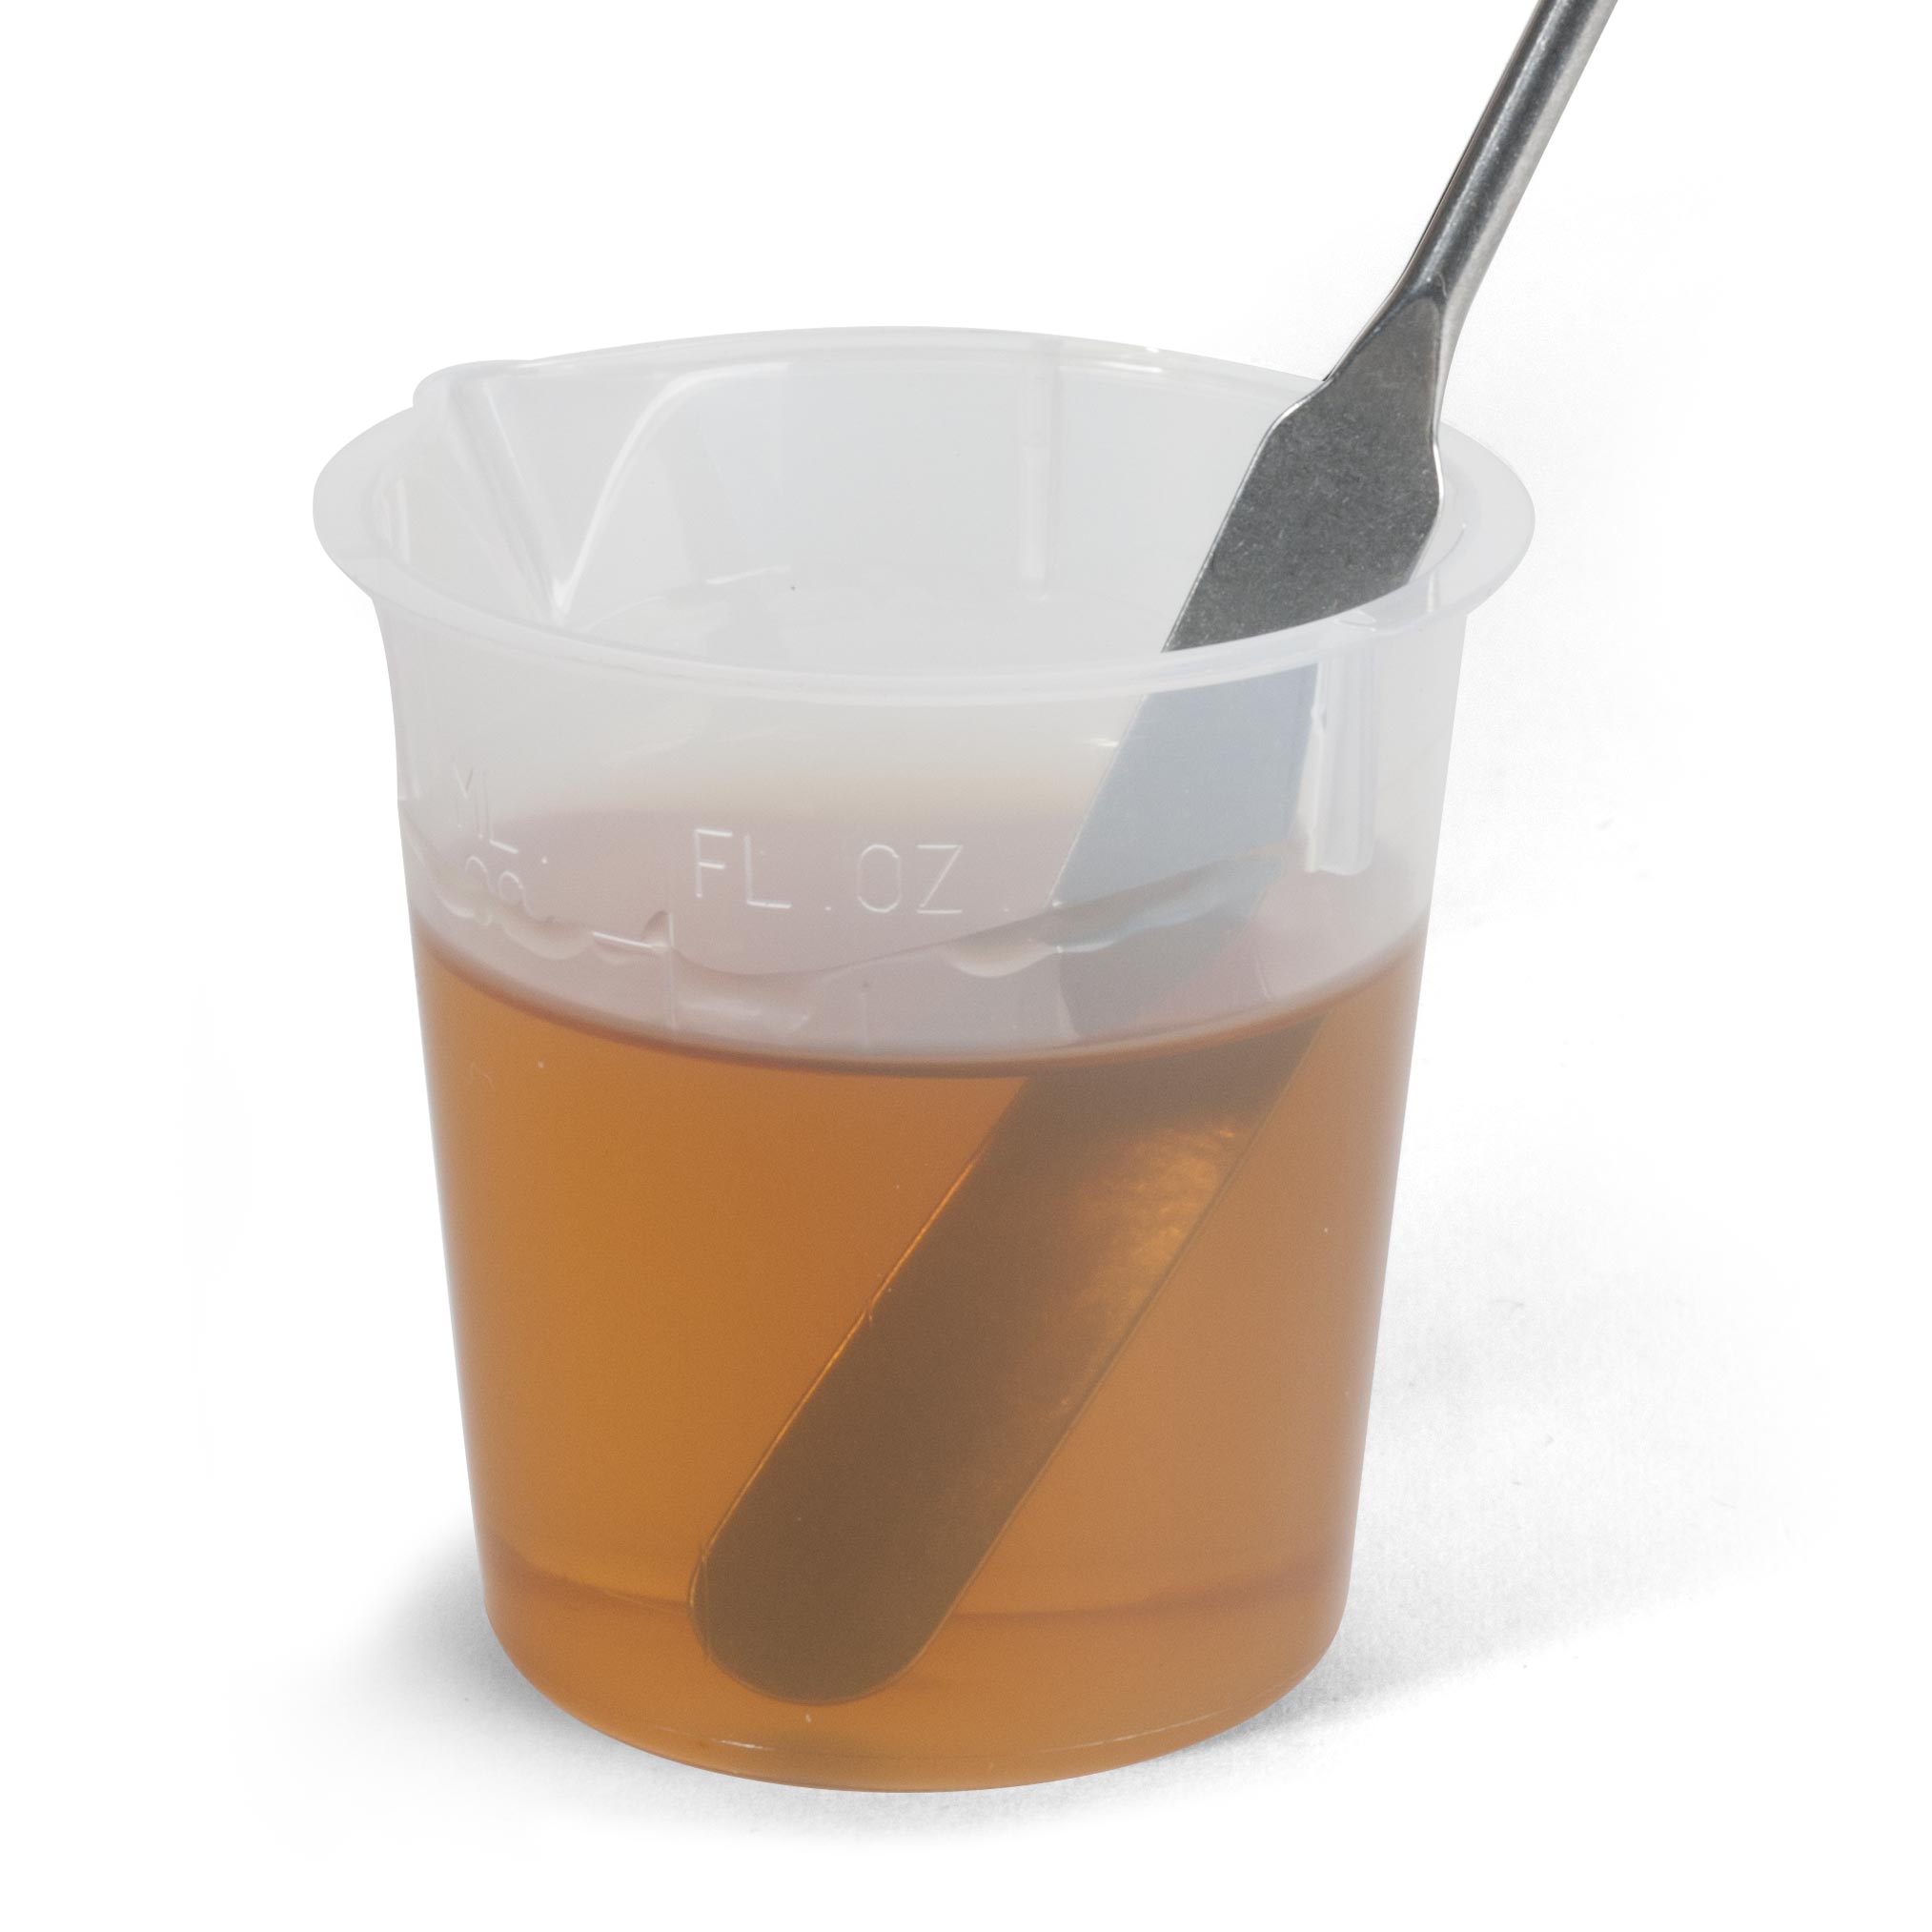
I mixed more stain than needed for one guitar because I plan on doing a couple more. Besides, I'd rather have too much than too little—I wouldn't want to run out of stain right in the middle of wiping it on. In a pint-sized glass jar filled 2-1/2" deep with clean water I added 1-3/4" oz. of Colortone stain to produce the deep blue color that I was after.

Put the stain in a good-sized bowl so you can really damp the rag with stain, squeeze it out, and wipe the stain on with lengthwise stroke.
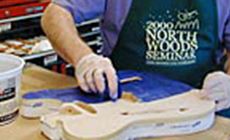
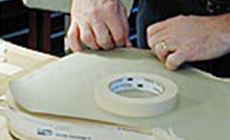
Stain the body cavities too then let the stain dry an hour or two. Use masking tape and paper to mask off the back and side. The paper protects the alder from the sanding coming up (if you choose to sand at this stage—it's an option).
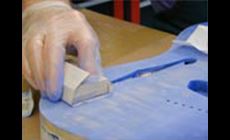
Block-sanding the majority of the stain at this point removes most of the color and "enhances the grain"—causing the curls and swirls to stand out darker when you apply a second coat of stain.
Re-stain the top a second time.
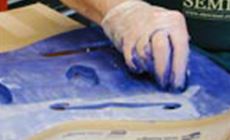
The guitar taped off and with the final top stain.
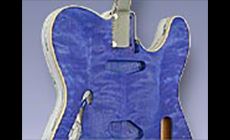
With the masking removed, the maple top is stained and the alder is clean—except for this run where the striper's tape didn't hold well to the maple. I used a razor blade and sandpaper to remove the color.

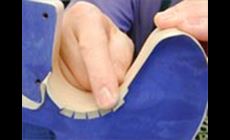
Now carefully tape the exposed maple edge—which is to look like binding—using the striper's tape again. Serrate it in order to bend it around corners and overlap the top without lifting.
Now stain the alder part of the body—sides and back.
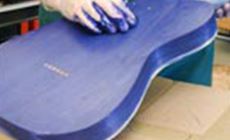
After staining hang the guitar to dry with the latex tape still on.
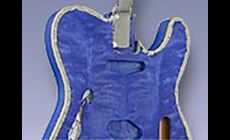
After one hour we'll see that Part 3: PRS-style binding.
More In This Series
| Introduction | Finishing a Blue Guitar |
| Part One | Wood preparation |
| Part Two | Staining the guitar |
| Part Three | PRS-style binding |
| Part Four | Sealer & scuff sand |
| Part Five | Topcoats & touchup |
| Part Six | Final sanding & rubbing out |
