Lesson 10: ASSEMBLY+SETUP
Lesson 10: Assembly+Setup
Dan teaches you how to glue on the bridge, install the tuners, and set your action.
In this video you'll learn:
- Creating a custom jig to glue on the bridge
- Installing the tuners perfectly straight
- Fitting the nut and saddle
- Fine-tuning the action and playability
- How to tie on strings
- Oiling the fretboard and bridge
What you'll need:
Video Transcription
[on-screen text reads: How to Build a Ukulele. Lesson 10: Final Assembly + Setup]
Dan Erlewine: Hey, we're just about done. It's finally time to put on the bridge and I'm going to remove the tape and I'll take it off the fretboard too. We have a nice bare contact between the bottom of the bridge and the top of the uke. One thing is make sure you don't by mistake glue the bridge on backwards. I've seen that happen in a repair shop sometimes. The saddle goes to the front. I'm going to tape around the bridge before I get the glue out just to keep it off the finish. In my shop, I use Low Tack Protective Tape but you probably won't have that, so you use the painter's tape, but put it on your shirt and take some of the adhesive tackiness off of it, because on a fresh finish this can leave a little wrinkled effect in the finish, even if it's on for only 10 or 15 minutes.
Mask around the bridge
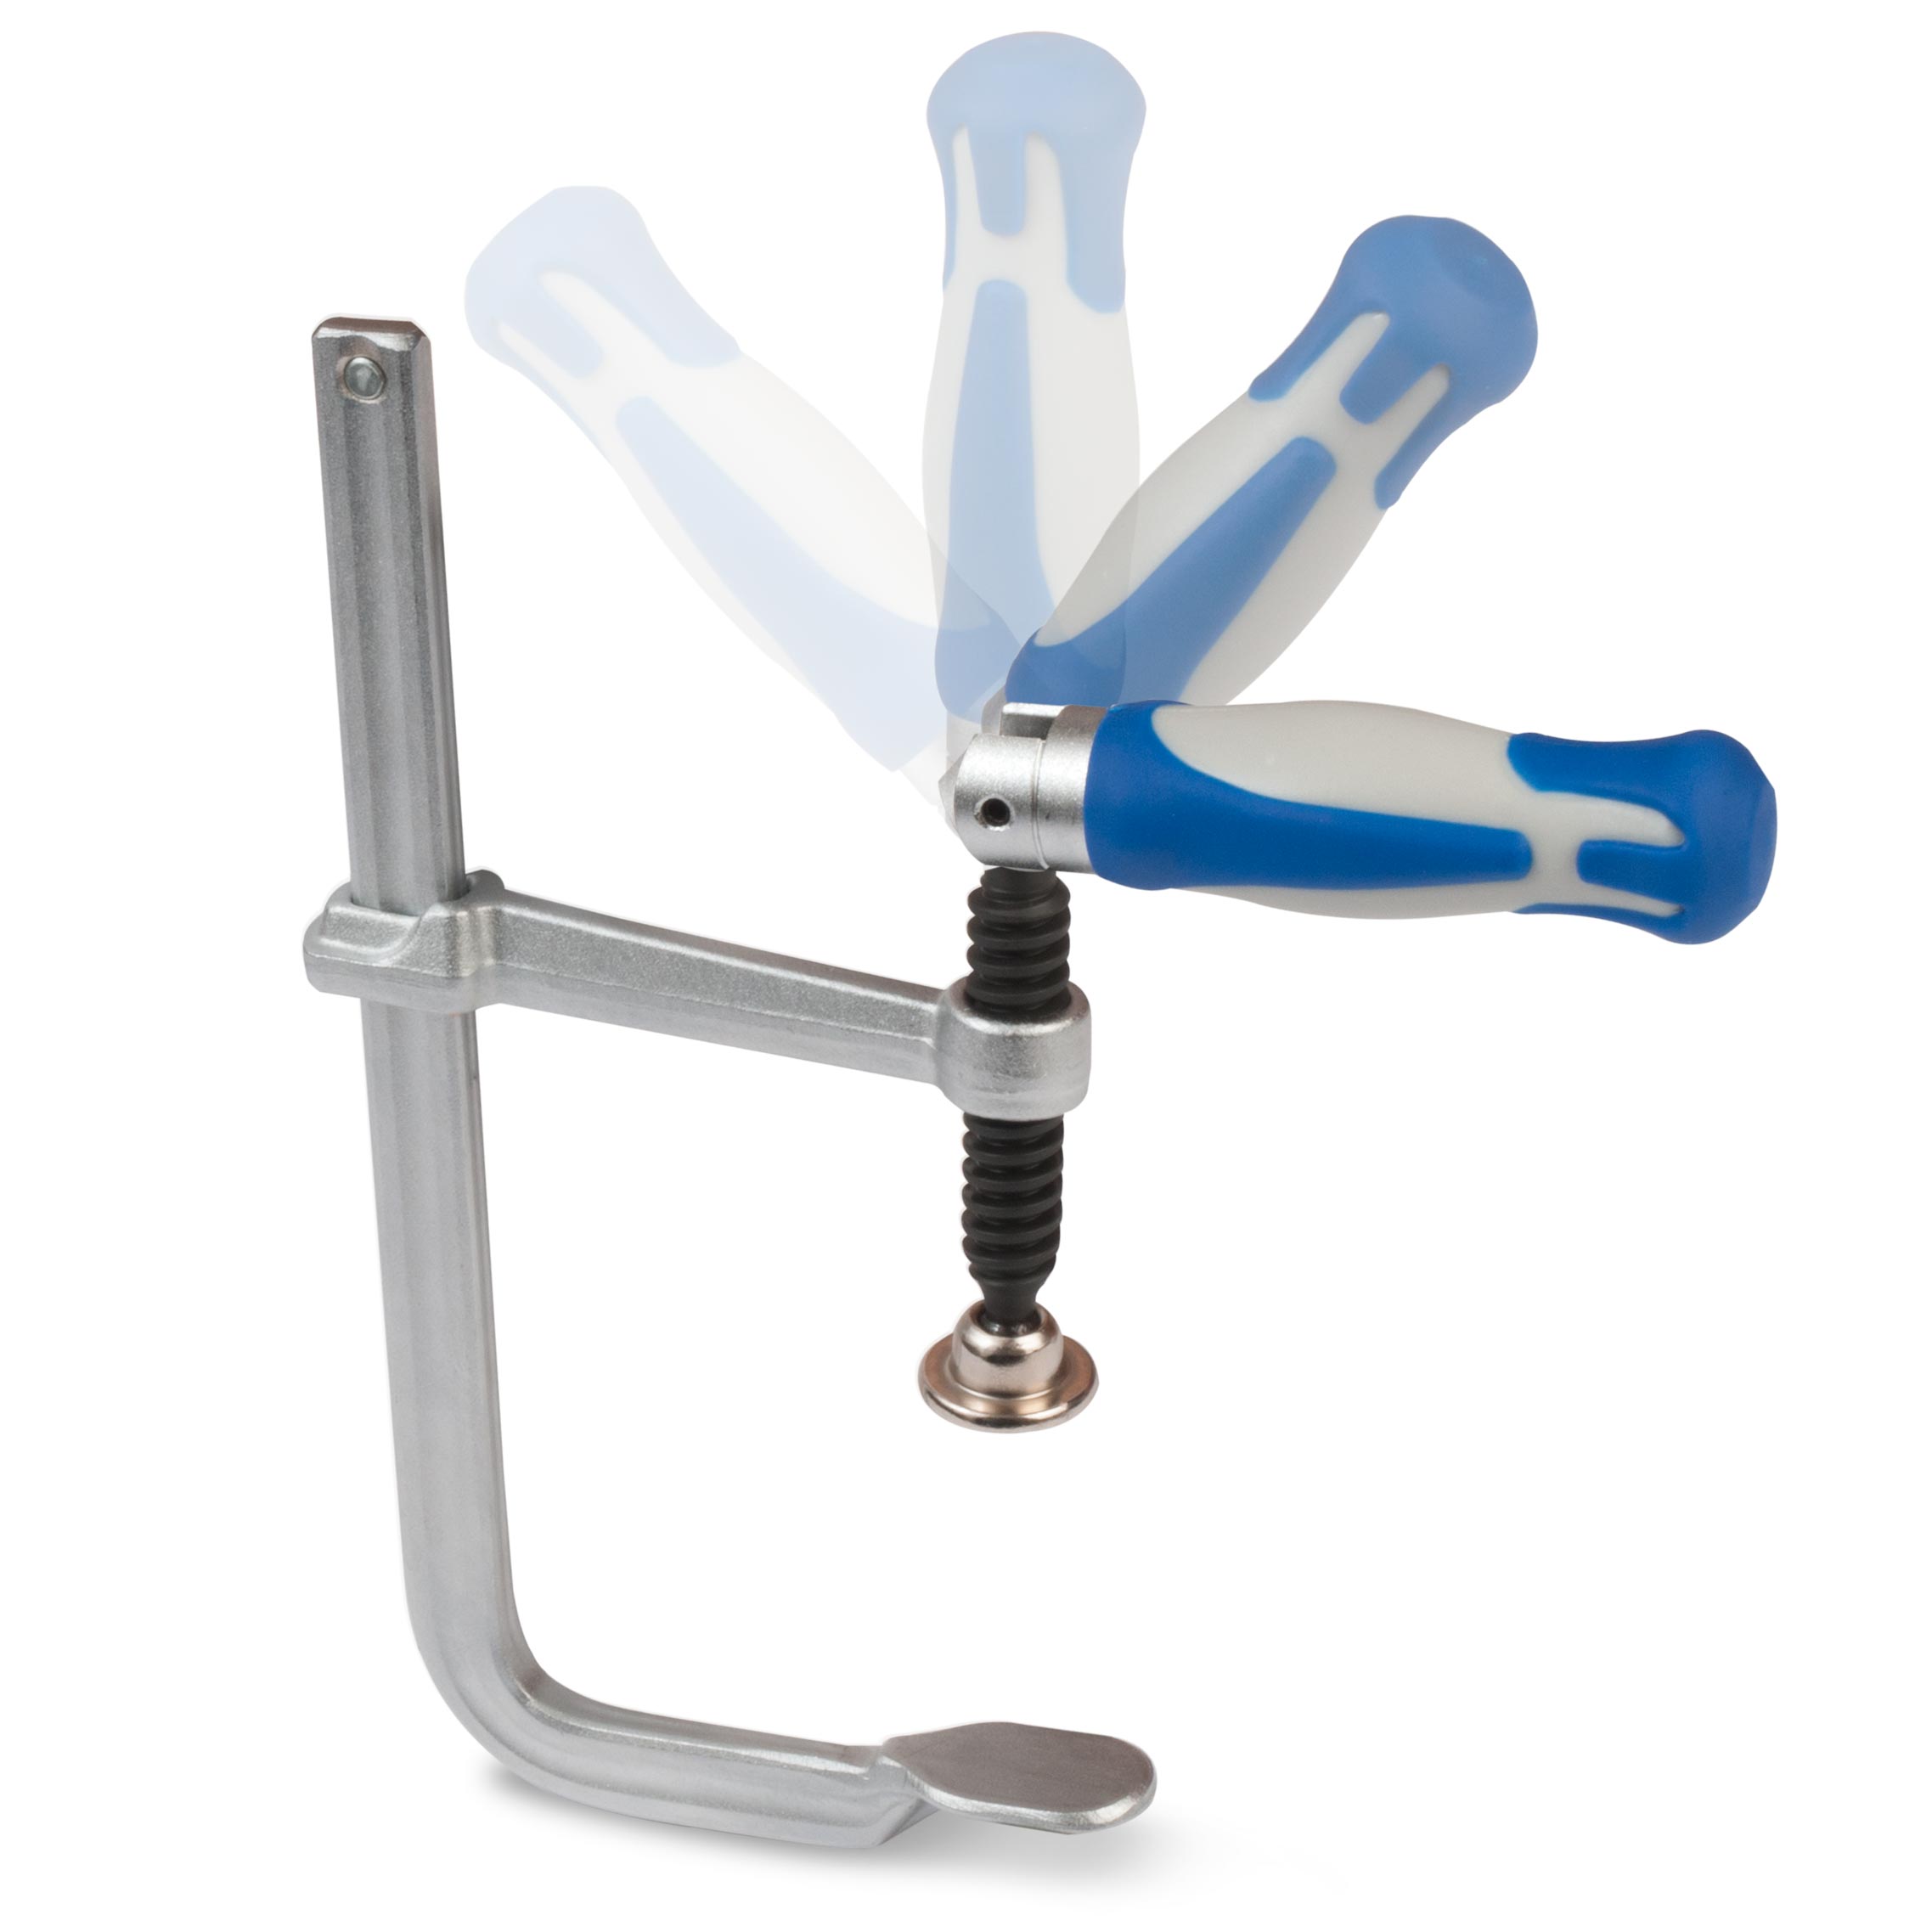
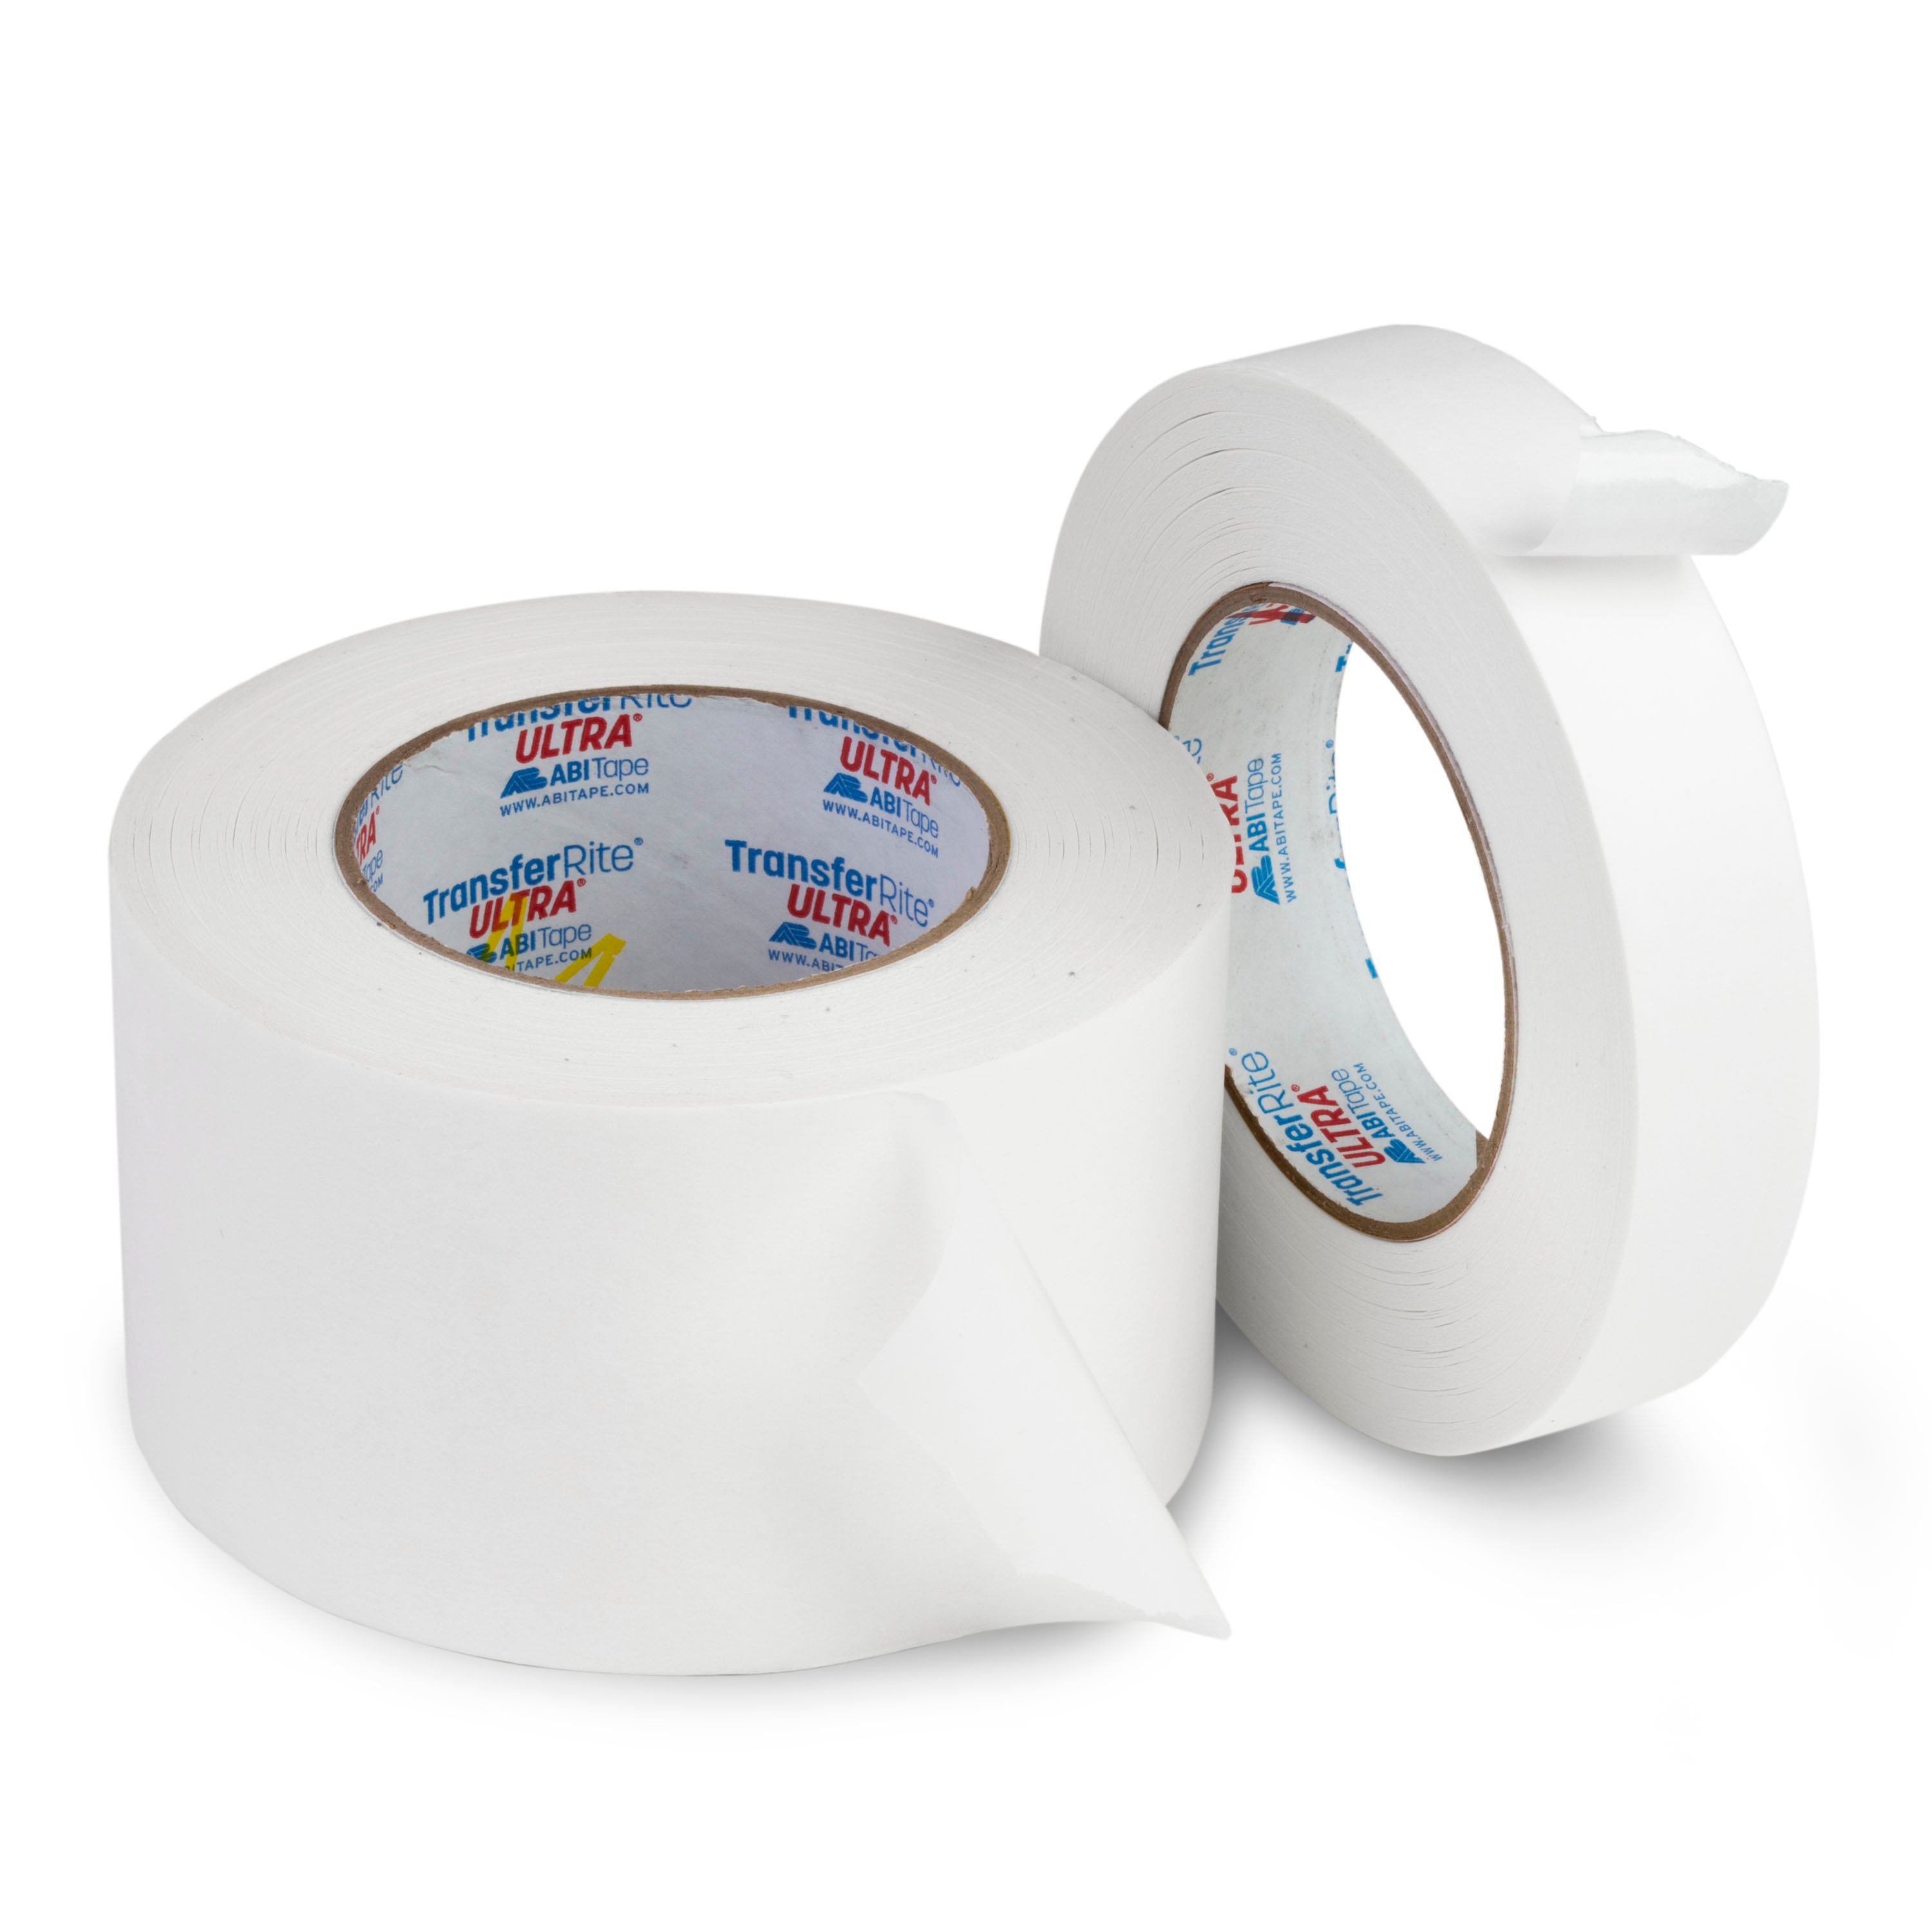
So I'll taper all the way around it [Dan applies Low Tack Protective Tape all the way around the outside of the bridge] and then I'm going to glue it on with one clamp. I Double-stick Tape a scrap of wood to the clamp so it reaches up between the X braces under the bridge.
Glue the bridge
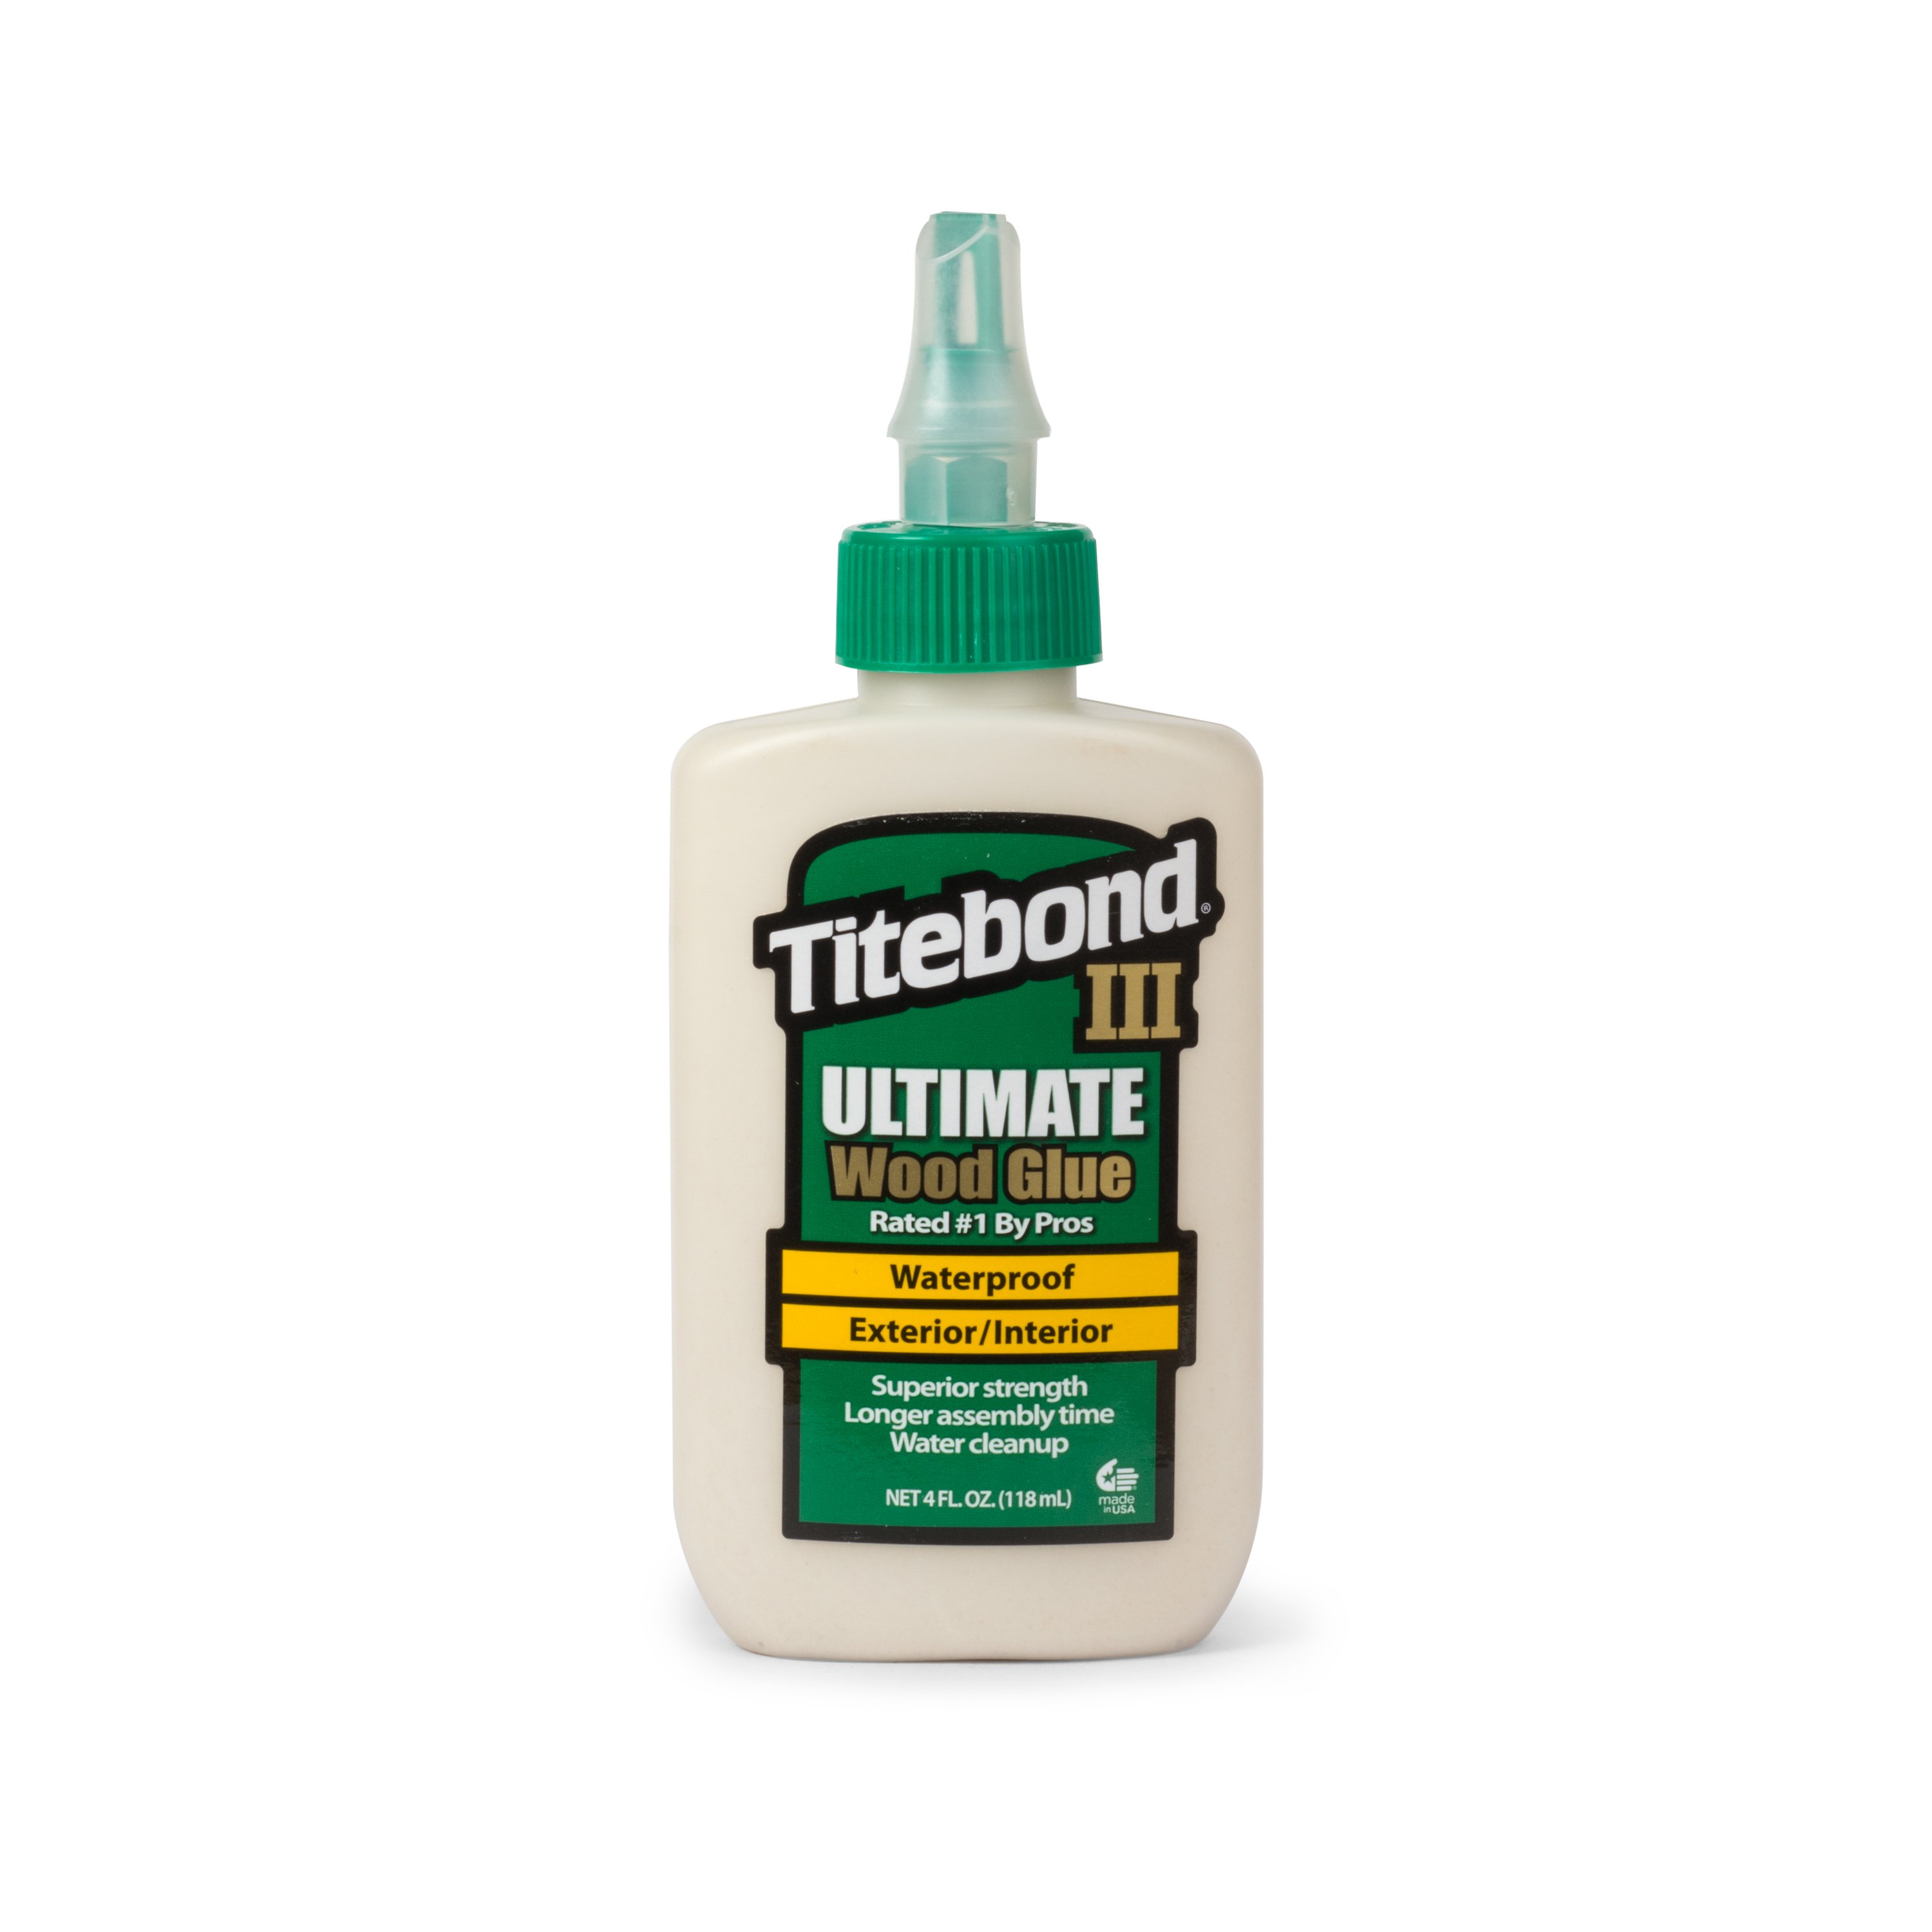
I put glue on both parts. Some people don't do that. I feel a little better with glue on both. Get it spread evenly. It'll start to tack up pretty quick. Get rid of that tape so you don't accidentally glue some under the edge. And you might have to clean up more than once. You'll clean up the glue and then it squeezes out again. Here we go with our little clamping block. Get you right out there and get some good pressure [Dan sets the Swivel Handle Clamp into the soundhole and tightens it down on the bridge]. Don't squeeze too hard. I wedge small pieces of wood at each end to get good clamping pressure across the whole bridge. You're going to get squeeze out coming out, keep cleaning it up. Every time I clean it then some more comes out. The bridge is on.
Install the tuners
I'm putting the tuners on now. And put them through the hole and tighten down the hex nut and washer and that'll hold them in place on the peghead. You don't want to put them on crooked like that you want to try to get them sticking straight out at right angles. When it looks good to your eye then drill the holes for the screws.
[Dan drills the holes for the tuner screws using a depth stop drill bit, then screws the screws in]
Fit the nut + saddle
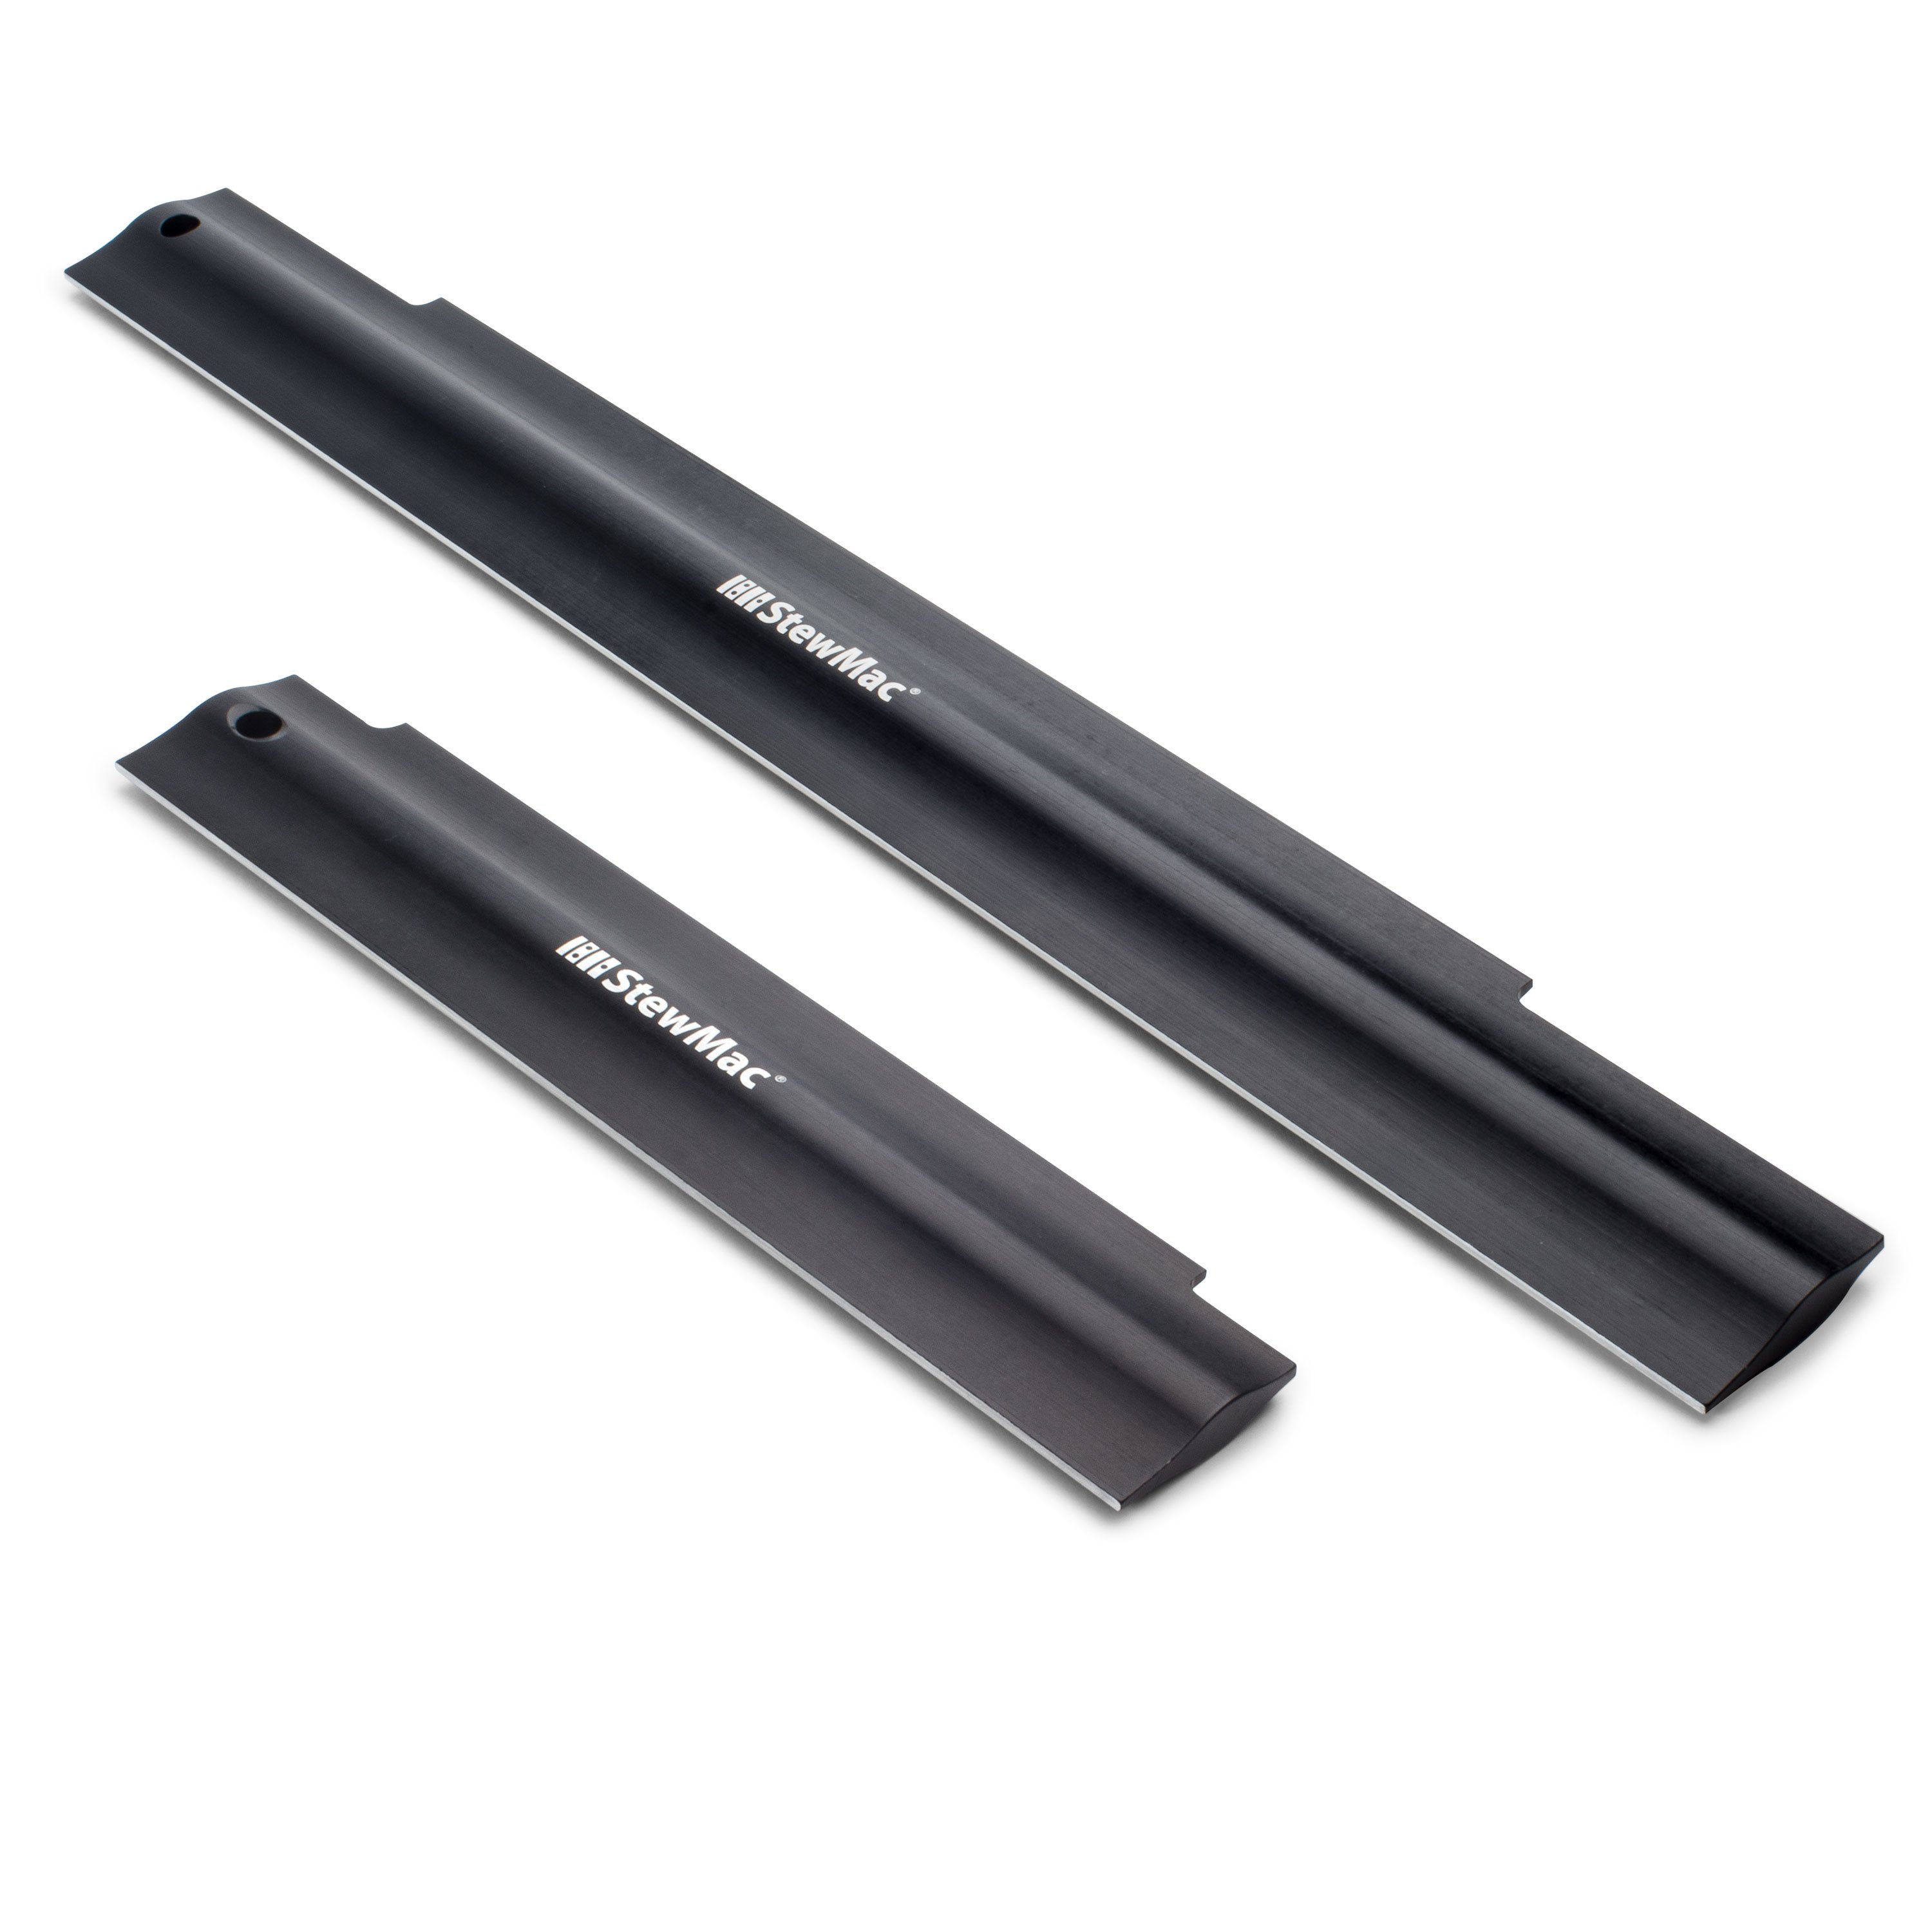
So with the tuners on now, they're going to come in handy when I line up the nut in the saddle because I'm going to need to put on at least two strings to check the line-up. To fit your nut and saddle you want to start with a straight edge long enough to reach from the nut down to the saddle, and run it down the frets and it should hit the top of the bridge. And put your saddle in. It's already rounded. Chances are pretty darn good it's going to fit just the way you want it. And then this is my string. So at the nut end, pretend that the string's coming off the nut and you're looking at the gap between the bottom of the string and the first fret. You wouldn't want that, and you wouldn't want it touching. On a uke, you want a higher action than you would on a guitar because it's nylon strings.
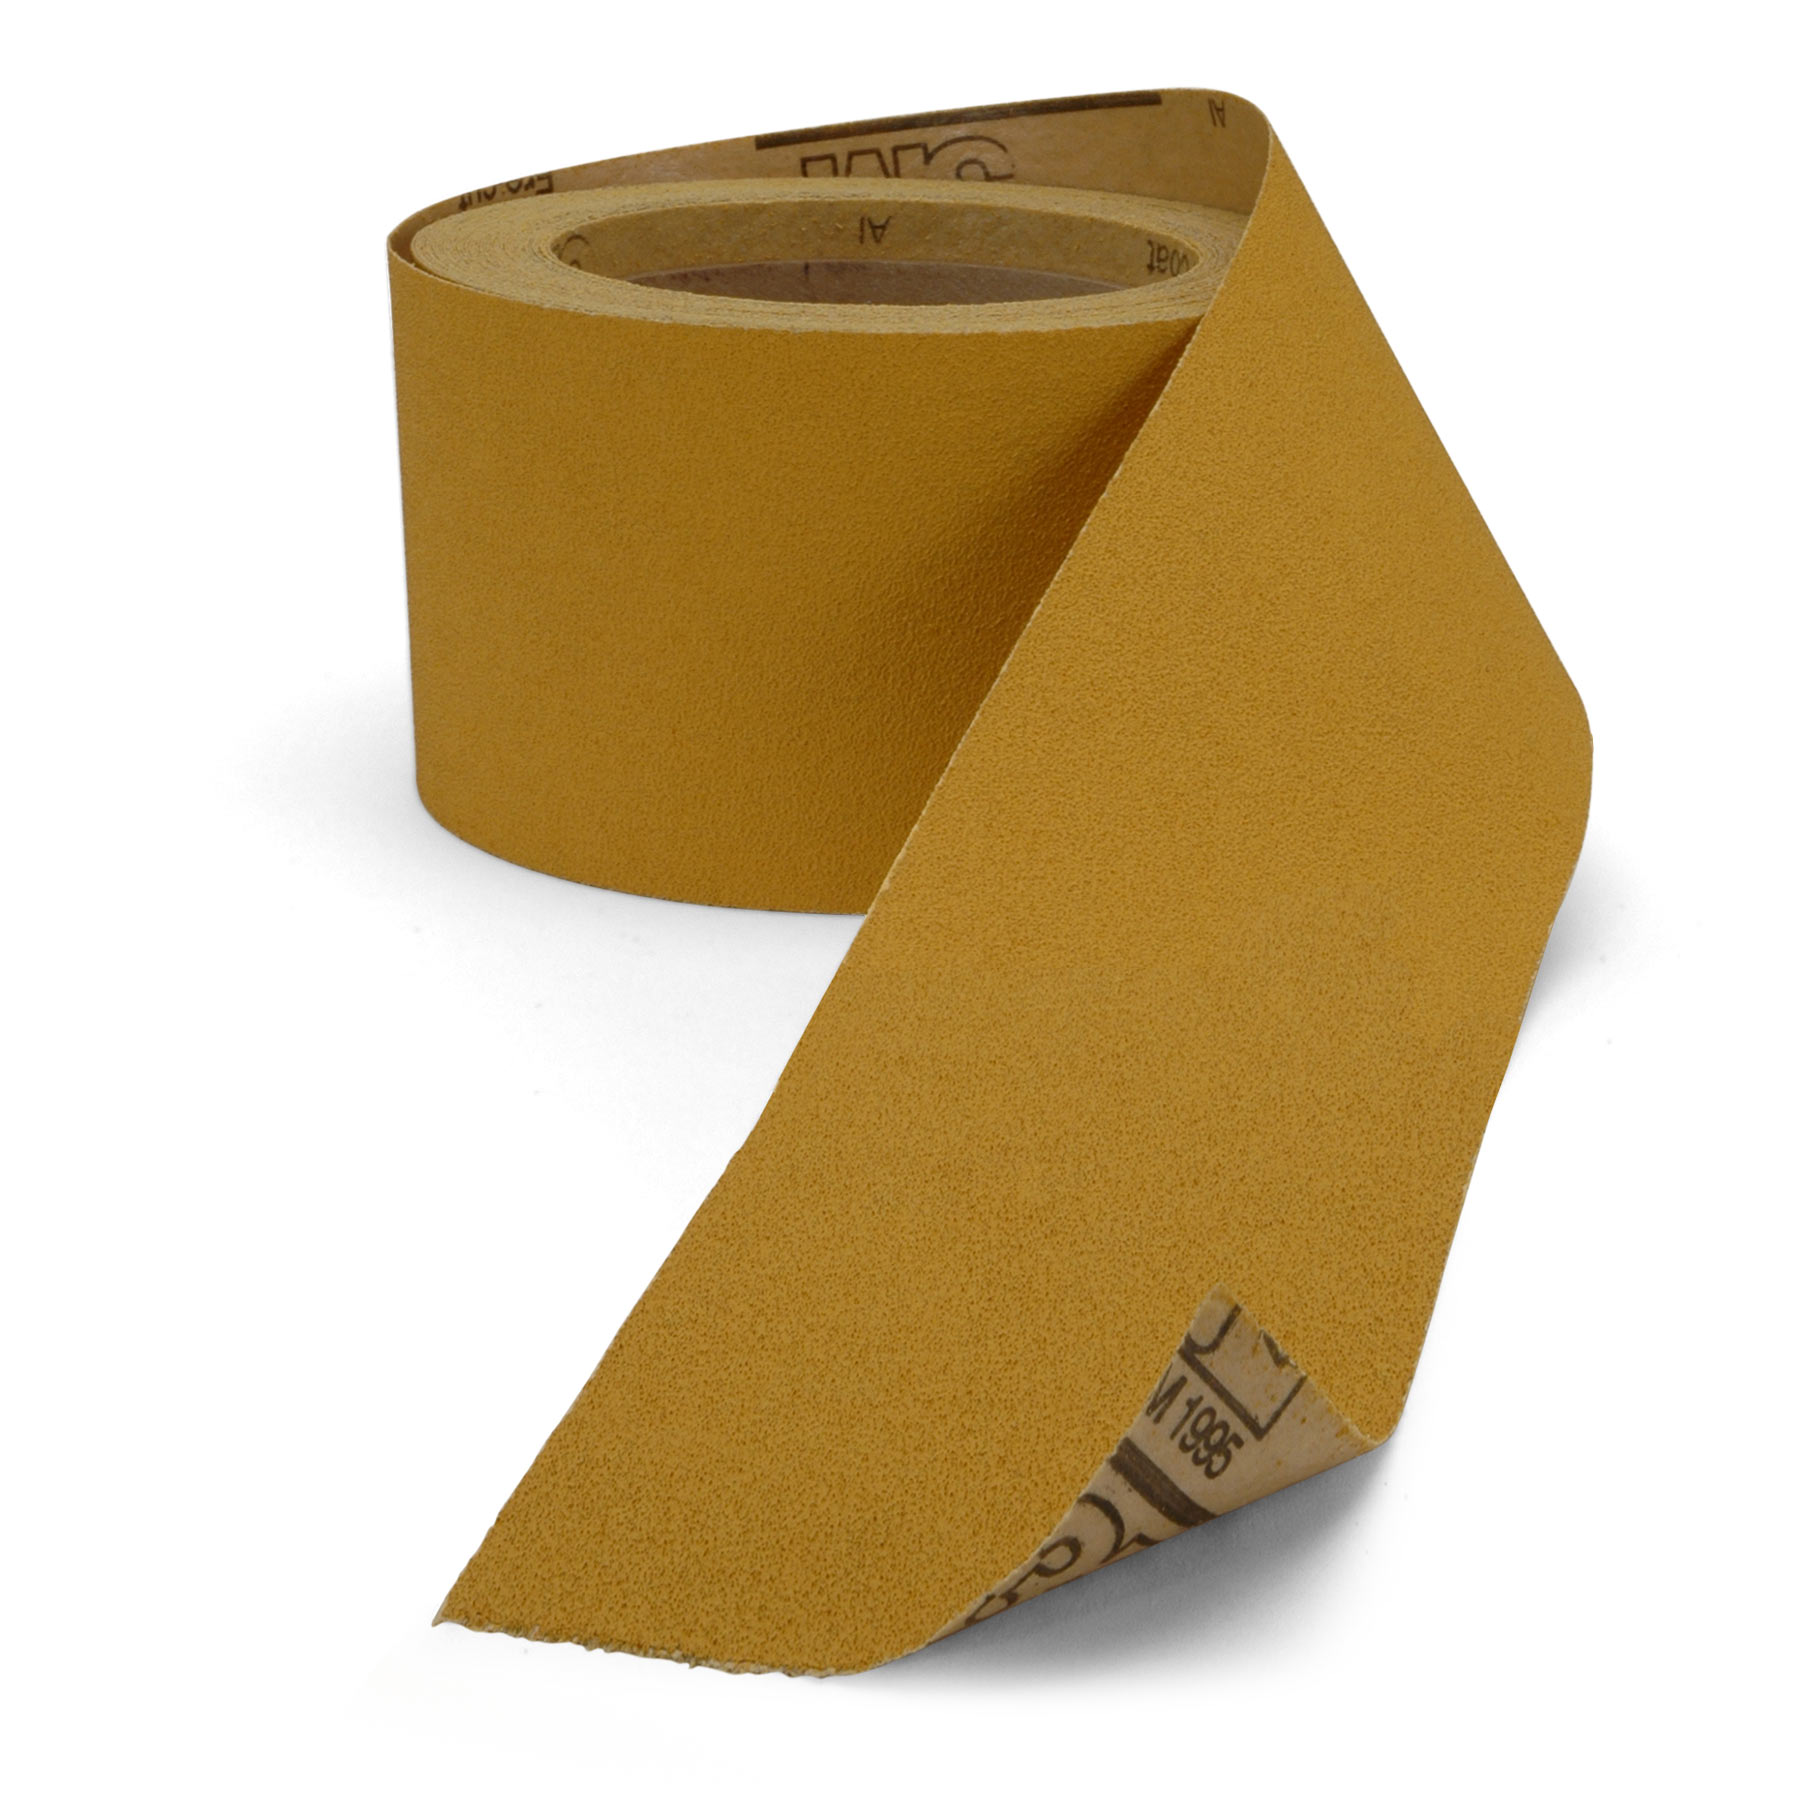
I'd start with that [on-screen text reads: .050" or a little less than 1/16"]. To my eye that looks about 50 thousandths. I think this saddle's going to work just the way it is. If it didn't, I can shim it up to be a little taller or take it out and sand some off the bottom to make it a little lower. I think this came out just the way I want it. So, next we're going to get the nut seated a little bit so it stays in place. I double stick taped a piece of 220-grit sandpaper on the bottom of this nut. That's going to be a little sanding stick. Going to press the nut against the fretboard and just move it backwards to sand off a little of that poly that got on there and just create its own seat. Doesn't need much, just to say it's been there. Now, I can put a little piece of Double-stick Tape on this slot just to hold it in place a little while, while we get a couple of strings on there.
Installing strings
There's two fatter ones and two skinny ones. The skinny ones go on the outside and then the heavier ones go in the center. I'm going to string up the two outside ones now to get a feel for how my nut and saddle are relating. You put the strings on a uke like you would put them on a classical guitar. You got plenty at that end, plenty here. You bring this around underneath the string, then you put it back through that hole you created. And you can bring it around and put it through again. That's two loops that you made in there and you want that straight part and the loop part to bind up right on the end. This knot holds the straight part tight.
See that? And it chinches down as you go. Keep a little pressure on it. Bring it down to the tuner. I'd like to run it through a couple of times, especially if I'm doing it for the first time during setup. I'll tie it on. Uke strings take a long time to stretch in. I don't want to spend all morning winding a string on so I don't leave a lot to wrap on the post. And as you put the strings on, going from treble to bass, take each strings in and put it through the loop of the next string. And that keeps it up off the top and it looks cool and it's sort of a traditional tie. Strings are on and I'm really close. I'm going to be taking them back off, put some oil on the fretboard and a little on the bridge. Plus the nuts a little bit too high and I'm going to take some meat off the bottom of it and bring that string action at the nut down a little bit.
Remove the nut now and take off that sticky tape. We know how much to take off the bottom by eye really. I'm just going to pencil in a line on the perimeter of that nut and that's what I'm going try to sand down to drop it a little bit. The piece of wood keeps you square at 90 degrees so it'll fit in the slot nicely [Dan gently works the nut against the piece of wood and the sandpaper that is attached to the workbench]. That's a way I do the ends of a nut. You want to round it off a little bit so it has not a sharp edge to it. See that? You don't want it hanging out. That's good.
Oil the fretboard + bridge
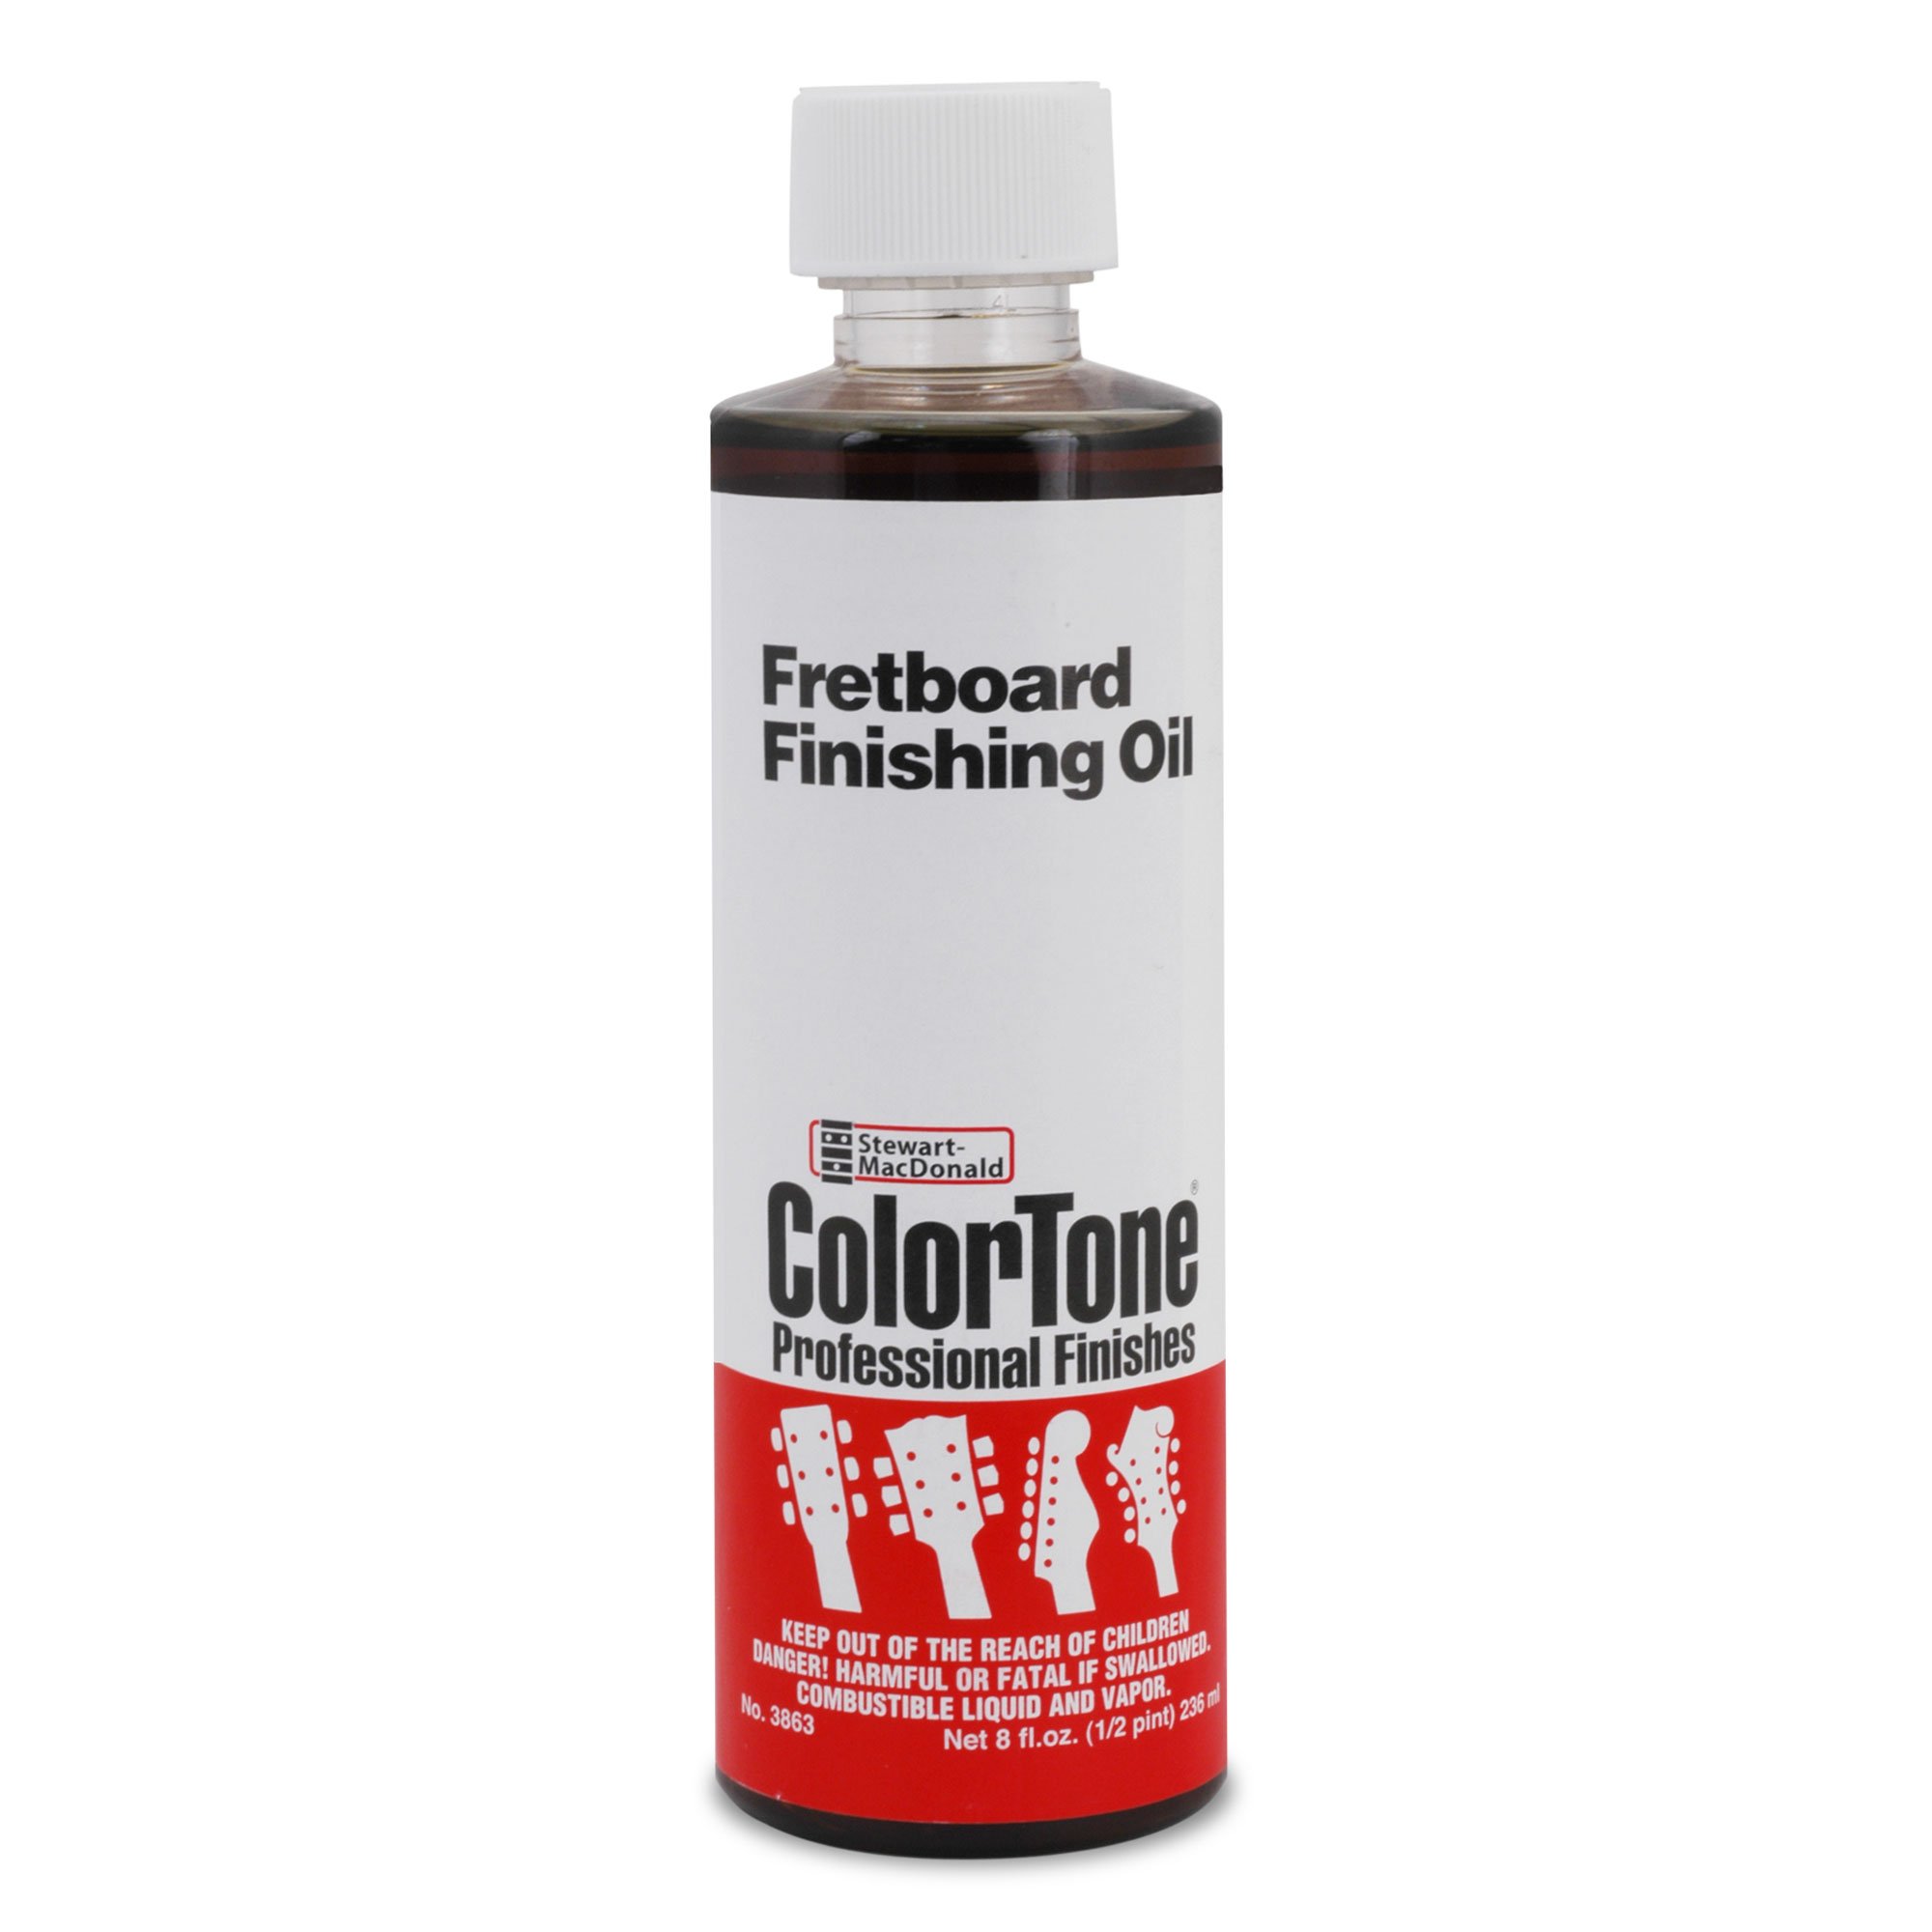
This is fretboard finishing oil. It's good for the dried out wood. Gives it a luster and some color. And I'm putting it on the bridge too with a Q-tip because I don't want to take all the strings off, I just get in between them. Darken that up too so it matches the fretboard.
Ready to play!
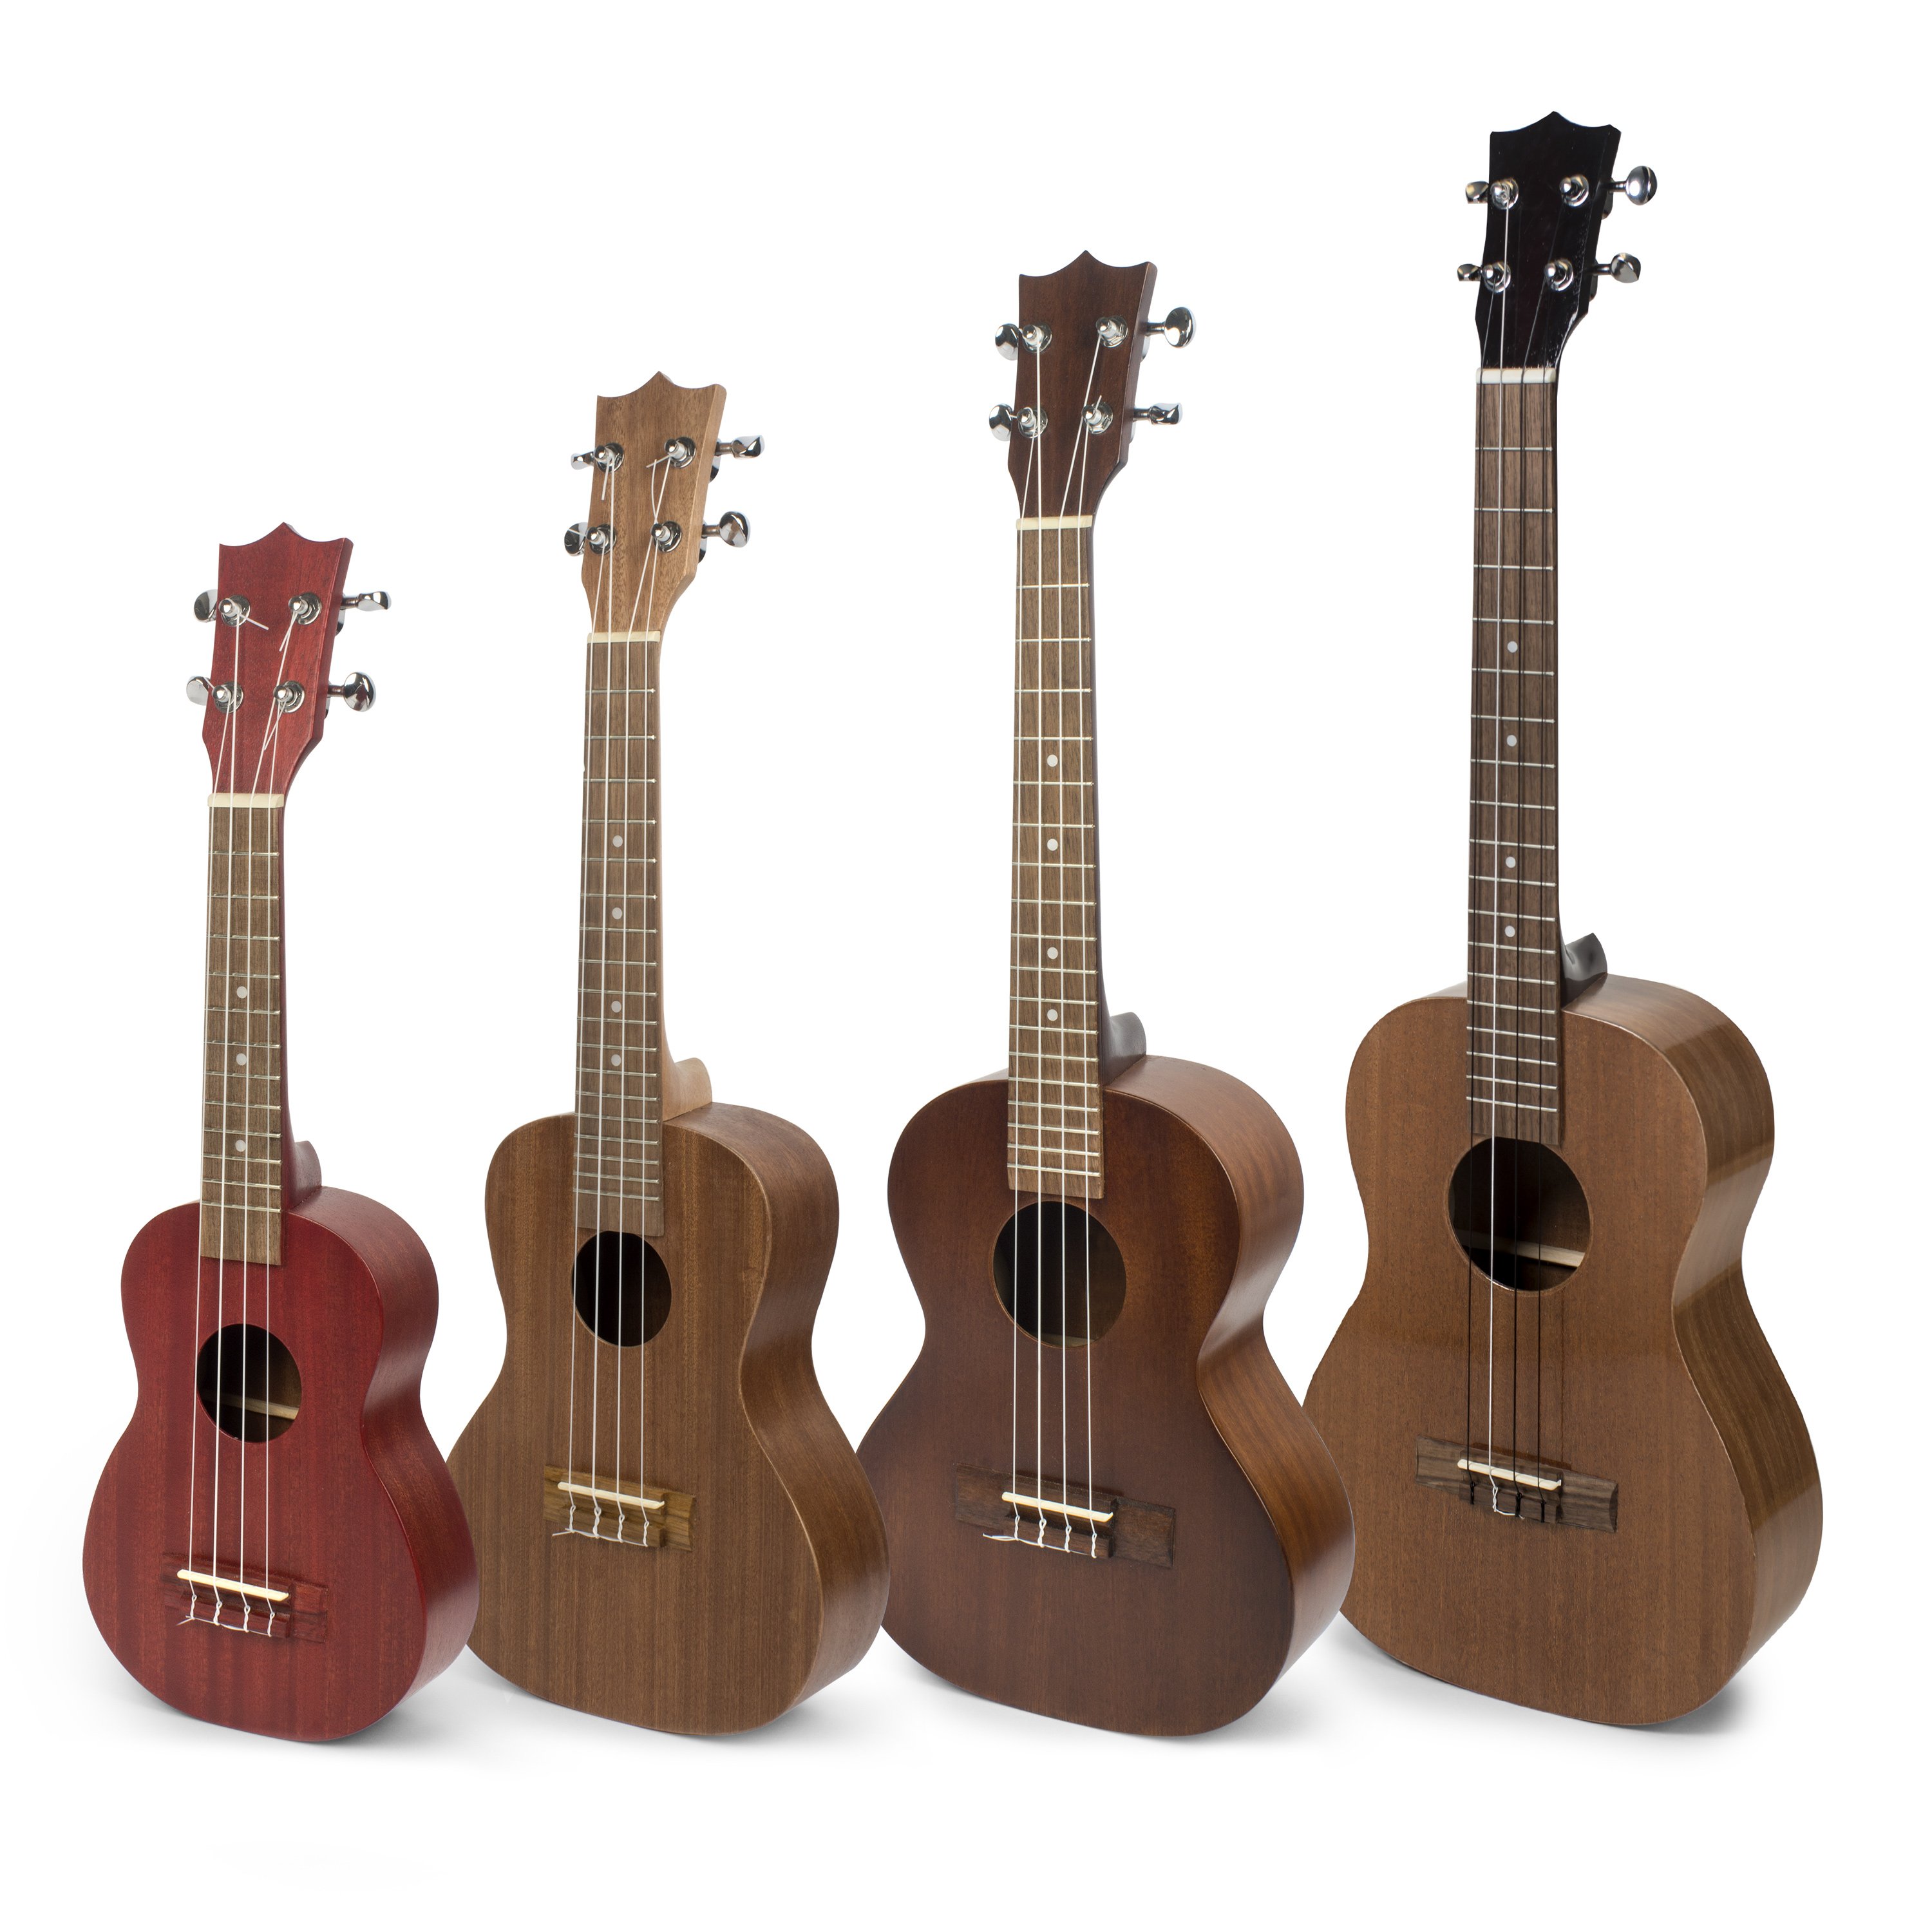
Well, we're done. We got through all 10 lessons and I hope you had as much fun as Steve and I did. I'm kind of partial to this brown one that looks like an old Martin that I have. My granddaughter loves the red one. That makes sense. And my wife likes the natural. Send us some pictures of what you got when you get all done building.


